




Homemade elderberry syrup sounds like one of those projects that requires special equipment, a pantry full of herbs, and the patience of a saint. It really does not. With fresh elderberries, a saucepan, a strainer, and a few ordinary ingredients, you can make a flavorful syrup at home without turning the kitchen into an herbal laboratory.
I started making my own because store-bought syrup was expensive, often sweeter than I wanted, and not always pleasant to drink. Once I had a method I liked, the homemade version became part of our fall and winter routine. I still keep a shortcut around for hectic days, but a fresh batch is hard to beat when the berries are available.
Why I Started Making Elderberry Syrup at Home
Every cold and flu season, I used to grab a bottle from the store and tell myself it was the convenient choice. Convenient, yes. Cheap, no. Some bottles were packed with sugar, and others had a flavor that made everyone suddenly forget they had asked for syrup in the first place.
Making it myself solved several problems at once. I could choose the sweetener, adjust the spices, and know exactly what went into the jar. It also gave me a useful way to handle a fresh elderberry harvest instead of watching good berries sit in the refrigerator until they became a science experiment.

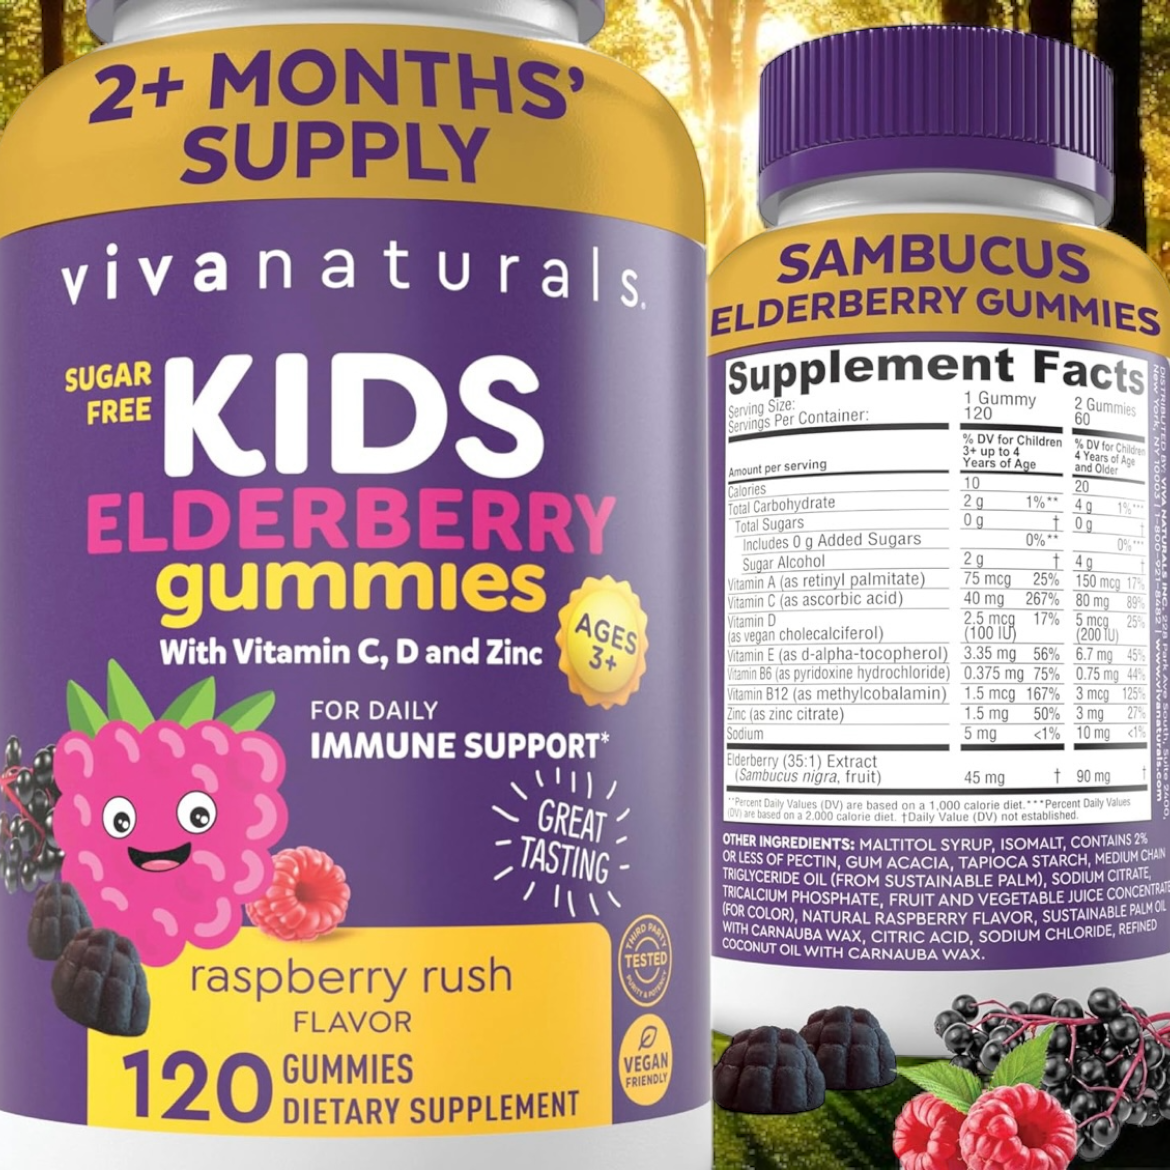
I also keep these elderberry gummies for kids that mine actually love on hand just in case we run out of syrup or need a quick option.
This is a kitchen recipe, not a cure-all. Elderberry fits into my natural wellness routine, but it does not replace sleep, food, water, medical care, or common sense. That distinction matters, especially when homemade remedies start sounding more powerful than they really are.

What You Need Before You Start
You do not need a fancy setup. My usual equipment is a medium saucepan, a spoon, a fine mesh strainer or cheesecloth, and a clean glass jar or bottle with a tight lid. A funnel is helpful when you are pouring the finished liquid, although it is not essential.
- 1 cup fresh elderberries, or frozen berries if fresh are unavailable
- 3 cups filtered water
- 1 cup raw honey, preferably local honey if that is what you enjoy
- 1 teaspoon cinnamon
- 1 teaspoon dried ginger or several slices of fresh ginger
- ½ teaspoon whole cloves
- A medium saucepan
- A fine mesh strainer or cheesecloth
- Clean glass jars or a bottle with a tight lid
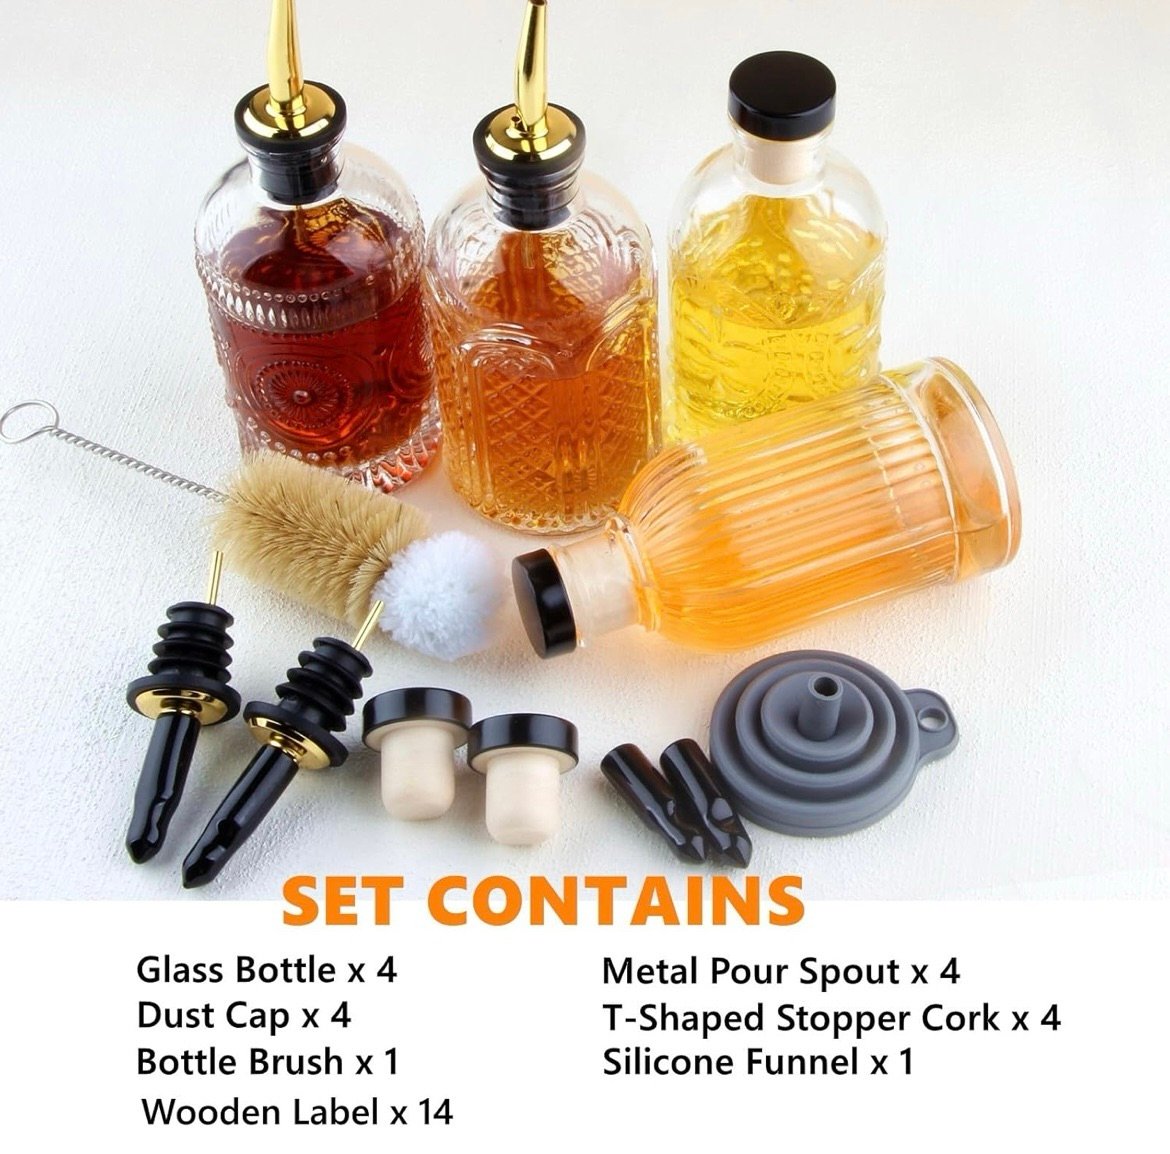
For a tidier finish, grab a set of these glass syrup jars on Amazon. They are the same kind of jars I use for storing syrup in the refrigerator, and the tight lids make them much less annoying than containers that leak the moment you move them.
Choosing the berries
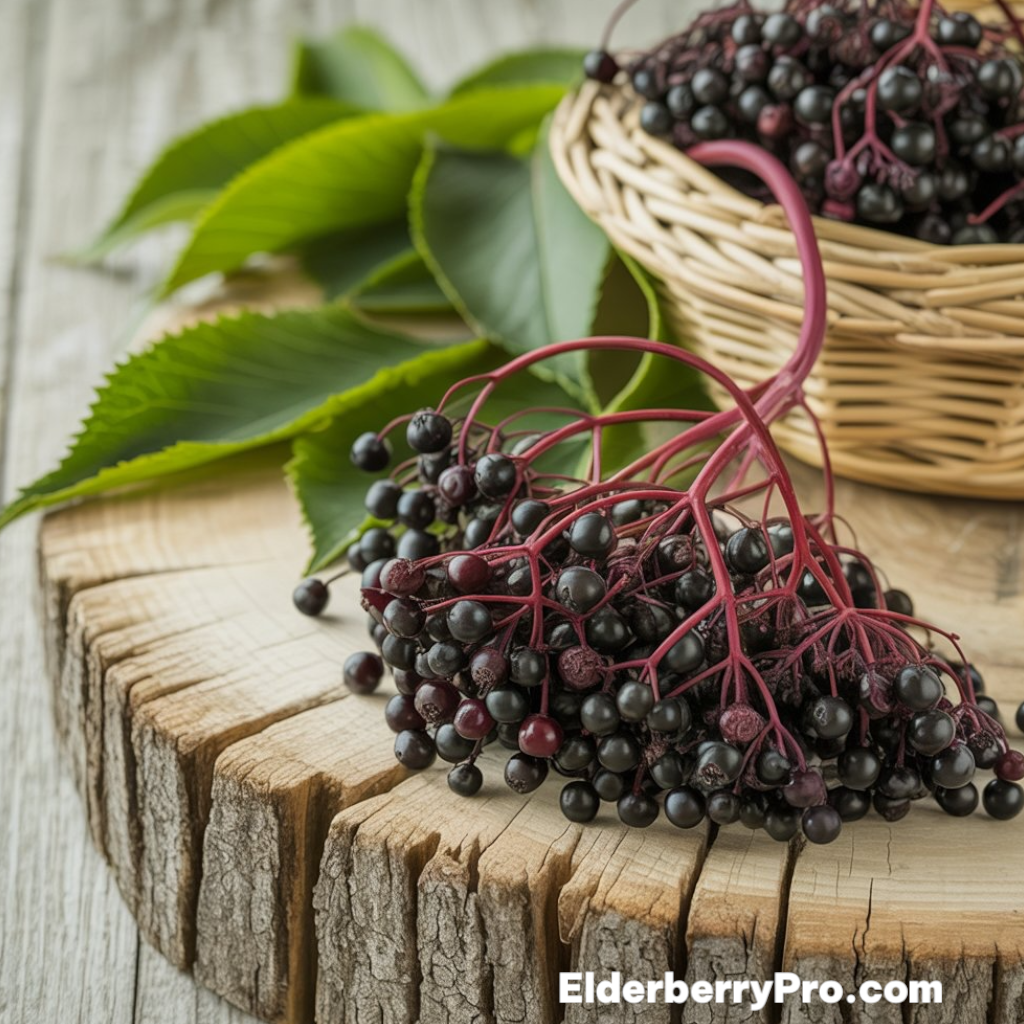
Use ripe, properly identified elderberries. Remove leaves, stems, and any berries that look damaged, green, or questionable. A recipe cannot correct a mistaken plant identification, so foraged berries deserve extra attention before they reach the saucepan.
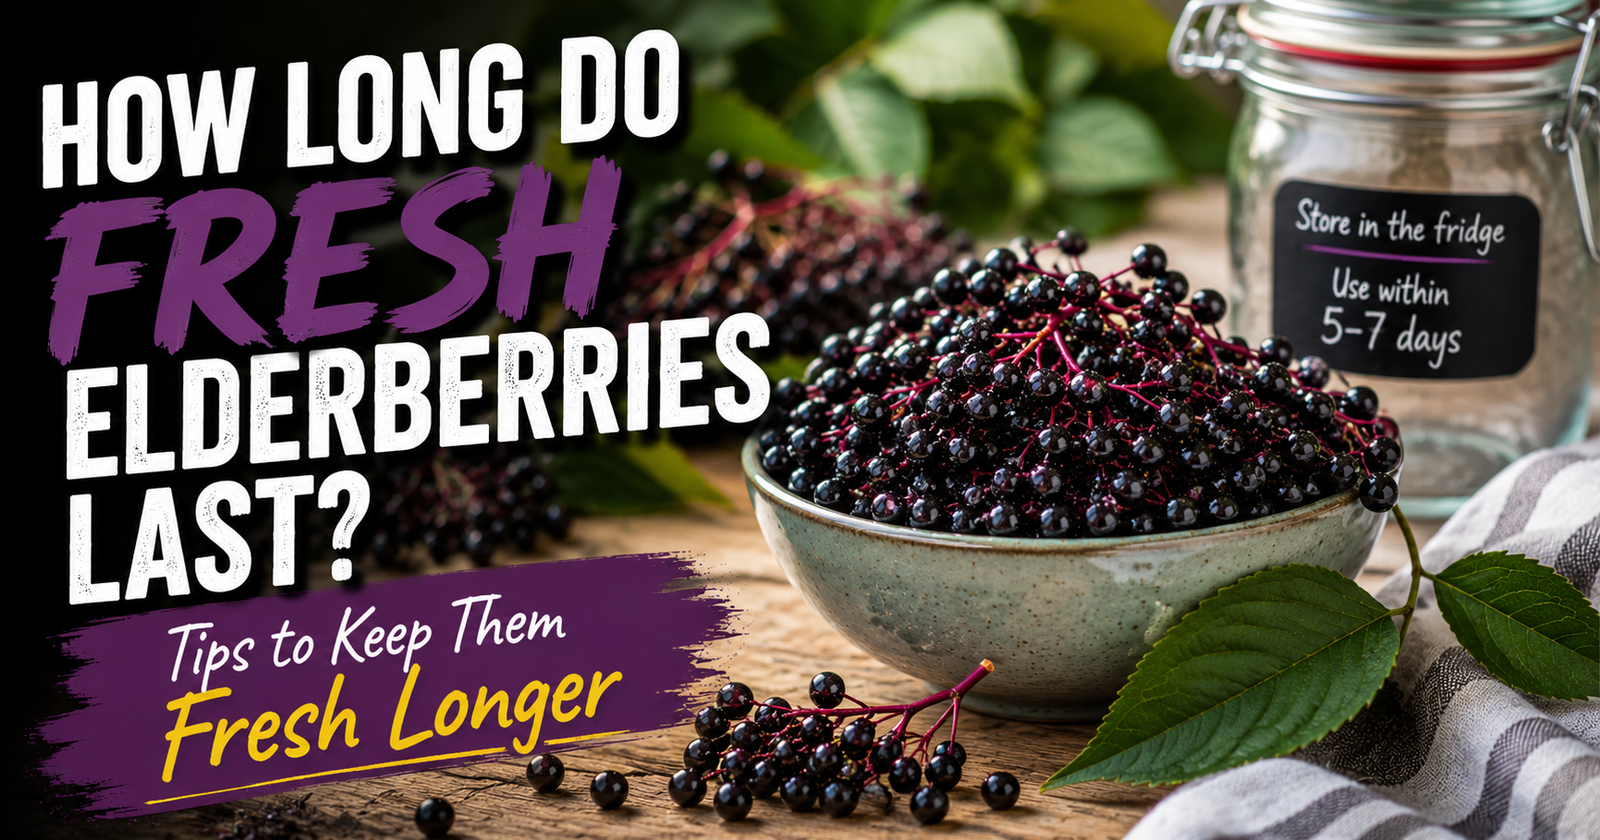
Fresh berries are wonderfully convenient when they are ripe and sitting in front of you. They are also perishable, which means “I’ll deal with those tomorrow” is not always a winning strategy. If you cannot cook them soon, freezing them is the better plan.

How to Prepare the Berries
Preparation takes a little time, but it is the difference between a smooth batch and one with unwanted bits floating around in it. I wash the berries thoroughly, remove as many stems as possible, and sort through them before cooking.
- Place the berries in a colander and rinse them well under cool running water.
- Pick out leaves, stems, unripe berries, and anything damaged.
- Let the berries drain while you measure the water and spices.
- If you are using frozen berries, keep them frozen rather than thawing them first.
I have found that a few extra minutes here makes the finished syrup cleaner, smoother, and more enjoyable. It also keeps you from discovering a stem in your spoon after the syrup is already in the jar, which is not exactly the rustic charm anyone is looking for.
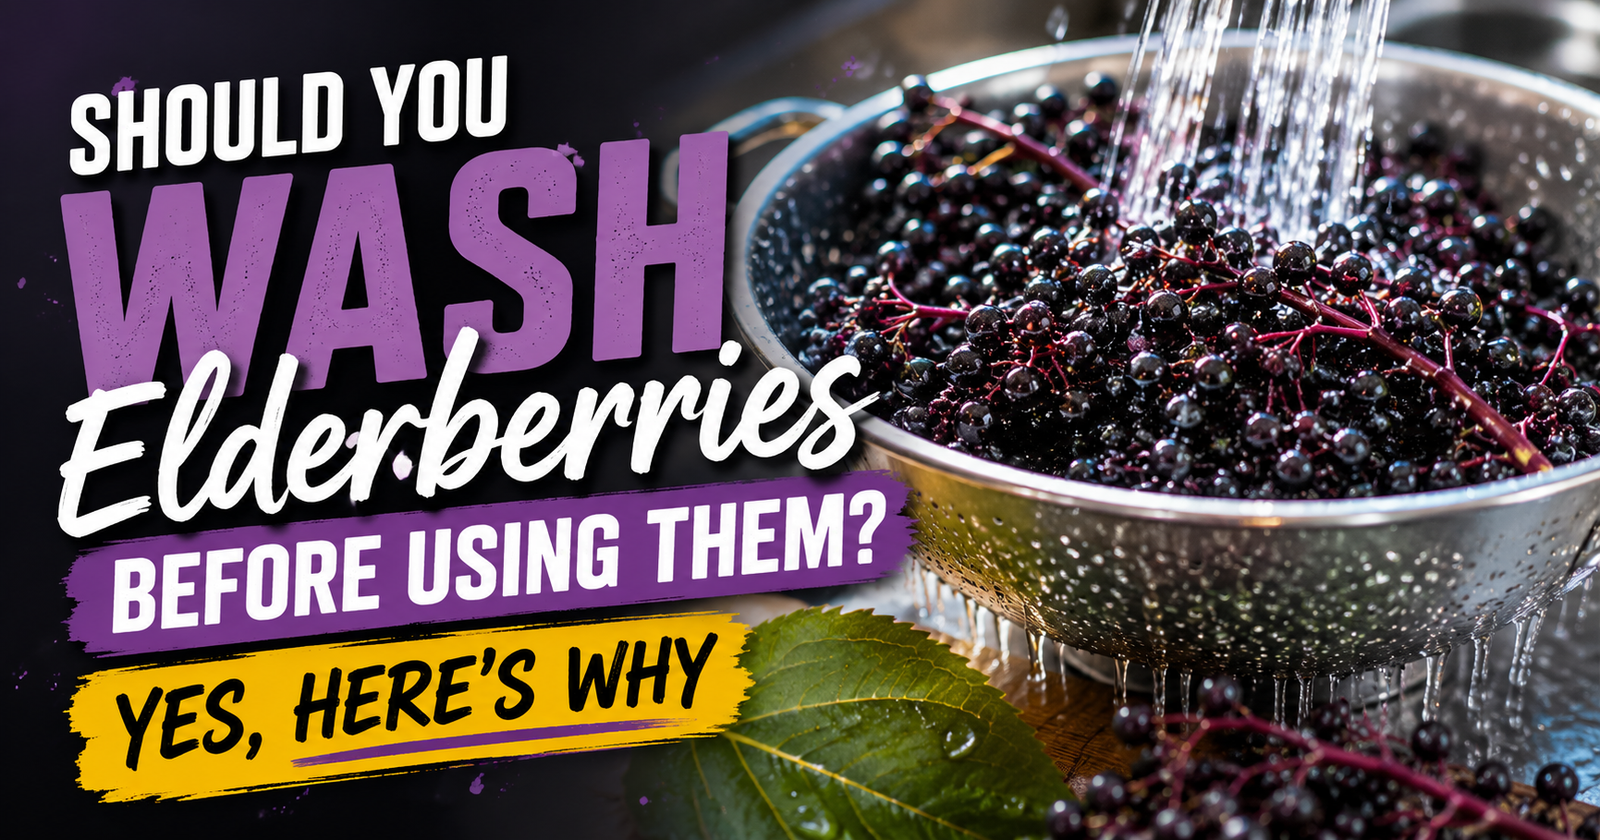
If you are harvesting your own, my guides on washing elderberries before using them and why elderberry stems should always be removed can help with the steps that happen before cooking. Proper identification and careful harvesting should come before any recipe.
How to Make Elderberry Syrup from Fresh Elderberries
Here is the method I return to. It is straightforward, forgiving, and easy to adjust if you prefer more ginger or a stronger cinnamon flavor.
- Add the prepared elderberries, water, cinnamon, ginger, and cloves to a medium saucepan.
- Bring the mixture to a boil over medium-high heat.
- Reduce the heat and let it simmer for about 45 minutes.
- Use the back of a spoon to mash the berries gently as they soften.
- Pour the cooked mixture through a fine mesh strainer or cheesecloth into a clean bowl.
- Press the berries carefully to release the liquid, but avoid making a mess by forcing pulp through the strainer.
- Let the strained liquid cool to lukewarm.
- Stir in the honey only after the liquid has cooled enough to protect its flavor and texture.
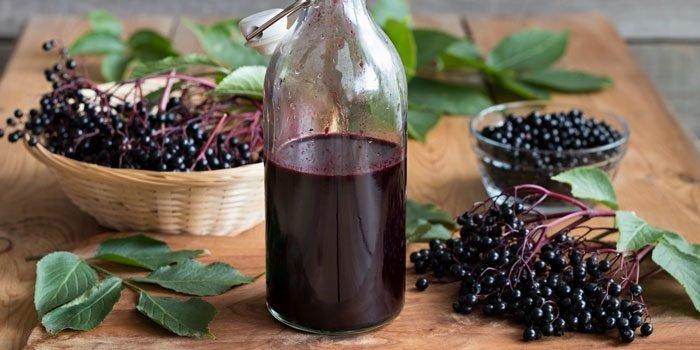
- Pour the syrup into a clean jar or bottle, seal it, and refrigerate it.
The lukewarm step is important. Adding honey to very hot liquid is an easy mistake, especially when you are eager to finish the batch, but it is better to give the mixture time to cool. The honey should dissolve smoothly without being dumped into boiling liquid.
The final consistency will depend on how much liquid evaporates during simmering and how firmly you press the berries. If your syrup seems thinner than expected, remember that it will still be useful in tea, smoothies, yogurt, or on waffles. If it is thicker, a small spoonful of warm water can make it easier to pour.


Fresh, Frozen, and Dried Berries Compared
Fresh berries are my favorite for flavor and timing, but they are not the only workable choice. Frozen berries are practical when the harvest is finished, and dried berries are useful when you want an ingredient that can wait in the pantry.
Fresh elderberries
- Excellent flavor and a bright, fresh character
- Convenient during harvest season
- Need to be used or frozen fairly quickly


Frozen elderberries
- Convenient when berries are out of season
- Easy to store for a longer period
- Become softer during cooking, which does not matter once they are strained
Dried elderberries
- Longer shelf life and simple pantry storage
- Helpful when fresh fruit is unavailable
- Need enough liquid and cooking time to release their flavor
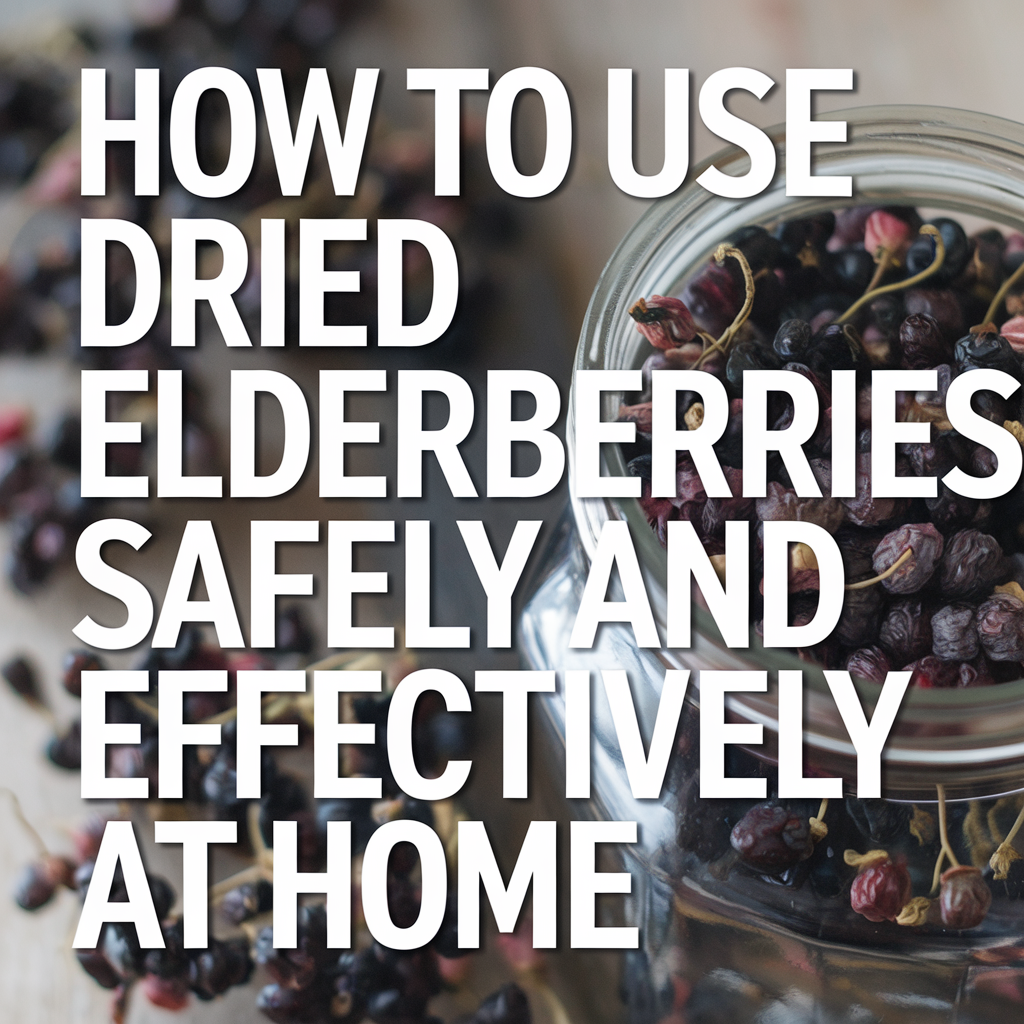
If fresh berries are not available, How to Use Dried Elderberries Safely and Effectively at Home explains how to prepare another convenient option correctly. When you want a pantry-friendly ingredient, The Best Dried Organic Elderberries You Can Buy offers a practical alternative, while Dried Elderberries — Everything You Need to Know Before You Buy and Use Them covers quality markers and safe use for dried berries.
Frozen berries can go straight into the saucepan. There is no need to thaw them first, and skipping that step makes the process faster without changing the basic recipe.


How to Adjust the Flavor
The recipe above gives you a balanced starting point, but homemade syrup does not need to taste identical in every kitchen. Ginger brings warmth, cinnamon gives it a familiar spiced flavor, and cloves add a strong note that can easily take over if you use too much.
If you like a sharper ginger flavor, use fresh slices instead of dried ginger. If cloves are not your favorite, reduce them rather than abandoning the whole recipe. The same goes for honey. One cup produces a sweet syrup, but the amount can be adjusted to taste once the liquid has cooled.
Do not taste raw elderberries while making adjustments. Taste the cooked, strained liquid, and remember that the final flavor will change slightly once honey is mixed in. A clean spoon is a small detail, but it keeps you from repeatedly dipping into the storage jar.
How to Store Homemade Syrup
Pour the finished syrup into a clean, sealed jar or bottle and keep it refrigerated. I usually use a batch within a few weeks, but the syrup may last up to 2–3 months in the refrigerator when stored properly. Check the smell, appearance, and texture before using it, and discard it if anything seems off.
Do not leave the finished syrup sitting on the counter for days. Homemade mixtures do not have the same standardized processing and preservatives as commercial products. Clean containers, refrigeration, and sensible labeling are your friends here.
Write the preparation date on the jar. That sounds obvious until you find three dark bottles in the back of the refrigerator and cannot remember which one is the newest. The FAQ also answers common questions about refrigerated storage and freezing.
Freezing is another useful option. Pour the syrup into silicone ice cube trays, freeze it, and transfer the solid cubes to a labeled freezer container. A cube can thaw in a spoon or be stirred into warm water or tea. Leave a little room if you freeze syrup in a jar because liquids expand.


When to Make a Batch
Late summer through early fall is the sweet spot in my experience. That is when elderberries are often ripe and available, whether you are harvesting them yourself or finding them at a local farmer’s market or herbal shop.
I try to make a larger batch before the busy part of fall arrives, usually around mid to late September. Having it prepared before the first sniffles is much easier than trying to cook, strain, and bottle syrup while everyone in the house is already asking what is for dinner.
If the timing does not work out, dried berries or powder can still be used. The important thing is not to rush questionable fruit into the pot simply because the calendar says it is time.
Ways to Use the Finished Syrup
In my home, syrup is not limited to one season. I use it as part of our daily wellness routine, although I do not treat it as a substitute for medical advice or a guarantee that nobody will get sick.
- Adults in my household use about 1 tablespoon daily for general immune support.
- For children, I use much smaller amounts and check with a pediatrician first.
- A spoonful can be mixed into warm tea or lemon water.
- It can be stirred into a smoothie.
- It works as a sweet topping for yogurt or waffles.

Warm, not boiling, tea is my favorite way to use it. The syrup adds sweetness and spice without requiring another complicated recipe. If you prefer something chewable instead of a spoonful, my full review of these elderberry gummies may be more convenient.
Important Safety Rules
Elderberries should not be eaten raw. Raw berries, along with other parts of the plant, can contain compounds that may cause nausea, vomiting, or more serious digestive upset. Thorough cooking is not an optional finishing touch in this recipe. It is part of the basic preparation.
- Do not eat fresh elderberries raw.
- Cook the berries thoroughly before consuming them.
- Remove stems, leaves, and unripe or damaged berries.
- Use correctly identified elderberries, especially when foraging.
- Do not give honey-containing syrup to children under 1 year old.
- Ask a healthcare professional about use for young children, pregnancy, chronic conditions, or medication concerns.
Foraged berries deserve particular caution. Black elderberry, including Sambucus nigra, should not be confused with a lookalike plant. If you are uncertain about identification, do not use the harvest. A trusted source or a reliable prepared product is a better choice than guessing. When I am short on time, I use options such as these gummies on Amazon, Viva Naturals Organic Elderberry Gummies.
What I Give Children and What I Skip
This is one area where I am careful. I do not give elderberry syrup to babies under 1 because the recipe contains honey. For toddlers over 1, I start with ½ teaspoon during cold season. My older children, 5 and up, use 1 teaspoon when needed.
Those are the amounts and ages that work for us, not a universal prescription. Children vary, products vary, and homemade syrup does not have a standardized dose printed on every batch. Always check with a pediatrician before giving it to a child, especially if the child has a medical condition or takes medication. Parents considering regular use can also review daily elderberry use in children before deciding what is appropriate for their child.
For families who prefer a simpler option, these sugar-free elderberry gummies for kids can be easier to manage. My kids actually ask for them, which is a considerable improvement over chasing someone around the kitchen with a spoon.
Where It Fits in a Bigger Routine
Elderberry syrup is one part of my natural toolkit, not the solo hero of the household. We still try to get enough sleep, drink plenty of water, eat whole foods, and limit sugar when we can. Some days that routine looks impressive. Other days it looks like coffee and a rushed breakfast, but the goal remains.
- Prioritize sleep whenever possible.
- Keep water easy to reach.
- Eat regular meals with whole foods.
- Use supplements such as zinc and vitamin C only as appropriate for your household.
- Keep added sugar in check, perhaps with help from the sugar-free kid gummies.
The syrup works best for me as one small, enjoyable habit inside that bigger picture. It is not a replacement for seeing a doctor, treating a serious illness, or paying attention to symptoms that need proper care.
Common Mistakes That Ruin a Batch
The recipe itself is simple, but a few avoidable mistakes can make the process frustrating.
- Skipping sorting. Stems, leaves, and unripe berries do not belong in the finished syrup.
- Adding honey too soon. Let the strained liquid cool to lukewarm first.
- Using a dirty container. Wash and dry the storage jar before filling it.
- Forgetting the date. Label the jar so you know how long it has been refrigerated.
- Thawing frozen berries unnecessarily. Add them directly to the pan.
- Cooking too aggressively. A steady simmer is easier to control than a violent boil that quickly evaporates the water.
- Guessing about a wild plant. If identification is uncertain, do not use it.
These are small details, but they make the recipe more repeatable. Homemade food does not need to be complicated to deserve careful handling.
Why I Keep Making It
After trying plenty of natural remedies, elderberry syrup remains one of the few that I continue to make because it is practical. Fresh berries, water, spices, and honey become something the whole family can use in several ways. I know what is in the jar, I can control the sweetness, and I do not have to pay store prices for every bottle.
The process is also less intimidating than it first appears. Prepare the berries carefully, cook them thoroughly, strain the liquid, cool it before adding honey, and refrigerate the finished syrup. That is the whole rhythm of it.
If you have been wondering how to prepare a homemade batch with fresh berries, it is simpler than you might expect and worth doing when the ingredients are available. On busy days, I still appreciate a shortcut, which is why I also keep the organic elderberry gummies I reviewed here nearby for convenient daily support.