
One of the questions I hear every harvest season is surprisingly simple.
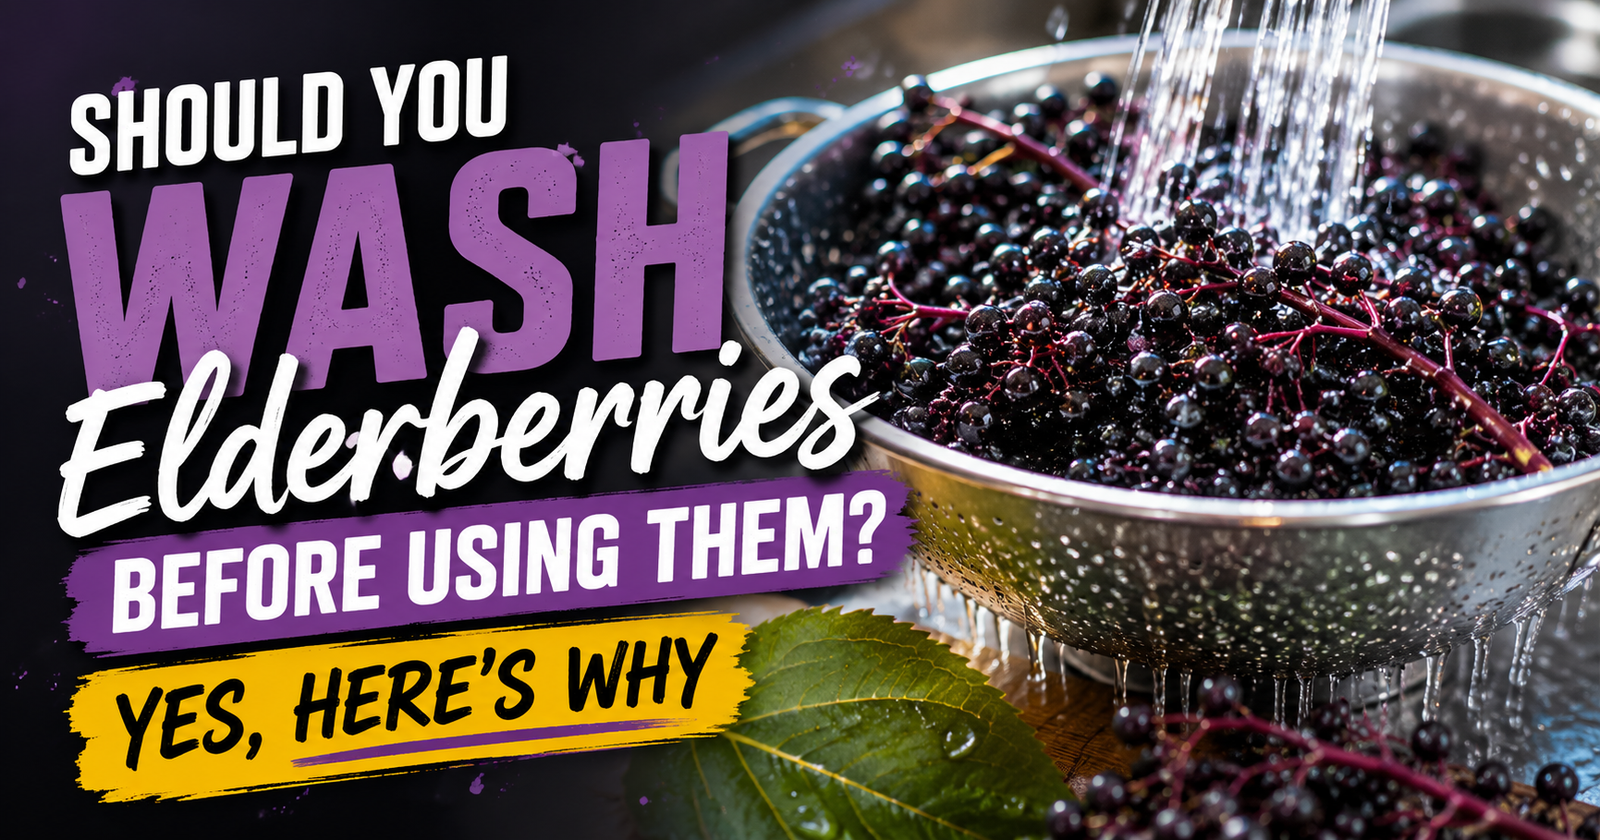
Should you wash elderberries before using them?
The answer is yes.
Whether you’re planning to make elderberry syrup, jelly, wine, tea, or another homemade recipe, washing fresh elderberries is one of the first things you should do. Even berries growing in your own backyard can collect dirt, insects, pollen, bird droppings, and other debris that you don’t want ending up in your finished recipe.
The good news is that cleaning elderberries doesn’t take very long, and you don’t need any fancy produce washes or special equipment. A few simple steps are usually all it takes to prepare your berries for cooking.
Here’s exactly how I clean elderberries every time I harvest them.
Why Fresh Elderberries Should Always Be Washed
Unlike berries from the produce section at your local grocery store, elderberries are often harvested directly from bushes growing outdoors.
That means they’ve been exposed to everything happening in the environment.
Depending on where your elderberries are growing, they may have:
- Dust from gravel roads
- Bird droppings
- Tiny insects
- Spiders
- Pollen
- Wind-blown dirt
- Leaf fragments
- Small pieces of stem
Even if your berries look perfectly clean, there’s usually more hiding among the clusters than you realize.

A thorough rinse helps remove much of this surface debris before you begin cooking. Once the berries are clean, put them to use in this fresh elderberry syrup recipe: How to Make Elderberry Syrup from Fresh Elderberries (DIY Guide).



Washing Doesn’t Make Raw Elderberries Safe To Eat
This is one of the biggest misunderstandings I see.
Some people assume that if they’ve washed their elderberries well enough, they’re ready to eat fresh.
Unfortunately, that’s not how it works.
Washing removes dirt and debris. For the separate safety concerns around eating elderberries raw, raw elderberry safety information explains why they must be cooked properly.
It does not remove the naturally occurring compounds found in elderberries and other parts of the plant.

If you’re wondering whether fresh elderberries can be eaten straight from the bush, be sure to read Can You Eat Fresh Elderberries? Here’s What to Know First before sampling your harvest.
My Simple Method For Washing Elderberries
After years of harvesting elderberries, I’ve settled on a routine that’s quick, easy, and works well.
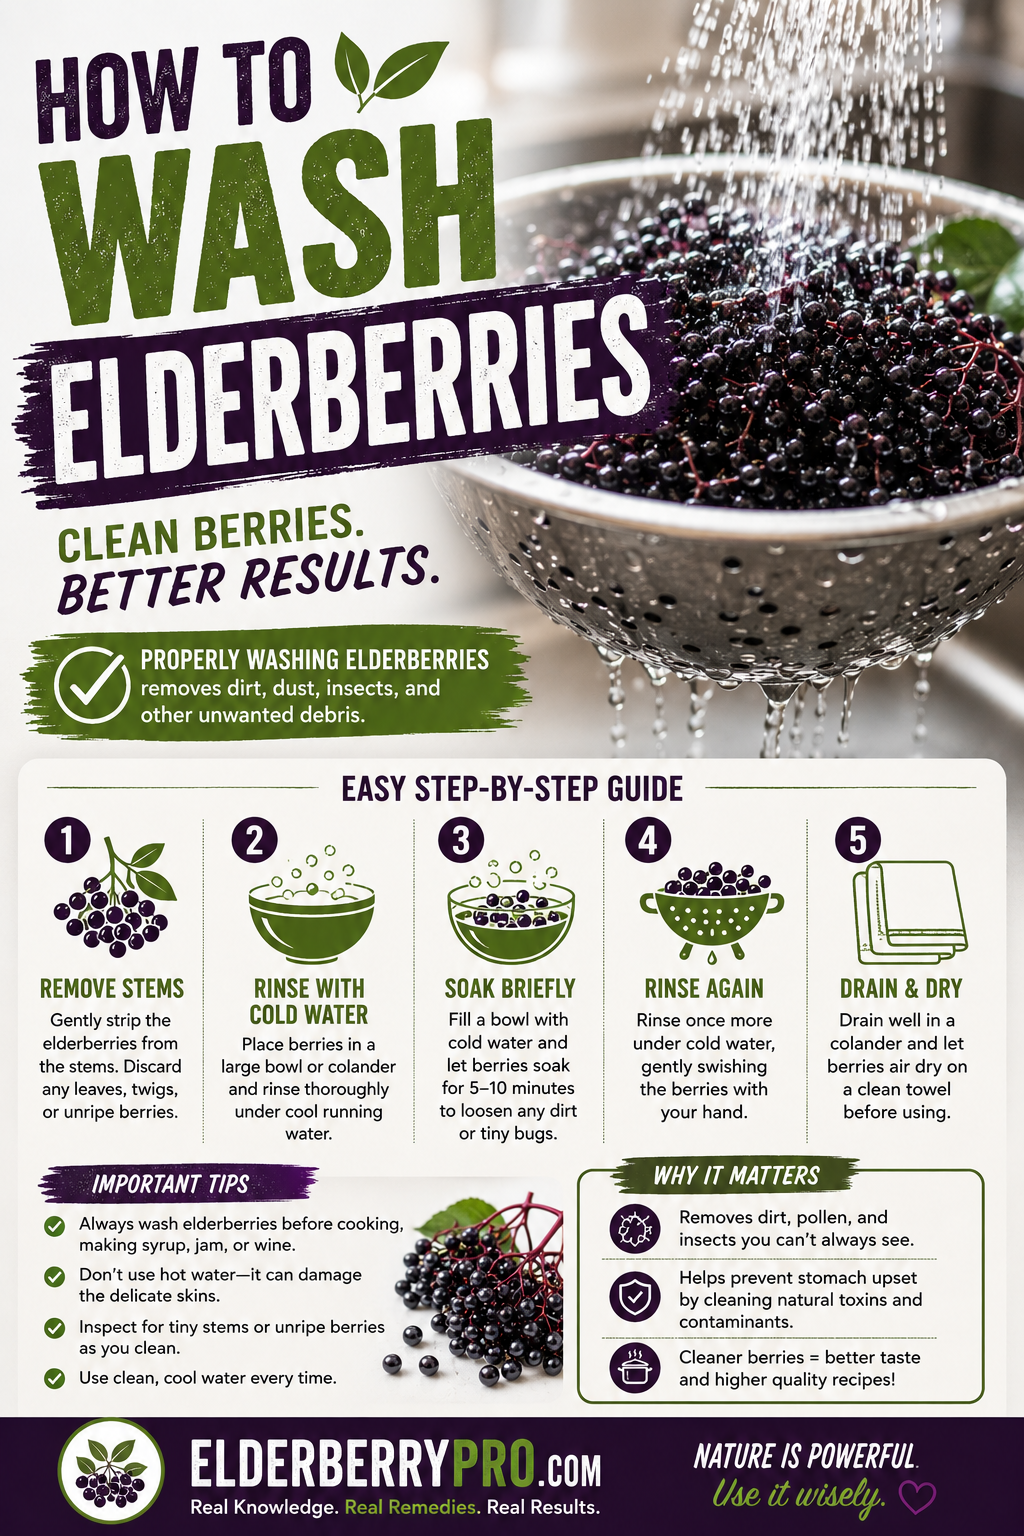
Step 1: Inspect The Clusters
Before I even turn on the faucet, I take a close look at each cluster.
I remove:
- Dead leaves
- Broken branches
- Damaged berries
- Moldy berries
- Large insects
Doing this first makes washing much easier.
Step 2: Rinse Under Cool Running Water
Next, I hold each berry cluster under cool running water.
Rather than blasting the berries with high pressure, I gently rotate the cluster with my hands while the water rinses away dirt and loose debris.
Ripe elderberries are delicate, so there’s no need to scrub them.
Step 3: Remove The Berries From The Stems
Once the clusters have been rinsed, I begin removing the berries.
I usually use a dinner fork to gently pull the berries from the stems.
This method works surprisingly well and helps remove most of the berries without crushing them.
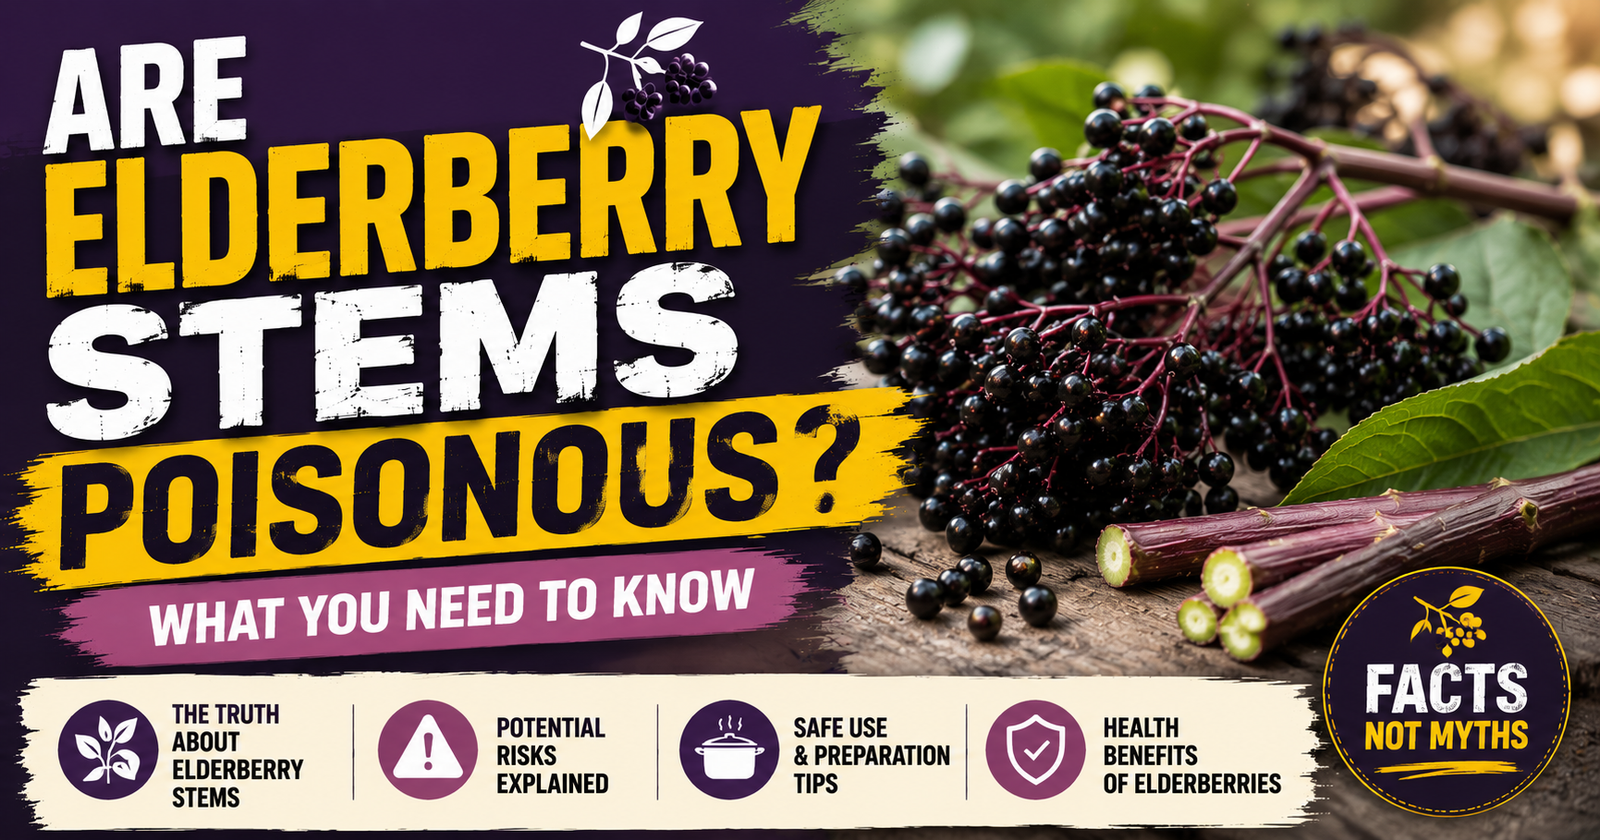
If you’ve ever wondered why recipes emphasize this step, read Are Elderberry Stems Poisonous? What You Need to Know. Removing stems isn’t just about improving texture. It’s also an important part of preparing elderberries safely.
Step 4: Sort Through The Berries One More Time
After the berries have been removed from the stems, I spread them out and give them one final inspection.
This is when I remove:
- Green berries
- Bright red berries
- Crushed berries
- Remaining stem pieces
- Leaf fragments
It only takes a few minutes, but it makes a noticeable difference in the finished product.
Should You Soak Elderberries?
In most cases, I don’t.
A quick rinse is usually all that’s necessary.
Long soaking times can make ripe elderberries soft and messy, especially if you’re working with berries that are already fully mature.
If the berries are particularly dirty after a rainy harvest, a short soak followed by another rinse is usually enough.


Should You Use Soap Or Produce Wash?
No.
Plain, cool water is the best choice.
Soap, detergents, or household cleaners are not meant for fresh fruit and can leave unwanted residues behind.
A gentle rinse under running water is generally all that’s needed.
What About Wild Elderberries?
I actually pay even more attention when harvesting wild elderberries.
Wild plants often grow near:
- Fence rows
- Creek banks
- Gravel roads
- Pastures
- Woodland edges
These environments can expose the berries to additional dirt, dust, insects, and animal activity.
That’s another reason washing becomes such an important first step.
Before harvesting any wild berries, make sure you’ve correctly identified the plant.

I recommend reading How to Identify Elderberry: The Complete Field Guide to Getting It Right Every Time and Pokeweed Looks Like Elderberry? That’s a Dangerous Problem if you’re new to foraging.



Washing Is Only Part Of Safe Preparation
Cleaning your berries is important, but it’s only one part of preparing elderberries properly.
You should also:
- Harvest only fully ripe berries.
- Remove as many stems as possible.
- Discard green or unripe berries.
- Cook the berries thoroughly before consuming them.
These steps work together to produce better tasting and safer elderberry recipes.

If you’re harvesting your own berries, you’ll also find When to Harvest Elderberries: Timing, Signs of Ripeness, and How Not to Ruin Your Batch helpful.
Should You Wash Dried Elderberries?
Generally, no.
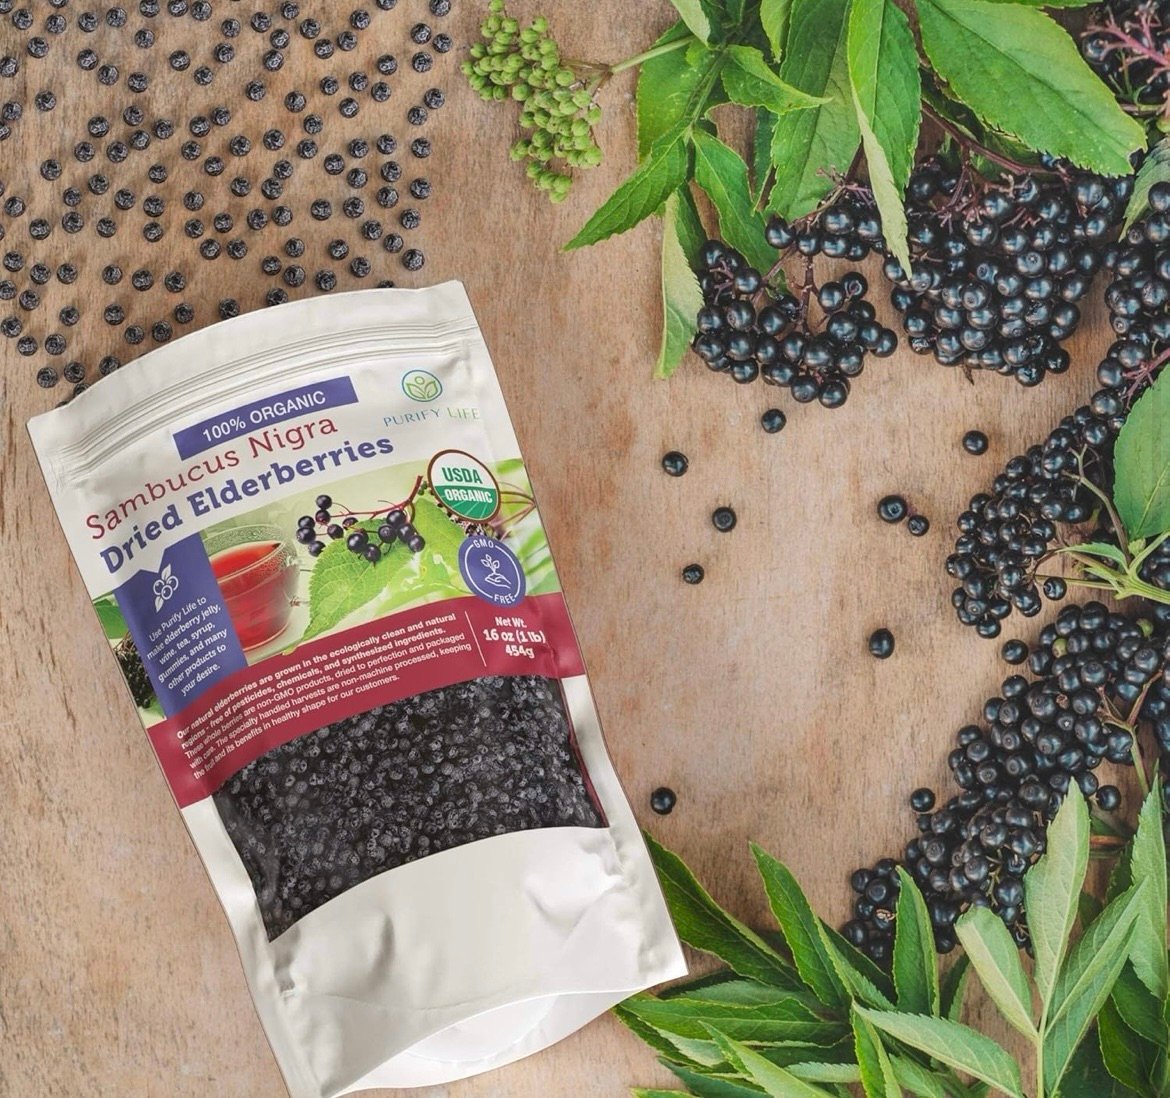
Commercial dried elderberries have already gone through cleaning during processing.
Instead of washing them, you’ll typically add them directly to your recipe and allow them to rehydrate while cooking.

If you’re deciding between fresh and dried berries, check out Dried Elderberries: Everything You Need to Know Before You Buy and Use Them.
Can You Wash Elderberries Too Early?
You can.
If you aren’t planning to use your fresh elderberries immediately, I recommend waiting until just before you’re ready to cook them.
Washing adds moisture, and extra moisture can encourage mold growth during storage.
I usually keep freshly harvested clusters dry in the refrigerator and wash them the day I’m ready to make syrup or another recipe.
One Mistake I See Every Harvest Season
The biggest mistake isn’t forgetting to wash the berries.
It’s rushing through the entire preparation process.
People get excited after finding a beautiful elderberry patch and immediately start cooking.
They skip sorting.
They leave stems attached.
They don’t remove unripe berries.
A little extra patience at the beginning almost always leads to a much better final product.

A Few Minutes Of Cleaning Is Time Well Spent
Washing elderberries isn’t complicated, but it’s one of the easiest ways to improve the quality of every recipe you make.
A gentle rinse removes dirt and insects, while careful sorting helps eliminate stems, leaves, and unripe berries before they ever reach your cooking pot.
Combined with proper cooking, these simple preparation steps help you get the most out of every harvest while following the same methods experienced elderberry growers have trusted for generations.
Author
Sarah Whitmore
Sarah Whitmore is an herbal enthusiast, backyard grower, and independent researcher who has spent years growing elderberries, preparing homemade elderberry recipes, and researching traditional methods of harvesting and preserving medicinal plants. Through Elderberry Pro, she shares practical growing advice, safety information, recipes, and research-backed guides to help readers confidently enjoy elderberries from garden to kitchen.