
Harvesting elderberries at the wrong time ruins the batch and can make you sick. Here’s exactly when to pick, what ripe looks like, and how to harvest correctly.
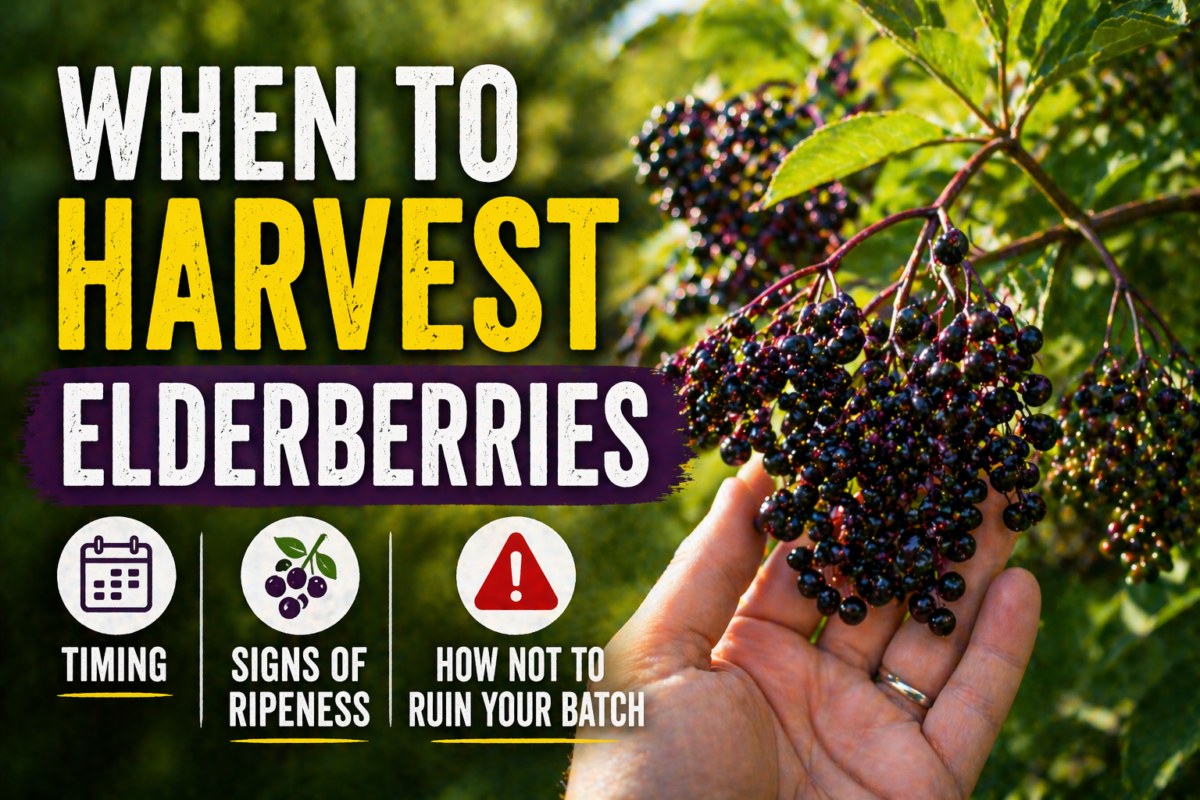
Key Takeaways
- Elderberries ripen late summer to early fall — typically August through October depending on location and variety
- Never harvest red or partially purple elderberries — unripe berries cause illness and are more toxic than ripe ones
- The whole cluster ripens together and should be harvested as a complete cluster, not berry by berry
- Birds are your best ripeness indicator — when they start paying serious attention, your window is open
- Harvest in the morning when berries are cool and dry — this extends shelf life significantly
- Ripe elderberries must still be cooked before consuming — ripeness doesn’t eliminate the need to cook
There’s a narrow window between elderberries being unripe and the birds having eaten every last one.
Miss the early edge of that window by picking too soon and you’ll end up with berries that are more toxic than they should be and taste terrible. Miss the late edge by waiting too long and you’ll be watching an empty cluster where a beautiful harvest used to be.
Getting the timing right is one of the most important skills in elderberry harvesting — and once you know the signs, it becomes second nature. Here’s everything you need to know.


When Do Elderberries Ripen — The General Timeline
Elderberry ripening follows a consistent seasonal pattern that varies by location, elevation, and variety but falls within a predictable window:
Northern states and Canada: August through mid-September
Mid-Atlantic and Midwest: mid-August through late September
Southern states: July through September — earlier ripening due to warmer temperatures
Pacific Northwest: August through October
High elevation locations: later than surrounding lowland areas — sometimes September into October
Most elderberry growers and foragers mark late August as the start of harvest season in most of the continental United States. If you’re growing named cultivars — Bob Gordon, Nova, Adams, York — check variety-specific timing notes as some ripen earlier or later than wild-type plants.
The growing guide with variety-specific information: How to Grow Elderberries at Home — What Nobody Tells You Before You Plant
How to Tell If Elderberries Are Ripe — The Signs to Look For
Color — The Primary Indicator
Ripe elderberries are deep purple-black. Not red. Not partially purple. Not dark purple with some red still showing. Deep, uniform purple-black throughout the entire cluster.
The ripening process follows a clear visual progression:
Stage 1 — Green: hard, fully unripe, highly toxic. Do not harvest under any circumstances.
Stage 2 — Red: partially developed, still toxic, do not harvest. Many people mistakenly think red elderberries are a different safer variety. They are not — they are unripe black elderberries that need more time.
Stage 3 — Mixed purple and red: approaching ripeness but not there yet. Individual berries within the cluster ripen at slightly different rates. If significant red is still visible in the cluster, wait.
Stage 4 — Deep purple with slight red remaining: close. Check again in a few days.
Stage 5 — Deep uniform purple-black throughout: ripe. Harvest now.
The color change from red to purple-black happens relatively quickly once it starts — often within a week or two. Check your plants every few days once you start seeing color development.
Texture and Give
Ripe elderberries have a slight give when gently squeezed — not mushy, but no longer rock hard. They should feel like a very small, firm grape at peak ripeness. Berries that crush immediately under light pressure are overripe. Berries with no give at all need more time.
The Hang and Weight of the Cluster
A fully ripe elderberry cluster is heavy. The combined weight of hundreds of small ripe berries causes the cluster stems to droop slightly under the load. A ripe cluster looks abundant and full — the berries are plump and closely packed.
Unripe clusters sit more upright and look less full — the berries are smaller and harder. The visual difference between an unripe cluster sitting stiffly upright and a ripe cluster drooping slightly under its own weight is noticeable once you’ve seen both.
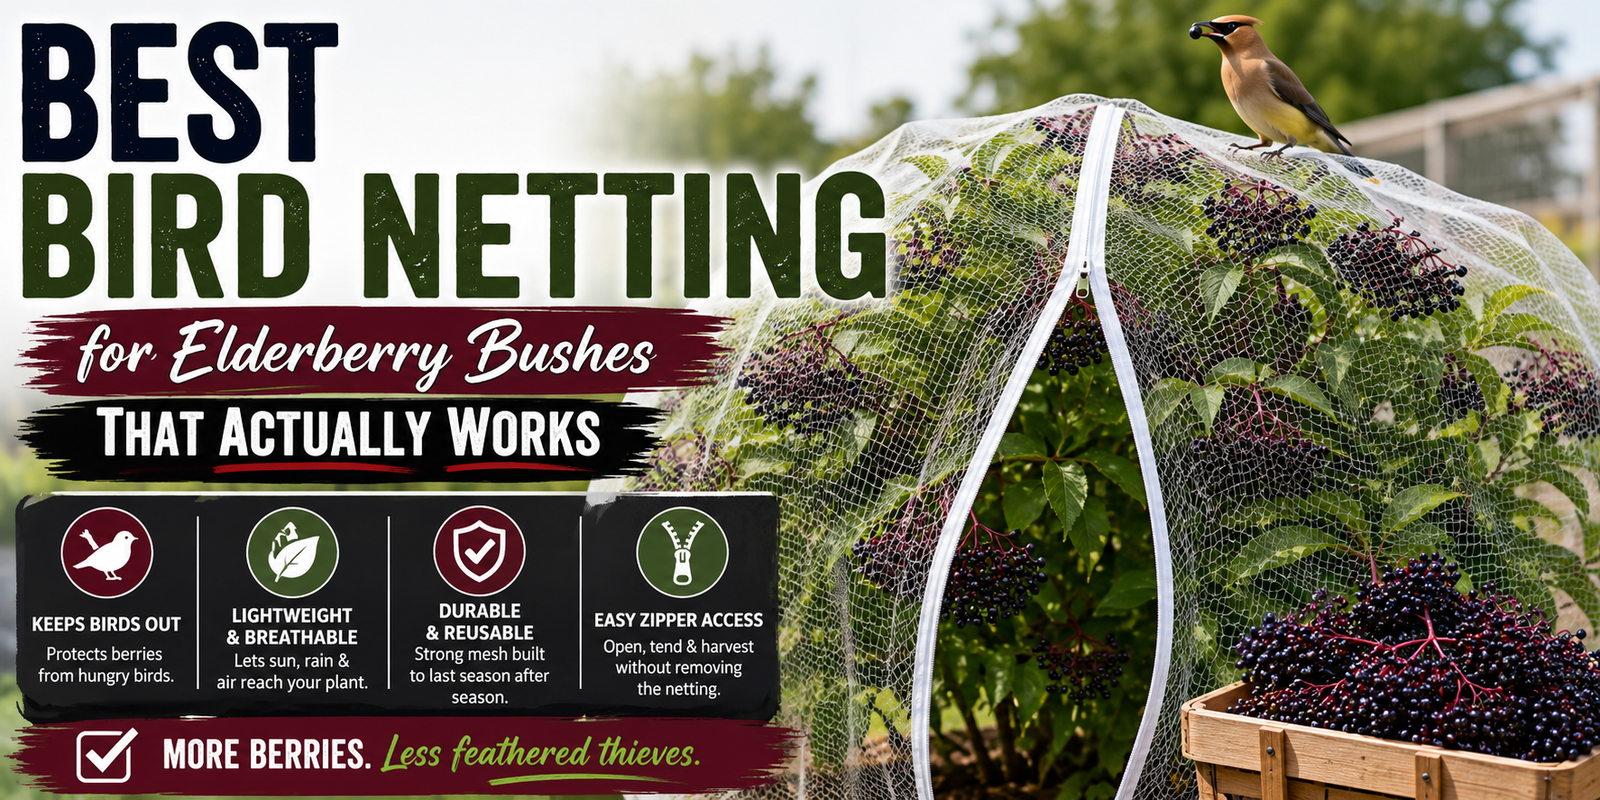
The Bird Test — Nature’s Ripeness Indicator
This is the most reliable real-world ripeness signal and experienced elderberry growers pay close attention to it.
Birds — particularly cedar waxwings, robins, and starlings — monitor elderberry plants through the season. When the berries are approaching peak ripeness, birds will begin visiting the plants with increasing frequency and urgency. When you start seeing birds actively working your elderberry clusters, your harvest window has opened.
Do not wait for the birds to finish. They will strip a mature plant in days. The bird test tells you harvest time has arrived — it doesn’t give you unlimited time to get around to it.
If you don’t have bird netting over your plants when you first notice birds paying serious attention — get the netting on immediately or harvest as much as you can that day.
When During the Day Should You Harvest?
Morning harvesting is significantly better than afternoon or evening for several reasons.
Temperature: cool morning temperatures keep berries firm and reduce the rate of enzymatic breakdown that begins as soon as berries are removed from the plant. Berries harvested in afternoon heat deteriorate faster.
Moisture: morning dew has typically dried by mid-morning but before the heat of the day sets in. Harvesting completely dry berries reduces mold risk during storage.
Berry firmness: berries are at their firmest in cooler morning temperatures, making harvest and handling easier without crushing.
Aim for harvest after morning dew has dried but before temperatures peak — typically 9am to noon depending on your location and season.


How to Harvest Elderberries — The Right Method
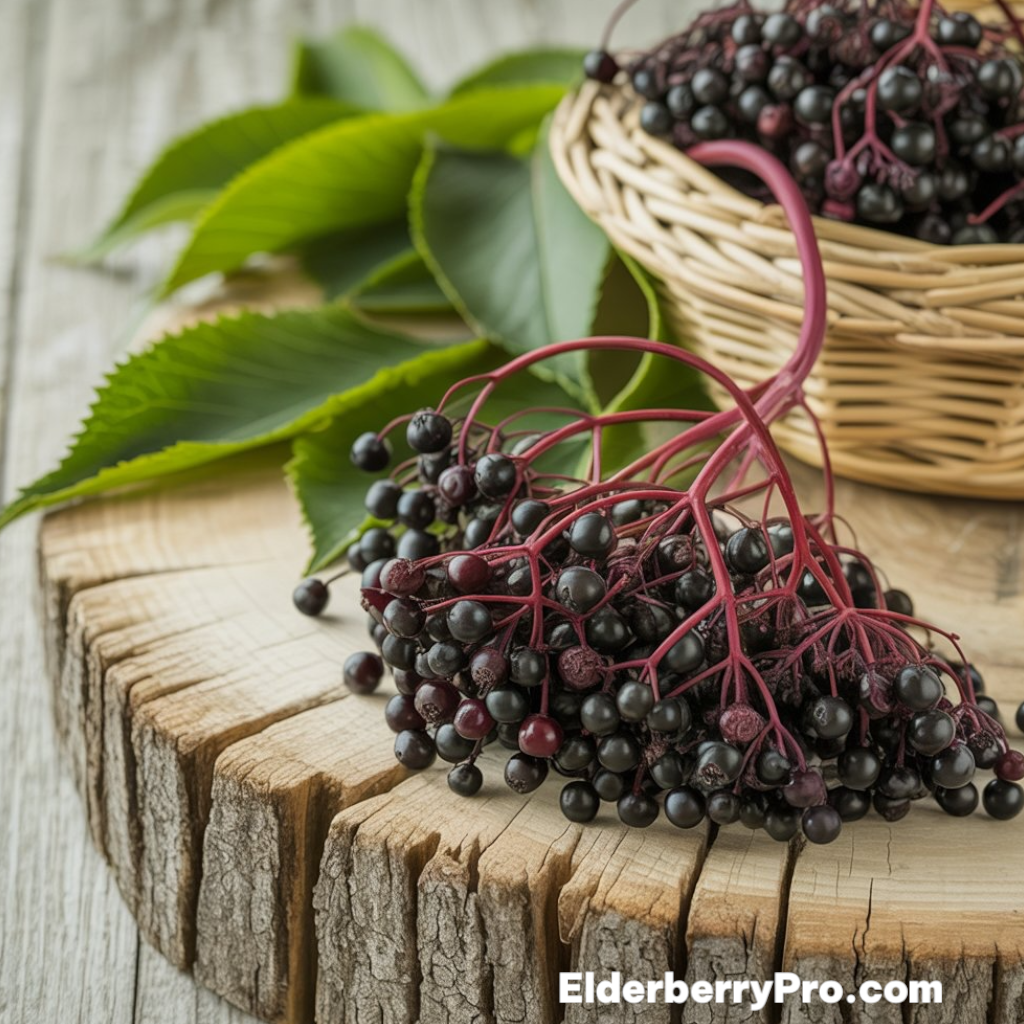
Harvest the Whole Cluster
Elderberries ripen as a cluster and should be harvested as a cluster. Do not try to pick individual berries off the stem — this takes forever, damages fruit, and isn’t necessary. Cut or snap the entire cluster stem where it attaches to the main branch.
Use sharp pruning shears, scissors, or a knife for clean cuts that don’t damage the plant. Rough tearing can introduce disease at the cut point.
Leave Some for Wildlife and Replanting
Elderberry is an important wildlife food source — birds, small mammals, and insects depend on it. If you’re harvesting from wild plants, take what you need and leave some clusters for wildlife. This isn’t just ethical — it also ensures the plant will be there next season and encourages seed dispersal that maintains wild elderberry populations.
Remove Stems Before Cooking — Not at Harvest
This is a common mistake that adds unnecessary work to the harvest. The stems are mildly toxic and bitter — you do want to remove them before cooking. But trying to strip individual berries from stems in the field while harvesting is inefficient and you’ll just bruise the berries.
Harvest the whole clusters into your container. Remove berries from stems later at home using a fork — run the tines of a fork down each small stem and the berries pop off cleanly and quickly. This takes far less time than picking in the field.
What to Harvest Into
Wide, shallow containers work better than deep buckets for elderberries — the weight of berries piled deep crushes the bottom layers. Shallow trays, wide bowls, or baskets with a flat bottom spread the weight and keep berries intact.
Avoid plastic bags — they trap moisture and heat that accelerates deterioration. Rigid containers with airflow are better.

What To Do Immediately After Harvesting
One question I get every year is what to do once the berries are finally picked. I try not to let fresh elderberries sit around any longer than necessary because they lose quality surprisingly fast. If I’m making syrup that day, I clean them and get started. If not, I freeze them for later. I explain my entire process in my guides on keeping fresh elderberries from spoiling and freezing elderberries for future recipes. Those two habits have saved more harvests than I can count.
How Many Elderberries Can You Expect Per Plant?
Yield varies significantly by plant age, variety, soil quality, and conditions: Plant Age Expected Yield Per Plant Year 1 0 — remove any flower clusters, let plant establish Year 2 Small harvest — 1–3 lbs if flowering Year 3 Real harvest begins — 5–8 lbs Year 4–5 Full production — 10–15 lbs Mature established plant 12–15+ lbs per season
Named cultivars selected for production — Bob Gordon, Nova, York — consistently outperform wild-type plants. Two plants of different varieties planted within 60 feet of each other for cross-pollination can yield 25–30 lbs combined at full maturity.
For buying plants selected for strong production: American Elderberry Plants — Weaver Family Farms Nursery


What to Do With Elderberries Immediately After Harvest
Use Fresh Within 1–2 Days
Fresh elderberries deteriorate quickly at room temperature. Use within 1–2 days of harvest or process/store immediately.
Refrigerate for Up to 1 Week
Unwashed elderberries in a shallow container, loosely covered, in the refrigerator. Do not wash before refrigerating — moisture accelerates mold. Wash immediately before use.
Freeze for Up to 12 Months
Freezing is the best way to preserve a large harvest for use throughout the year. Freeze on the stem — don’t try to strip berries before freezing. Spread clusters on a baking sheet in a single layer and freeze until solid (2–3 hours), then transfer to airtight freezer bags. Frozen berries strip from stems more easily than fresh after thawing — a bonus side benefit of freezing.
Frozen elderberries work identically to fresh in syrup, jelly, wine, and tea recipes. The freeze-thaw process actually helps break down cell walls slightly, improving juice extraction.
Dry for Long-Term Storage
Dried elderberries last 12–18 months and are the most shelf-stable preservation option. Use a food dehydrator at 125°F for 18–24 hours or a very low oven (150°F) with the door slightly ajar. Strip from stems before drying. Store in an airtight glass container away from light and heat.
For everything about using dried elderberries: Dried Elderberries — The Mistake Almost Everyone Makes

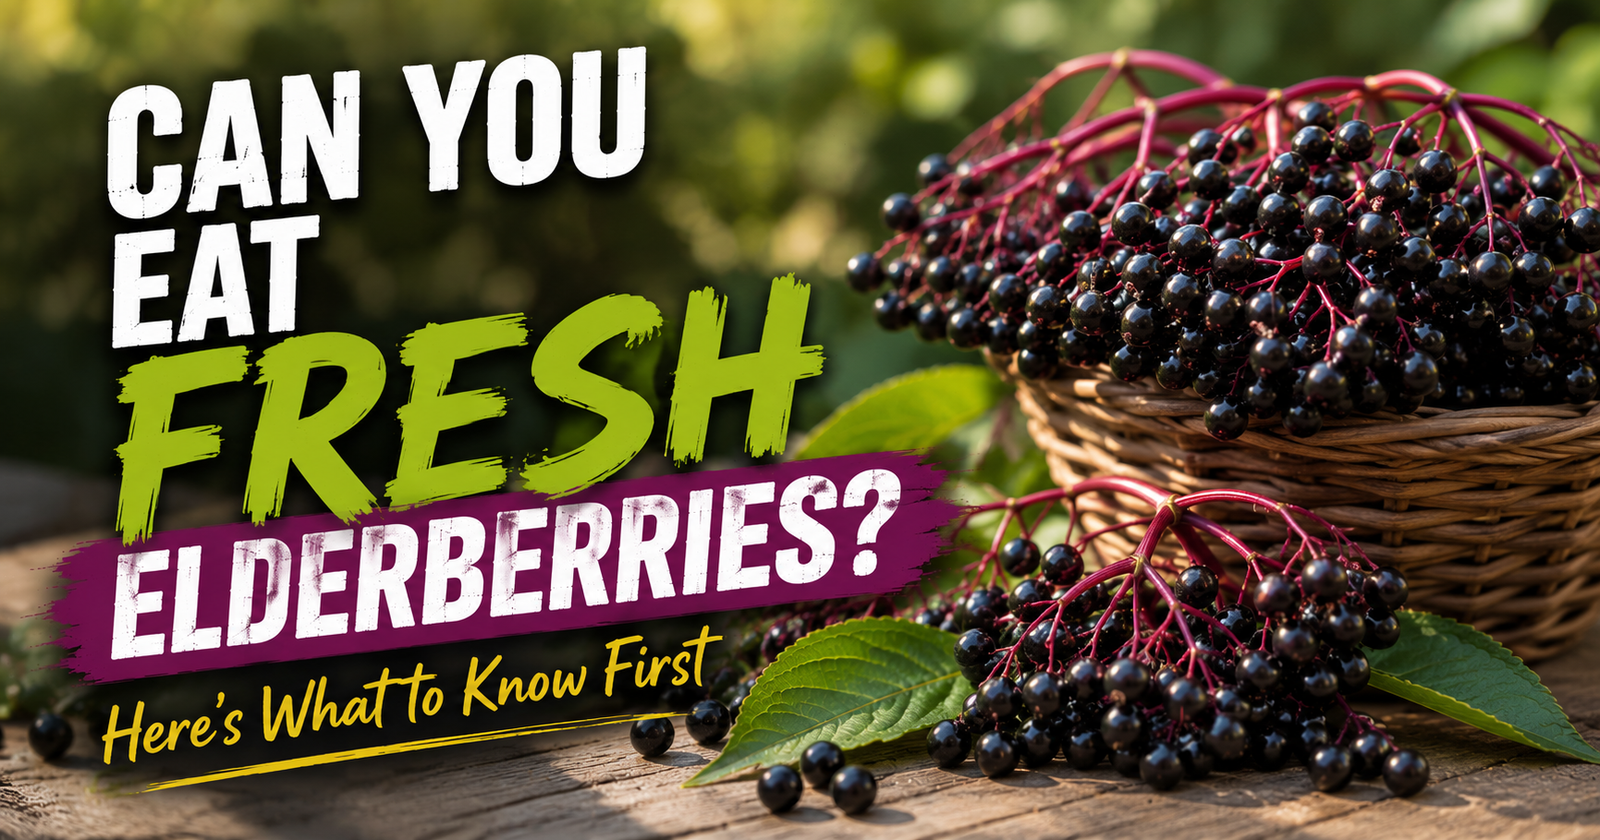
Don’t Forget — Ripe Doesn’t Mean Raw-Safe
This is the most important reminder in this entire article.
Ripe elderberries must still be cooked before consuming. Ripeness determines when the berries are ready to harvest — it does not eliminate the cyanogenic compounds that make raw elderberries toxic.
Raw ripe elderberries will still cause nausea, vomiting, and stomach cramping if eaten directly off the plant. The compounds are present in ripe berries — just at lower concentrations than in unripe berries. Cooking for at least 15 minutes destroys these compounds completely.
Never eat elderberries raw, regardless of how ripe they are. Every preparation — syrup, jelly, wine, tea — involves cooking. The full explanation: Never Eat Elderberries Until You Read This


From Harvest to Kitchen — What to Make
Once you’ve harvested correctly the options are excellent:
Elderberry syrup — the most popular use. 45 minutes, stores 2–3 weeks refrigerated, more potent than any commercial product. How to Make Elderberry Syrup From Fresh Elderberries
Elderberry jelly — a beautiful deep purple jelly with complex flavor. How to Make Apple and Elderberry Jelly
Elderberry wine — a serious, tannic, genuinely impressive homemade wine. How to Make Elderberry Wine at Home
Elderberry gummies — syrup-based, kid-friendly, easy to dose. How to Make Elderberry Gummies at Home
Freeze for later — if the harvest overwhelms your immediate capacity, freeze it and decide what to make over the coming months.


Frequently Asked Questions
What month do you harvest elderberries?
Most of the United States: August and September. Northern regions and high elevations: sometimes into October. Southern states: July through September. Check your specific location and note when berries reach full purple-black color in your area — that’s your personal harvest calendar.
Can you pick elderberries when they are red?
No. Red elderberries are unripe and more toxic than ripe purple-black elderberries. Always wait for full deep purple-black color throughout the cluster before harvesting.
How do you know when elderberries are ready to pick?
Deep uniform purple-black color throughout the cluster, slight give when gently squeezed, heavy drooping clusters, and birds beginning to visit the plant regularly. Confirm all four for confident harvest timing.
Do you have to remove elderberry stems before making syrup?
Yes — stems are mildly toxic and bitter. The easiest method: freeze the clusters first, then strip frozen berries from stems using a fork. The berries pop off much more easily when frozen.
How long do fresh elderberries last after picking?
1–2 days at room temperature, up to 1 week refrigerated unwashed, up to 12 months frozen.
How many elderberries do I need to make syrup?
A standard batch of syrup (yielding about 16oz finished) requires approximately 3–3.5 cups of fresh elderberries. A productive mature plant yields enough for multiple batches per season.


August Is Elderberry Season — Don’t Miss It
The window is real and it moves fast. One week the clusters are still showing red. The next week they’re perfect. The week after that the birds have been through.
Mark your calendar for mid-August. Start checking your plants or your foraging spots. Watch for the color change, feel for the give, watch for the birds. When the moment comes — harvest decisively and process promptly.
A season’s worth of elderberry syrup, jelly, or wine starts with one good harvest morning. Don’t let it pass you by.
About the Author
Marcus Webb is a health science writer with a background in nutritional biochemistry and contributing writer at ElderberryPro.com. He has watched enough elderberry clusters get stripped by cedar waxwings to have strong opinions about harvest timing.
As an Amazon Associate we earn from qualifying purchases through some links in our articles.