
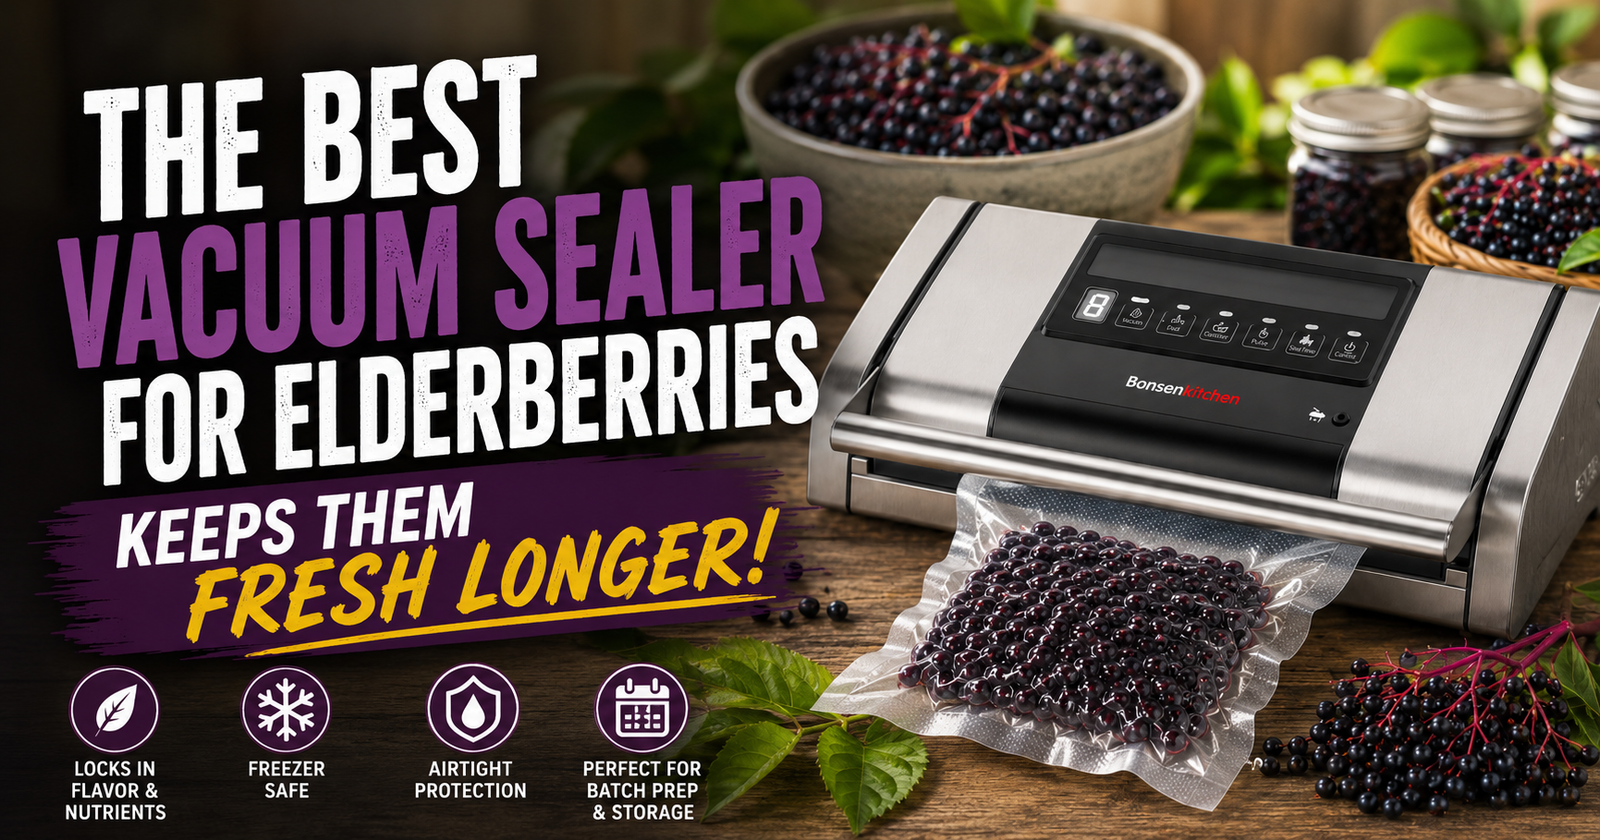
If you’ve ever spent an afternoon harvesting elderberries, you know how quickly they can pile up.
One minute you’re clipping a few ripe clusters, and before long you’ve got bowls, buckets, or bags full of berries waiting to be cleaned. Unless you’re planning on making gallons of elderberry syrup that same day, you need a good way to preserve them.
For years, I simply tossed freezer bags full of elderberries into the freezer and hoped for the best.
Sometimes it worked.
Sometimes it didn’t.
After opening a few bags months later, I found berries covered in freezer burn, ice crystals, and stale freezer odors. It wasn’t dangerous, but it definitely wasn’t the quality I wanted after putting in the work to harvest them.
That’s when I finally decided to buy a vacuum sealer.
Looking back, I honestly wish I had done it years sooner.
My Favorite Vacuum Sealer For Elderberries
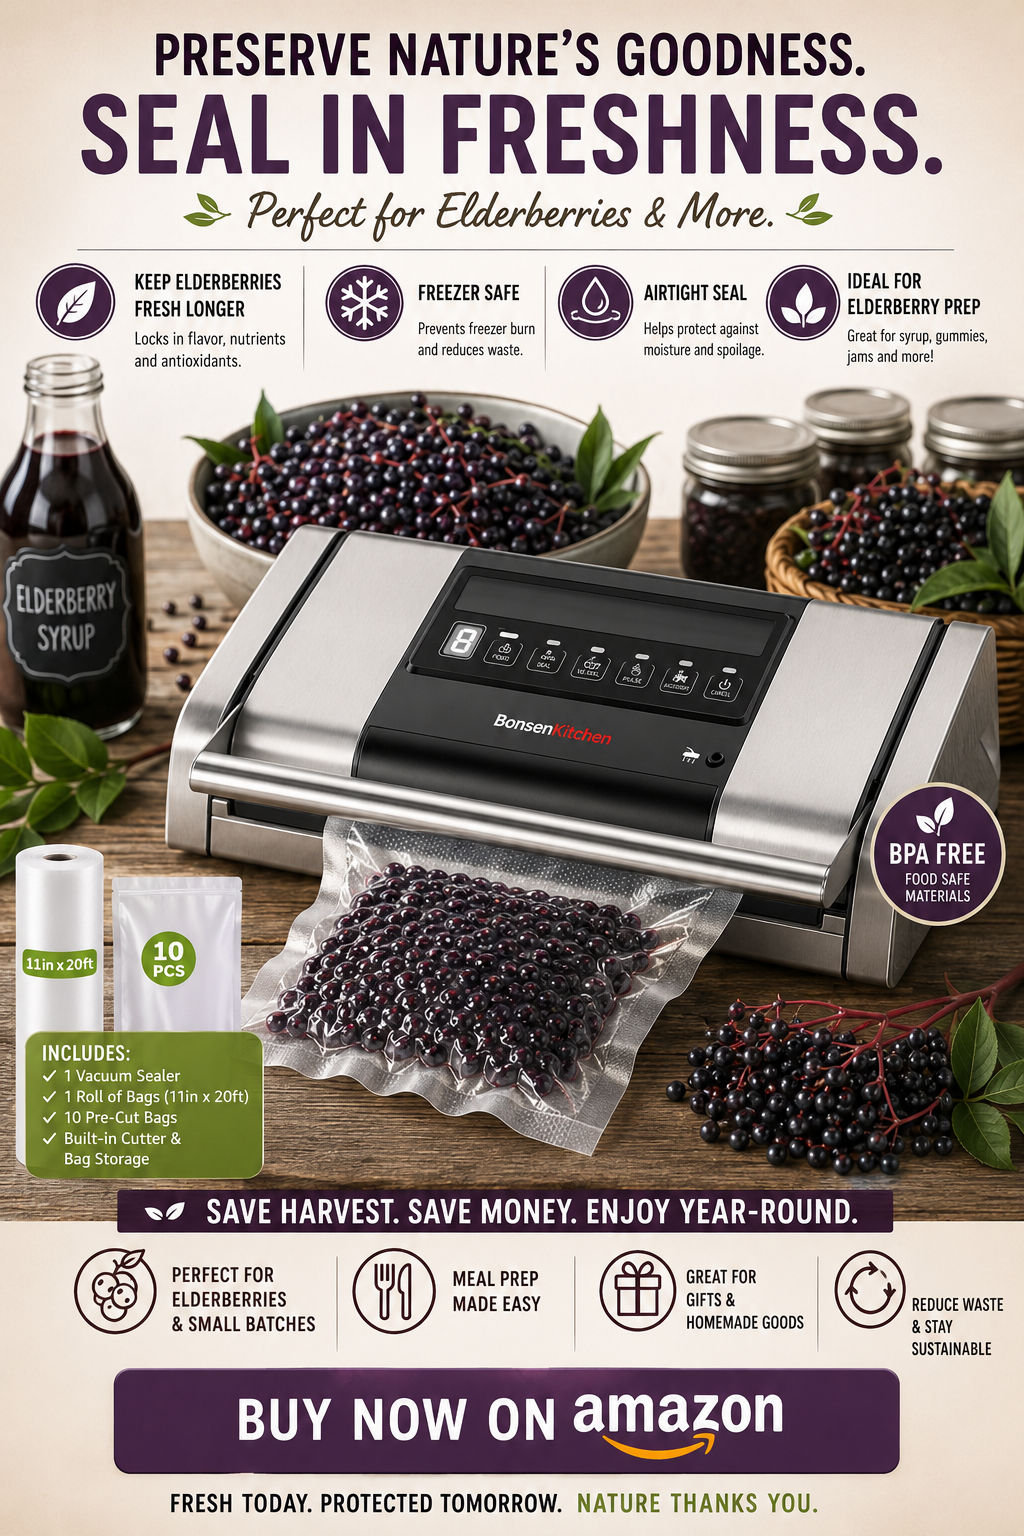
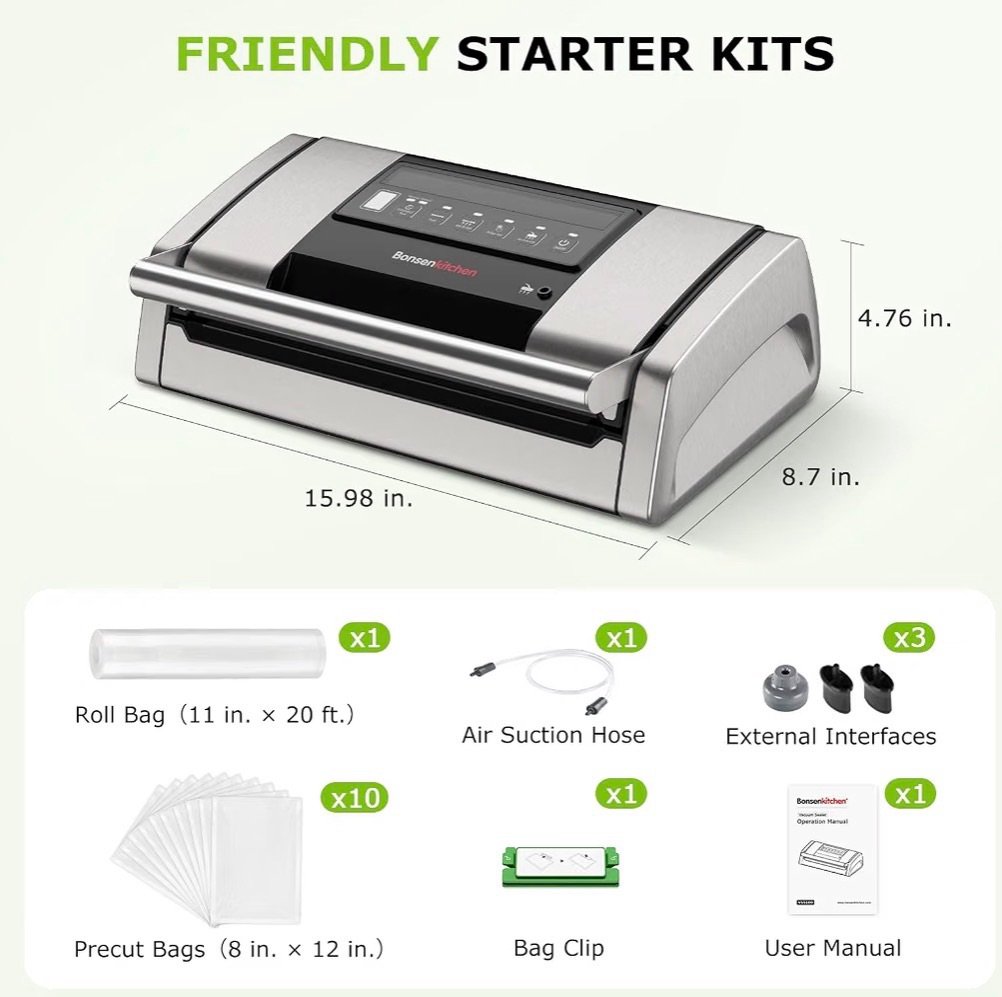
If you’re looking for a simple machine that gets the job done without spending a fortune, the one I recommend is the Bonsenkitchen Vacuum Sealer with Built-In Cutter and Bag Storage .
I like it because it’s easy to use, seals bags quickly, includes starter bags, and doesn’t take up much counter space. Since buying mine, I’ve used it for much more than elderberries.
It works great for:
- Fresh elderberries
- Frozen elderberries
- Garden vegetables
- Venison
- Chicken
- Fish
- Herbs
- Leftovers
Instead of being another kitchen gadget that collects dust, it’s become one of the appliances I use all year long.
Why I Started Vacuum Sealing Elderberries
The biggest problem with ordinary freezer bags is air.
Even if you squeeze most of it out by hand, plenty usually remains inside the bag.
Over time that trapped air can lead to:
- Freezer burn
- Frost buildup
- Dry berries
- Loss of flavor
- Shorter storage life
Vacuum sealing removes most of that excess air before the bag is sealed.
The difference becomes obvious when you compare berries stored for several months.



Fresh Elderberries Don’t Last Long
One lesson every new elderberry grower learns is that fresh berries have a fairly short shelf life.
Once harvested, they begin losing quality much faster than many other fruits.
That’s why I always have a storage plan before I even start picking.
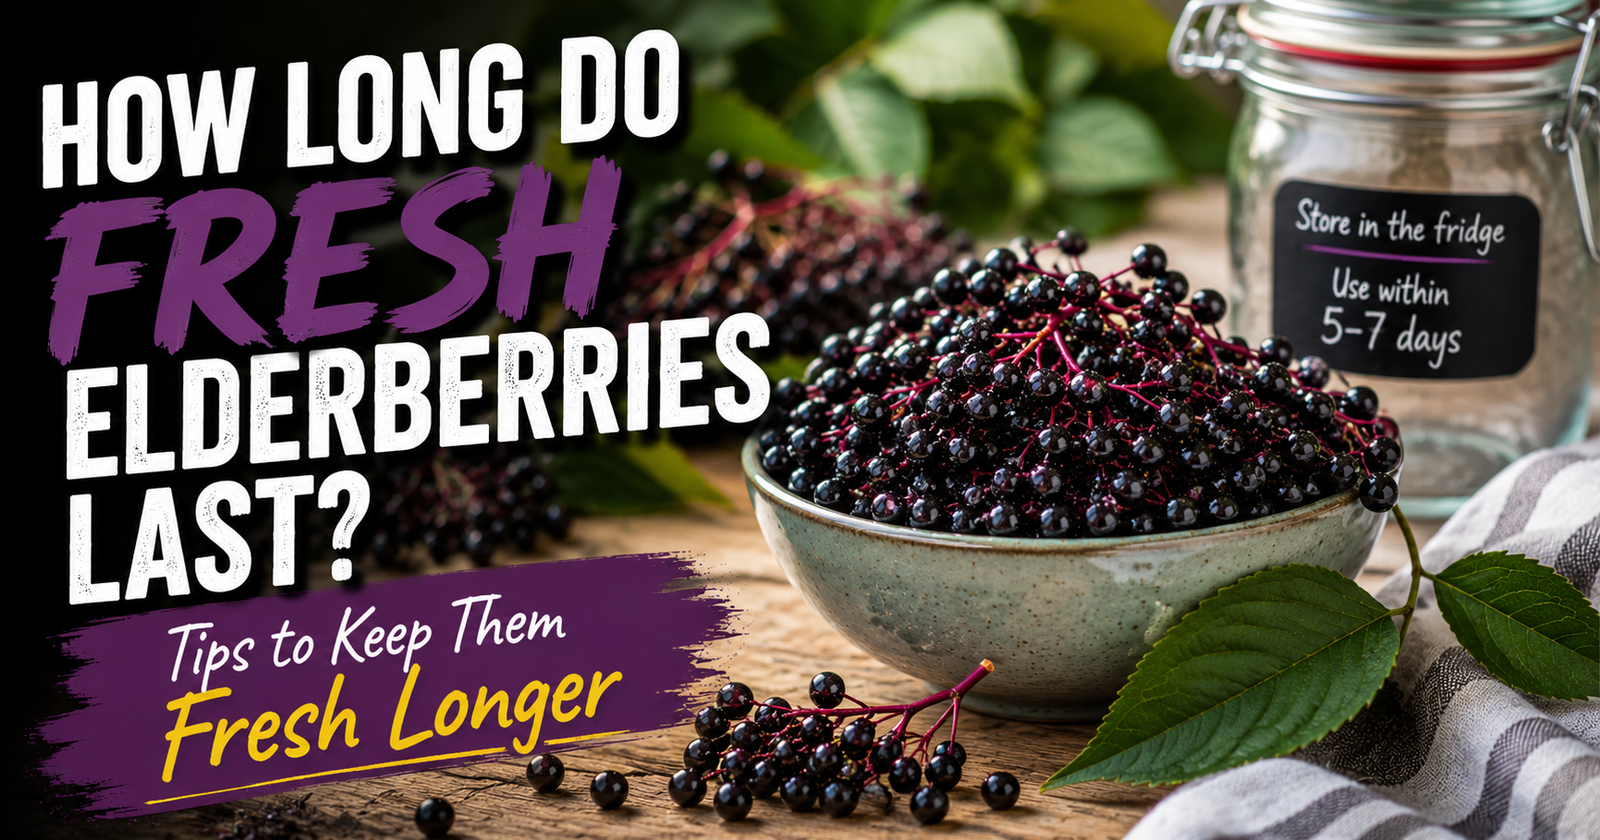
If you’re wondering how long fresh berries actually last, I put together a complete guide called How Long Do Fresh Elderberries Last? Tips to Keep Them Fresh Longer. Planning ahead makes harvest season much less stressful.
Should You Freeze Elderberries Before Vacuum Sealing?
Absolutely.
In fact, that’s exactly what I do.
Rather than trying to vacuum seal soft, freshly picked berries immediately, I freeze them first.
Here’s why.
Fresh elderberries are delicate.
If you place them directly into a vacuum bag and remove all the air, the pressure can crush many of the berries.
Instead, I spread them out on a baking sheet until they’re frozen solid.
Once they’re frozen, I transfer them into vacuum bags and seal them.
Not only does this protect the berries, but it also makes handling them much easier.
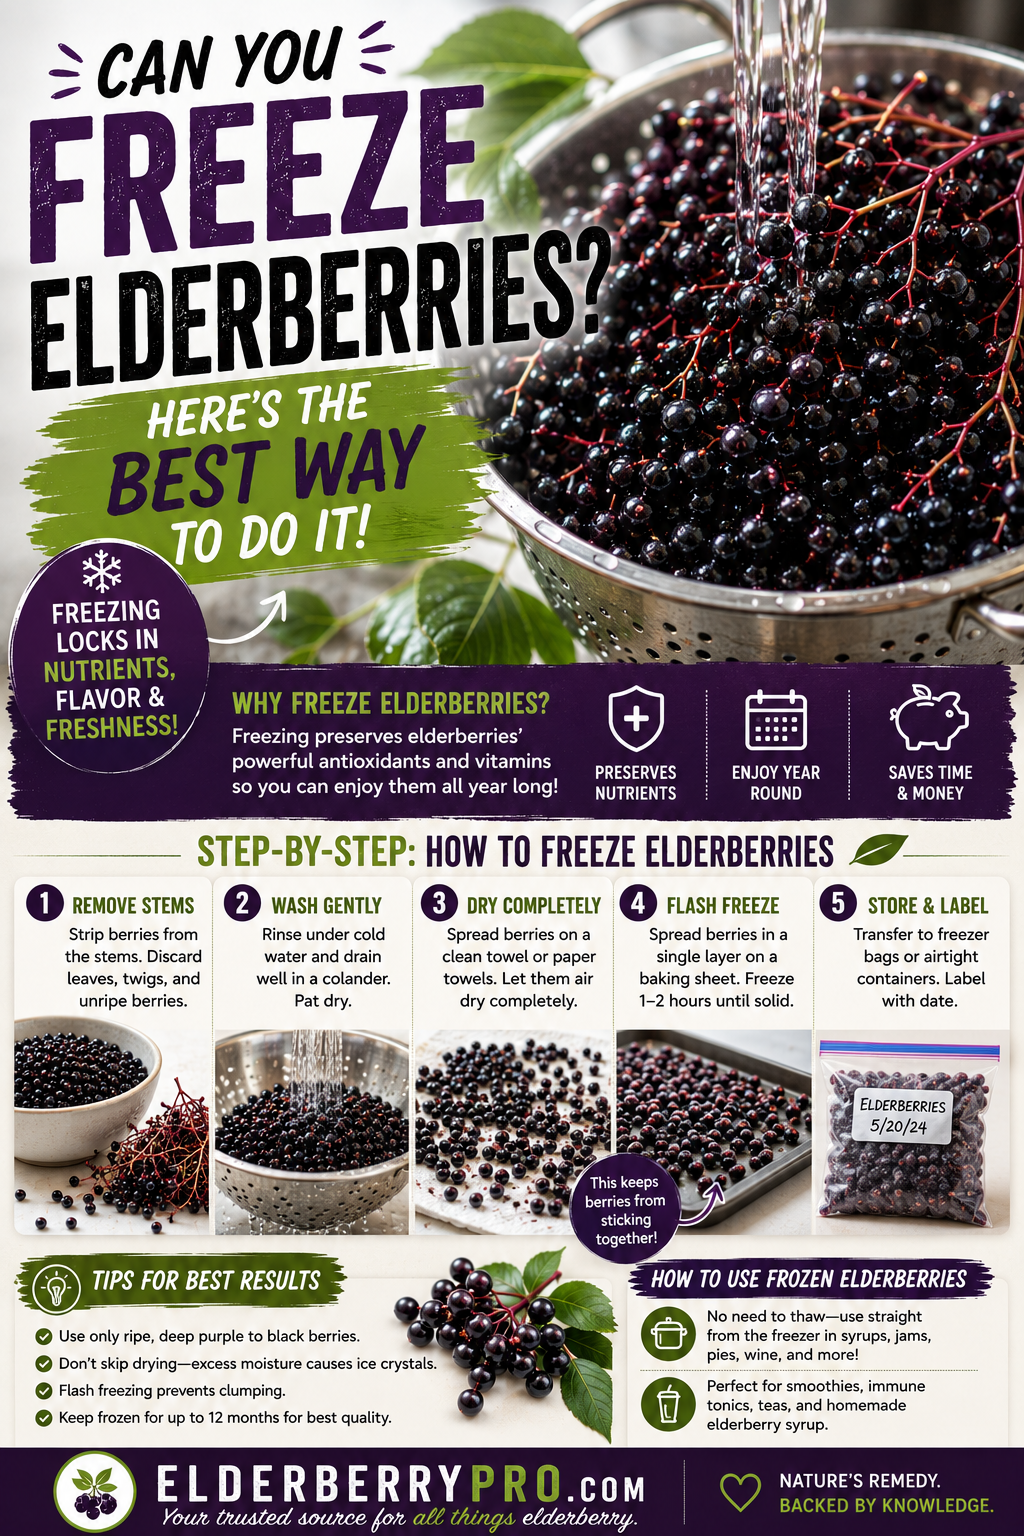
I explain the entire process in Can You Freeze Elderberries? Here’s the Best Way to Do It.
Wash Them Before Or After Freezing?
People often ask whether berries should be washed before vacuum sealing.
Personally, I prefer inspecting the clusters first, removing obvious debris, then washing them shortly before processing if I’m making syrup right away.
If I’m freezing the harvest for later, I avoid adding unnecessary moisture that could create extra ice crystals during storage.
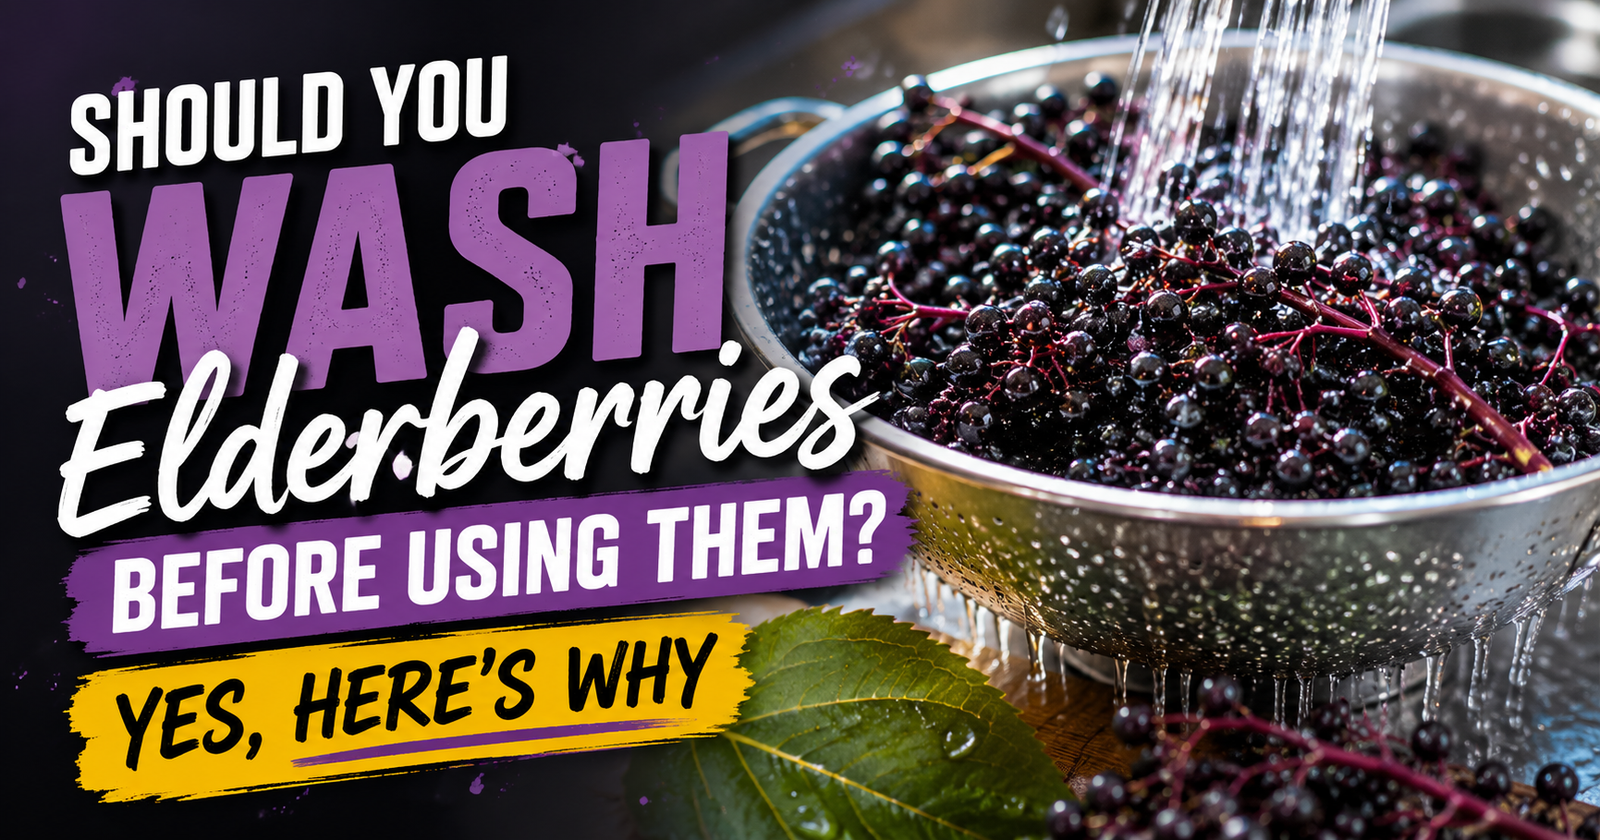
If you’re unsure about the best approach, you’ll find my complete process in Should You Wash Elderberries Before Using Them? Yes, Here’s Why.
Vacuum Sealing Doesn’t Replace Proper Preparation
One thing I want to point out is that vacuum sealing is a storage method.
It’s not part of preparing elderberries for safe consumption.
You’ll still want to:
- Harvest only ripe berries.
- Remove stems.
- Discard green berries.
- Cook the berries before eating them.
Those steps are just as important whether your berries spend one day or six months in the freezer.
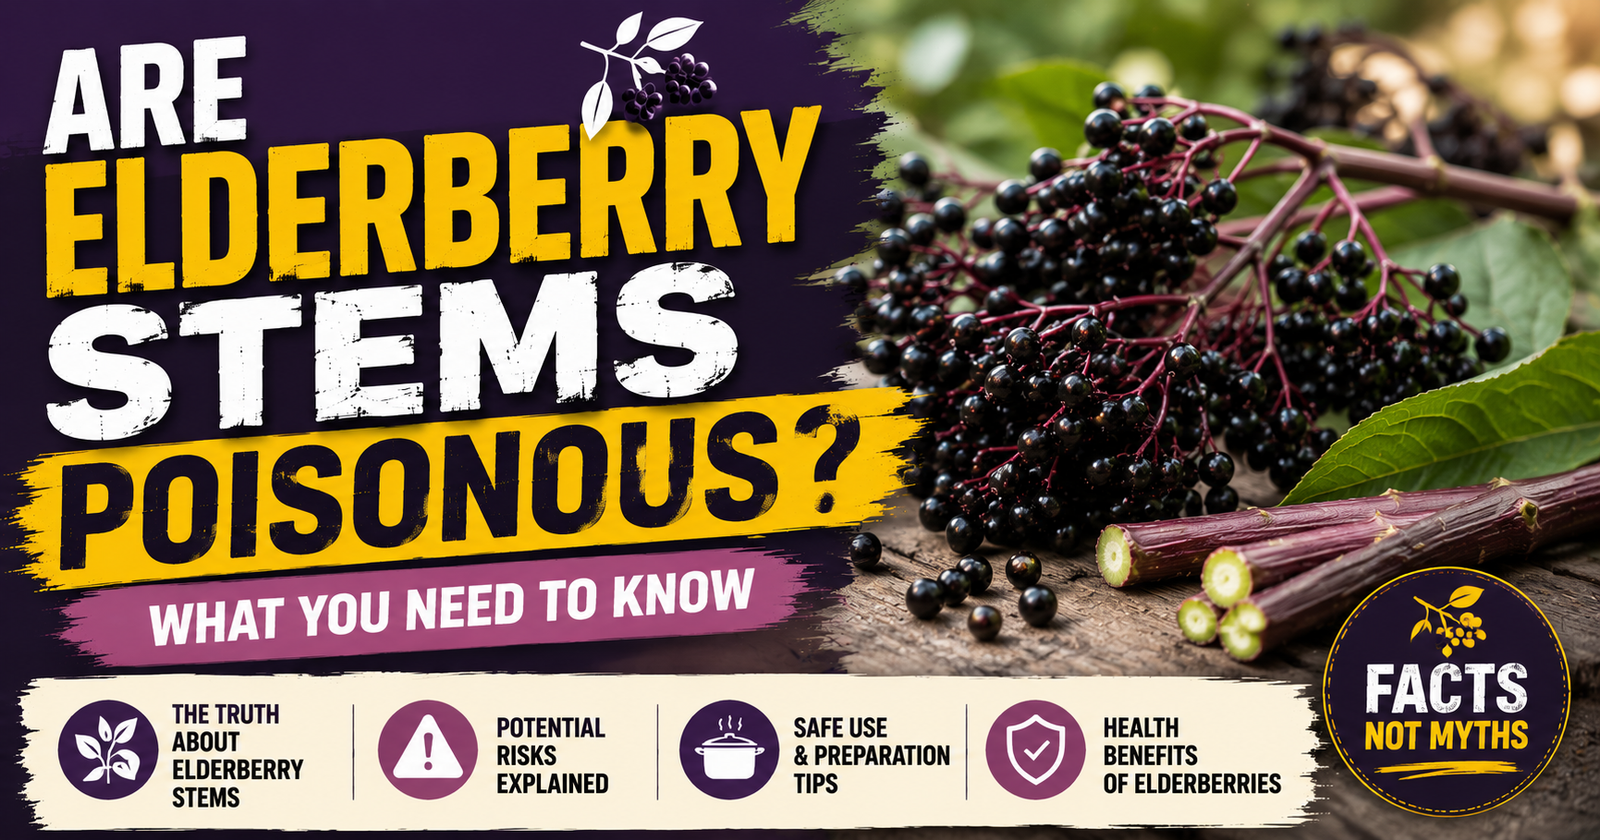
For example, I still spend time removing stem pieces because elderberry stems shouldn’t be eaten and there’s no reason to seal them up with the berries.
My Step-By-Step Vacuum Sealing Routine
After several harvest seasons, this has become my normal process.
Harvest Fully Ripe Elderberries
I only harvest clusters that are fully ripe.
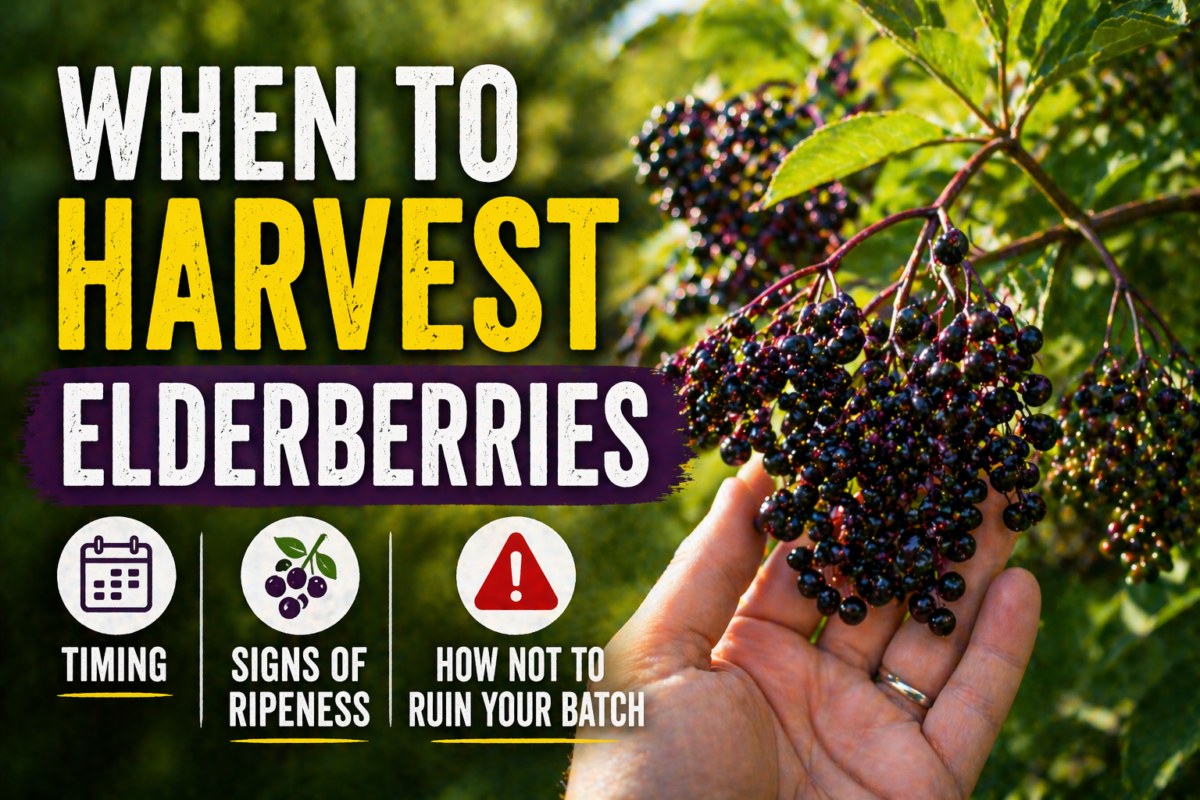
If you’re still learning when that is, When to Harvest Elderberries: Timing, Signs of Ripeness, and How Not to Ruin Your Batch can save you from picking too early.
Remove Damaged Fruit
Before freezing anything, I quickly remove:
- Moldy berries
- Crushed berries
- Green berries
- Large leaves
This only takes a few minutes but improves the final product considerably.
Freeze First
I spread the berries into a single layer until frozen.
Vacuum Seal
Once frozen solid, I fill the bags and use my Bonsenkitchen Vacuum Sealer to remove the air before sealing everything up.
Label Everything
Never skip this step.
I always write:
- Harvest date
- Location
- Quantity
A few months later you’ll be glad you did.
How Long Will Vacuum Sealed Elderberries Last?
One of the biggest advantages of vacuum sealing is extending freezer quality.
While storage time can vary depending on freezer conditions, removing excess air helps preserve both flavor and texture much longer than ordinary freezer bags.
That’s one reason I rarely freeze elderberries any other way anymore.


Is A Vacuum Sealer Worth Buying?
If you harvest elderberries every year, I think the answer is yes.
Even if elderberries are the reason you buy one, you’ll quickly find yourself using it for:
- Sweet corn
- Green beans
- Tomatoes
- Venison
- Fish
- Garden herbs
- Bulk meat purchases
For our family, it has become one of those kitchen tools that pays for itself over time simply by reducing wasted food.
Common Mistakes I See
After talking with other elderberry growers, I notice the same mistakes coming up again and again.
Sealing Soft Fresh Berries
Freeze them first.
Forgetting To Remove Stems
Take the extra few minutes before freezing.
Not Labeling Bags
You’ll eventually have several mystery bags in the freezer.
Overfilling The Bag
Leave enough room for the machine to create a strong seal.
Using Thin Storage Bags
Good vacuum bags make a noticeable difference.
My Honest Recommendation
I’ve used several different methods for storing elderberries over the years.
Regular freezer bags worked.
Plastic containers worked.
But once I started vacuum sealing frozen berries, I never really went back.
If you’re serious about harvesting elderberries every season, I genuinely think the Bonsenkitchen Vacuum Sealer with Built-In Cutter and Bag Storage is one of the best upgrades you can make.
It’s affordable, simple to operate, and helps protect all the hard work that goes into every harvest.
For me, that’s money well spent.
Author
Sarah Whitmore
Sarah Whitmore is an herbal enthusiast, backyard grower, and independent researcher who has spent years harvesting elderberries, preserving seasonal crops, and preparing traditional elderberry recipes. Through Elderberry Pro, she shares practical growing advice, honest product recommendations, and hands-on guides to help readers get the most from every elderberry harvest.