
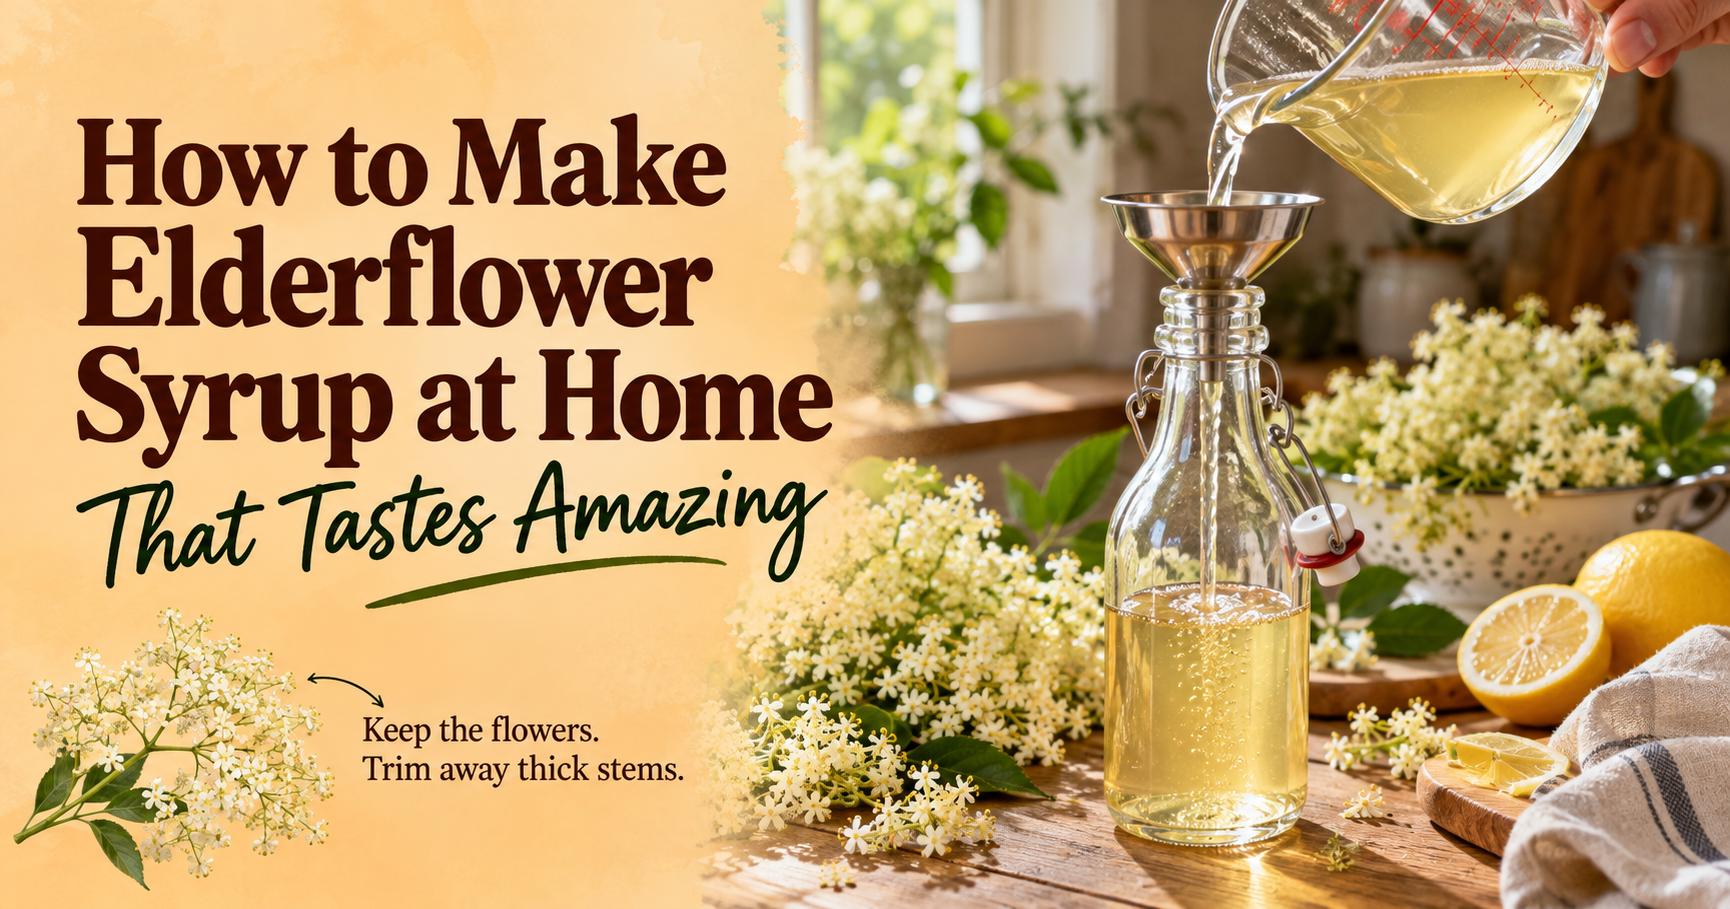
Elderflower syrup is one of those recipes that makes me appreciate just how much one elderberry bush can give you.
Most of the year, I’m thinking about the berries.
But before there are berries, there are flowers.
Those big clusters of tiny creamy-white blossoms can be turned into a completely different kind of syrup. Instead of the dark, earthy berry flavor I associate with elderberry syrup, elderflower syrup is light, floral, sweet, and refreshing.
The recipe itself isn’t difficult.
The part I think deserves more attention is everything surrounding it.
Which flowers should you pick?
How many flower clusters do you actually need?
How much stem should you remove?
Do you need citric acid?
Should you boil the flowers?
And perhaps most importantly for anyone growing their own elderberries, how many flowers can you harvest without giving up your entire future berry crop?
Here’s a straightforward way to make elderflower syrup at home without making the process more complicated than it needs to be.
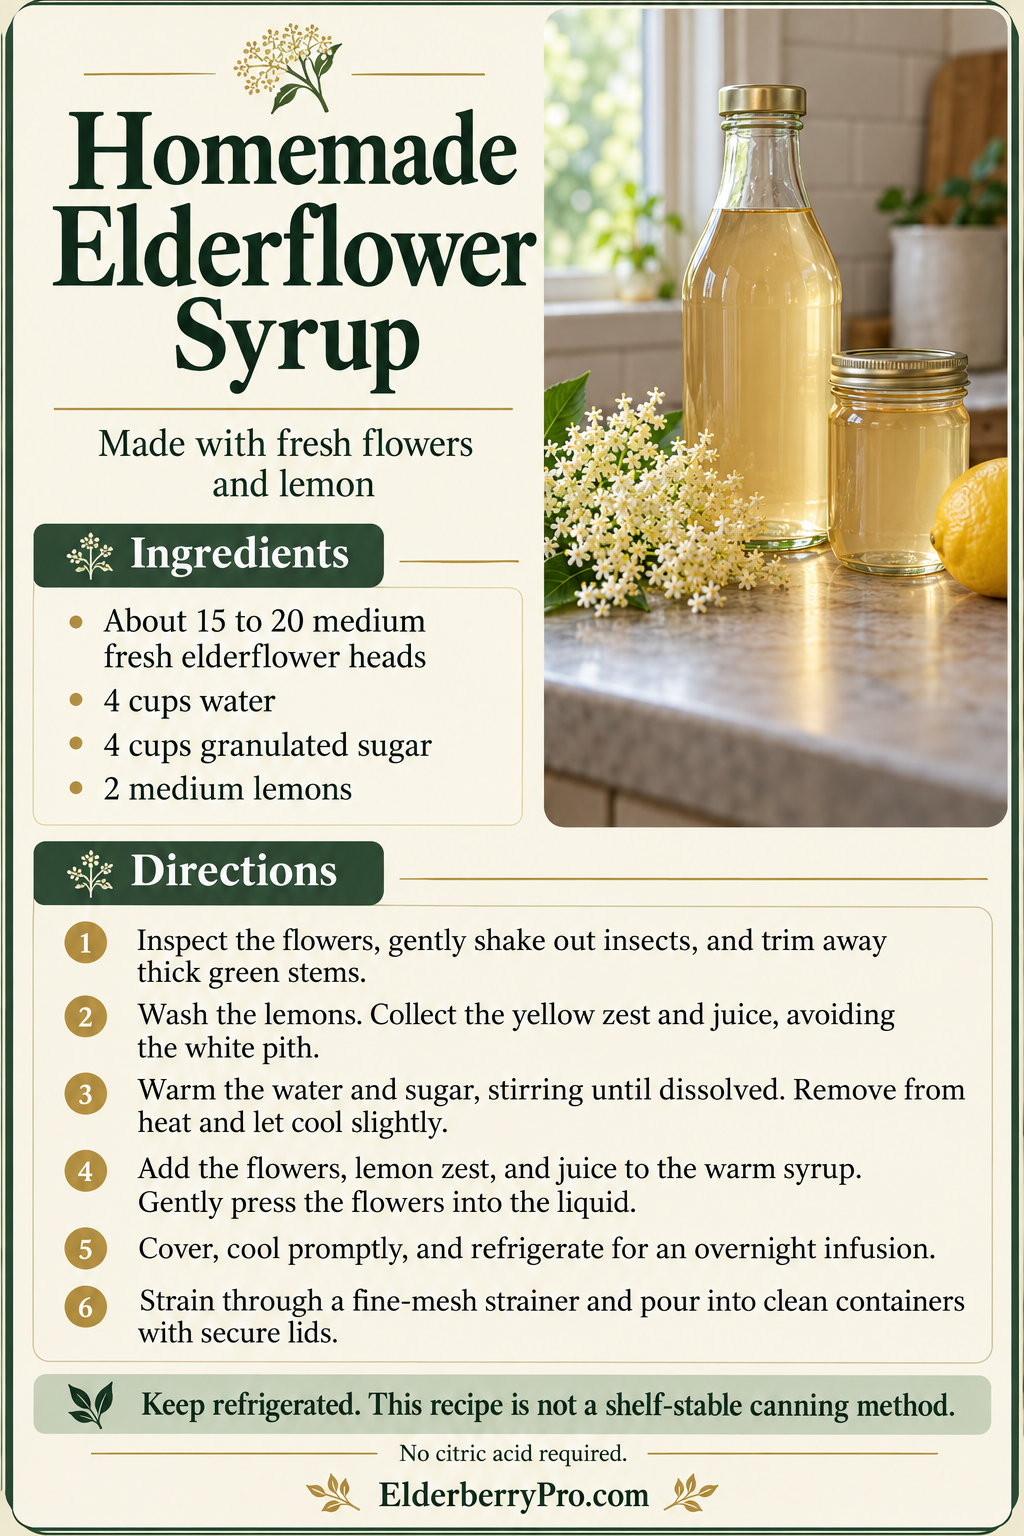
My Homemade Elderflower Syrup Recipe
For a manageable home batch, you’ll need:
Ingredients
- About 15 to 20 medium fresh elderflower heads.
- 4 cups water.
- 4 cups granulated sugar.
- 2 medium lemons.
That’s the basic version.
This recipe intentionally doesn’t require citric acid.
Citric acid is used in plenty of traditional elderflower cordial recipes, but I don’t think someone should have to order a specialty ingredient just to make their first batch.
Lemon gives us acidity and a fresh citrus flavor that works naturally with elderflower.
You can experiment with other versions later.
For your first batch, I’d keep it simple.



Before You Pick the Flowers, Decide How Important Berries Are to You
This is the part I think many elderflower recipes overlook.
Every flower cluster you remove from your elderberry bush is one that cannot produce an elderberry cluster later.
You’re making a choice.
Elderflowers now.
Potential elderberries later.
That doesn’t mean I avoid harvesting elderflowers.
It means I don’t strip an entire bush simply because it’s covered in beautiful blossoms.
If berry production matters to you, take a modest number of flower clusters from a healthy, established plant and leave plenty behind.
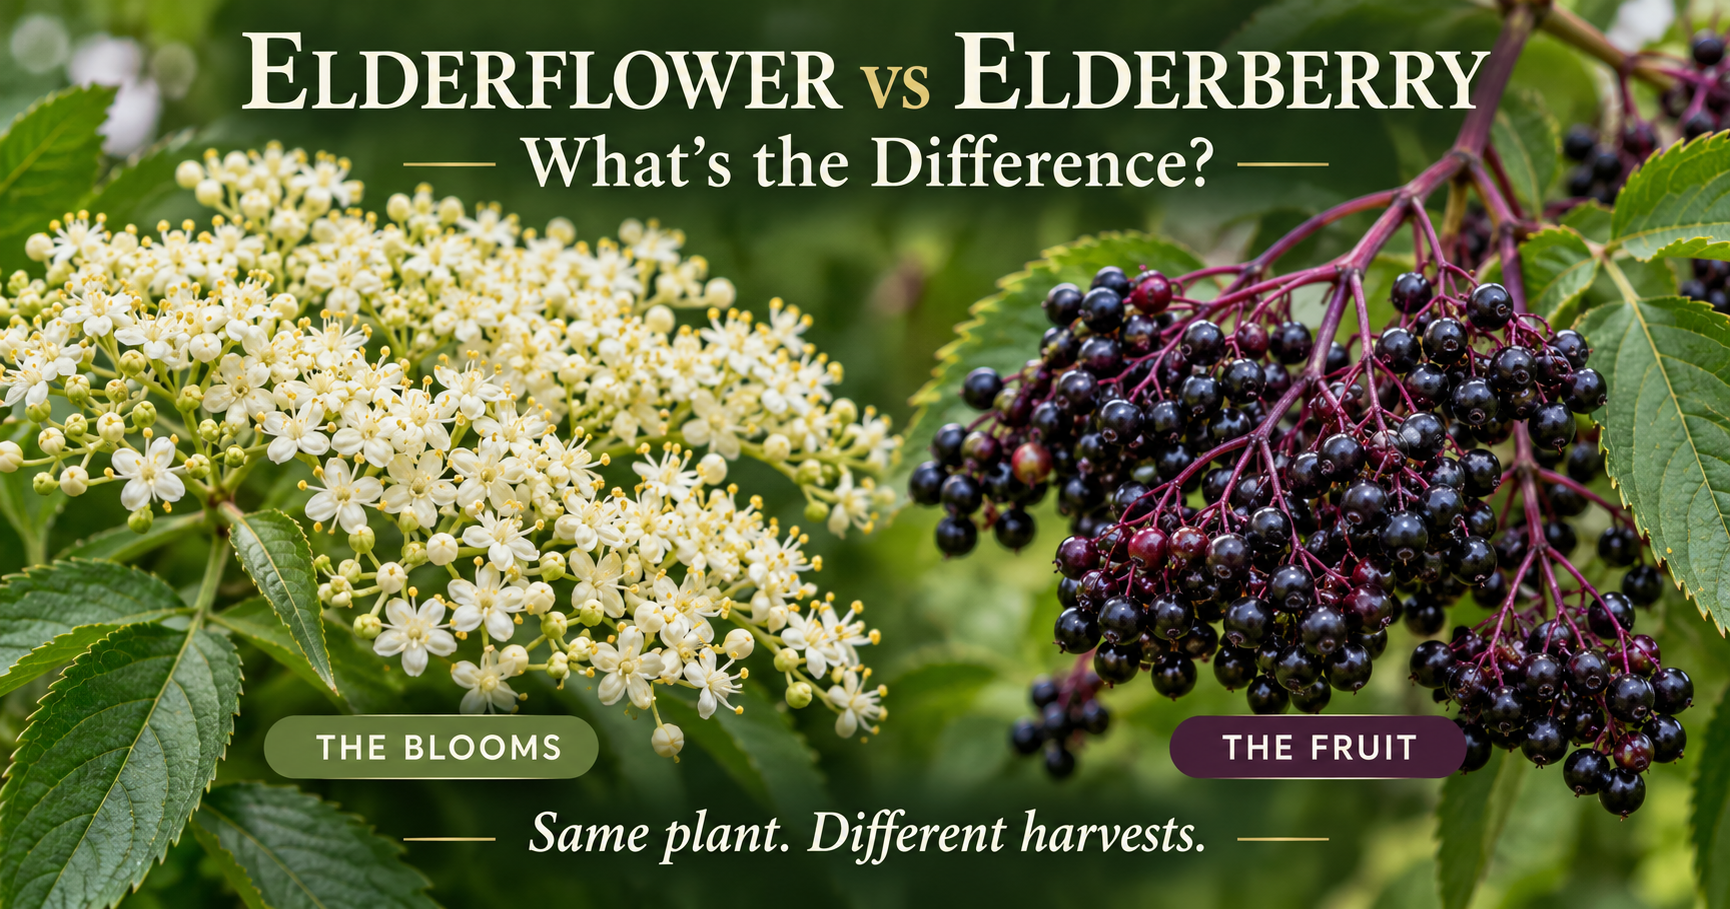
I’ve explained this relationship much more thoroughly in Elderflower vs. Elderberry What’s the Difference?, including why the two ingredients taste so different even though they can come from the same plant.

Which Elderflowers Should You Harvest?
I want fresh-looking flower clusters.
I’m looking for clusters with plenty of open blossoms rather than buds that haven’t opened yet or aging flowers that are already browning.
I skip clusters that look damaged or unhealthy.
I also pay attention to where I’m harvesting.
I wouldn’t collect flowers from a plant I couldn’t confidently identify.
And I wouldn’t be excited about harvesting directly beside a heavily traveled road or somewhere I suspected the plant had been sprayed with something I wouldn’t want around food.
If you’re harvesting from your own known elderberry bushes, identification becomes considerably easier because you already know exactly what you’ve planted.
Harvest on a Dry Day
I prefer harvesting elderflowers when the flowers themselves are dry.
If it just poured rain, I’m not racing outside with scissors as soon as the clouds disappear.
Wet flowers are more difficult to work with, and heavy rain may also wash away some of the fragrant pollen and aroma we’re trying to capture.
A dry morning after dew has disappeared can work well.
I also don’t want flowers that have been sitting in intense afternoon heat all day if I can avoid it.
Fresh, fragrant blossoms are what I’m after.

Don’t Automatically Wash Away Everything That Gives Elderflower Its Character
This is one of the trickier parts of elderflower preparation.
The flowers are delicate.
Aggressively washing them under running water can remove some of the pollen and fragrance that contribute to their distinctive character.
At the same time, these flowers grew outdoors.
Tiny insects may be hiding inside.
So rather than blasting every flower cluster under the faucet, I inspect them carefully and gently shake the clusters to encourage little visitors to leave.
If a flower head is genuinely dirty or contaminated, I don’t pretend it’s fine because I’m worried about losing flavor.
I’d rather skip a questionable cluster and use a cleaner one.
Remove the Thick Green Stems
Once the flowers are inside, I start separating the blossoms from as much of the thick green stem material as practical.
You don’t have to remove every microscopic stem holding each individual flower.
That would turn a simple recipe into an all-day project.
But I don’t toss entire woody flower stalks into the syrup either.
I trim away the larger stems and keep the flower-heavy portions.
The blossoms are what we’re trying to capture.

What Does Elderflower Syrup Actually Taste Like?
If you’ve never had it before, don’t expect berry syrup.
Elderflower is much lighter.
The flavor is floral, fragrant, somewhat fruity, and often described as having citrus-like qualities.
Adding lemon works beautifully because the citrus complements that freshness instead of trying to overpower it.
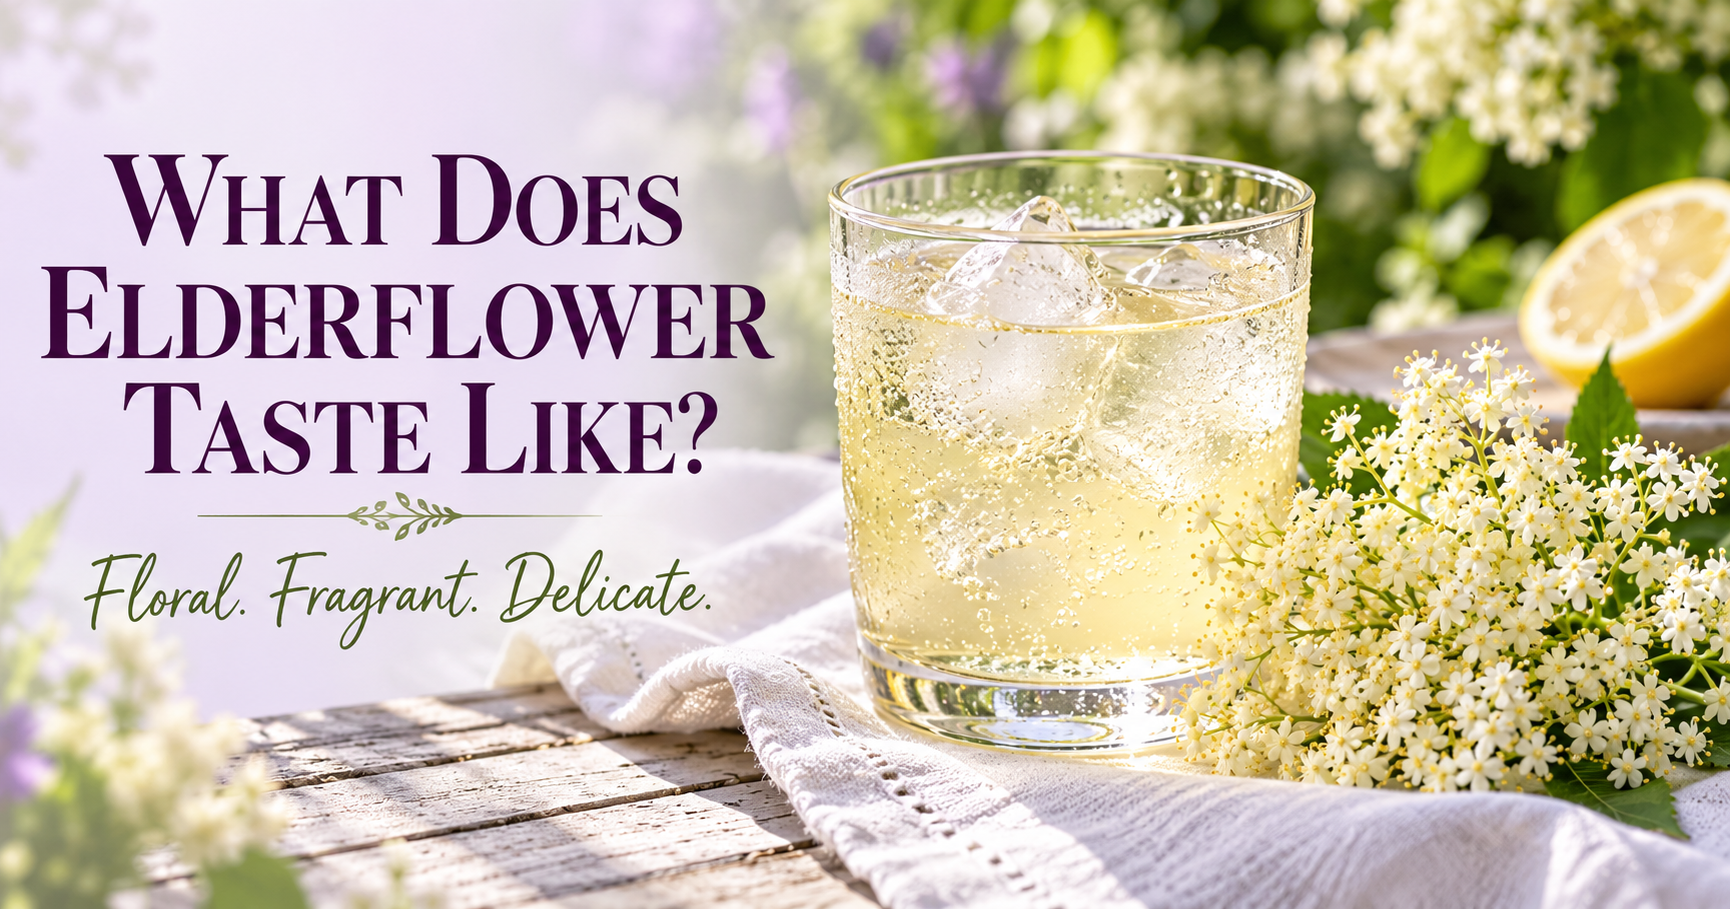
If you’re still deciding whether this recipe sounds appealing, What Does Elderflower Taste Like? goes much deeper into the flavor of fresh elderflowers, tea, cordial, dried flowers, and syrup.
Knowing what you’re aiming for also makes it easier to tell when you’ve made a good batch.
Step 1. Prepare the Lemons
Wash the lemons well.
I like using both the juice and some of the outer yellow zest because each contributes something different.
The zest provides aromatic citrus oils.
The juice provides acidity and tartness.
When zesting, I focus on the yellow outer layer rather than digging deeply into the white pith underneath.
Too much pith can introduce bitterness that I don’t want competing with the delicate elderflower flavor.
Set the zest and juice aside while you prepare the syrup base.
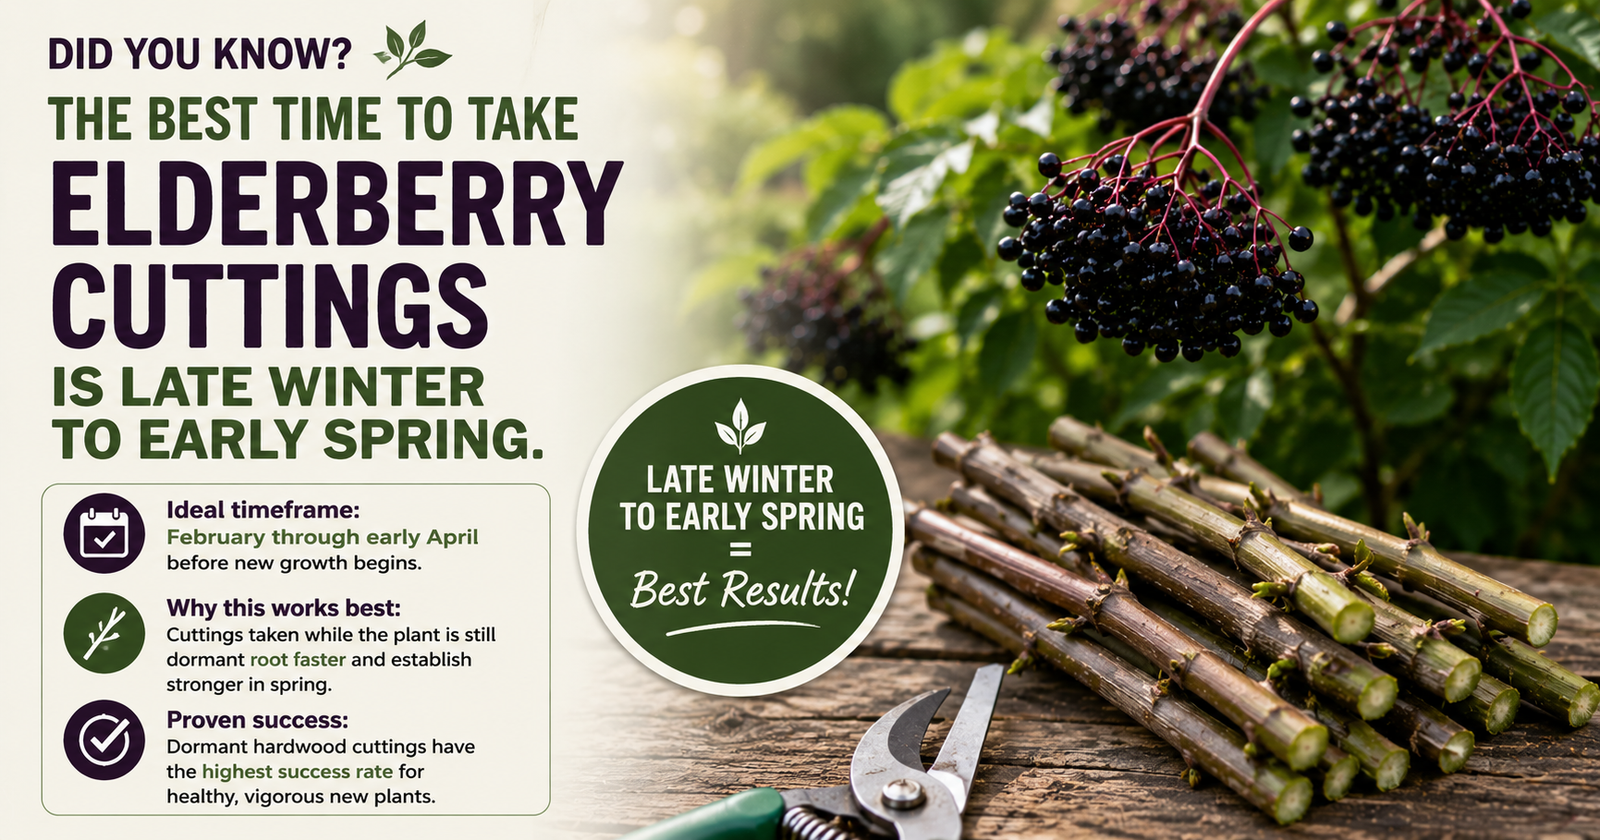
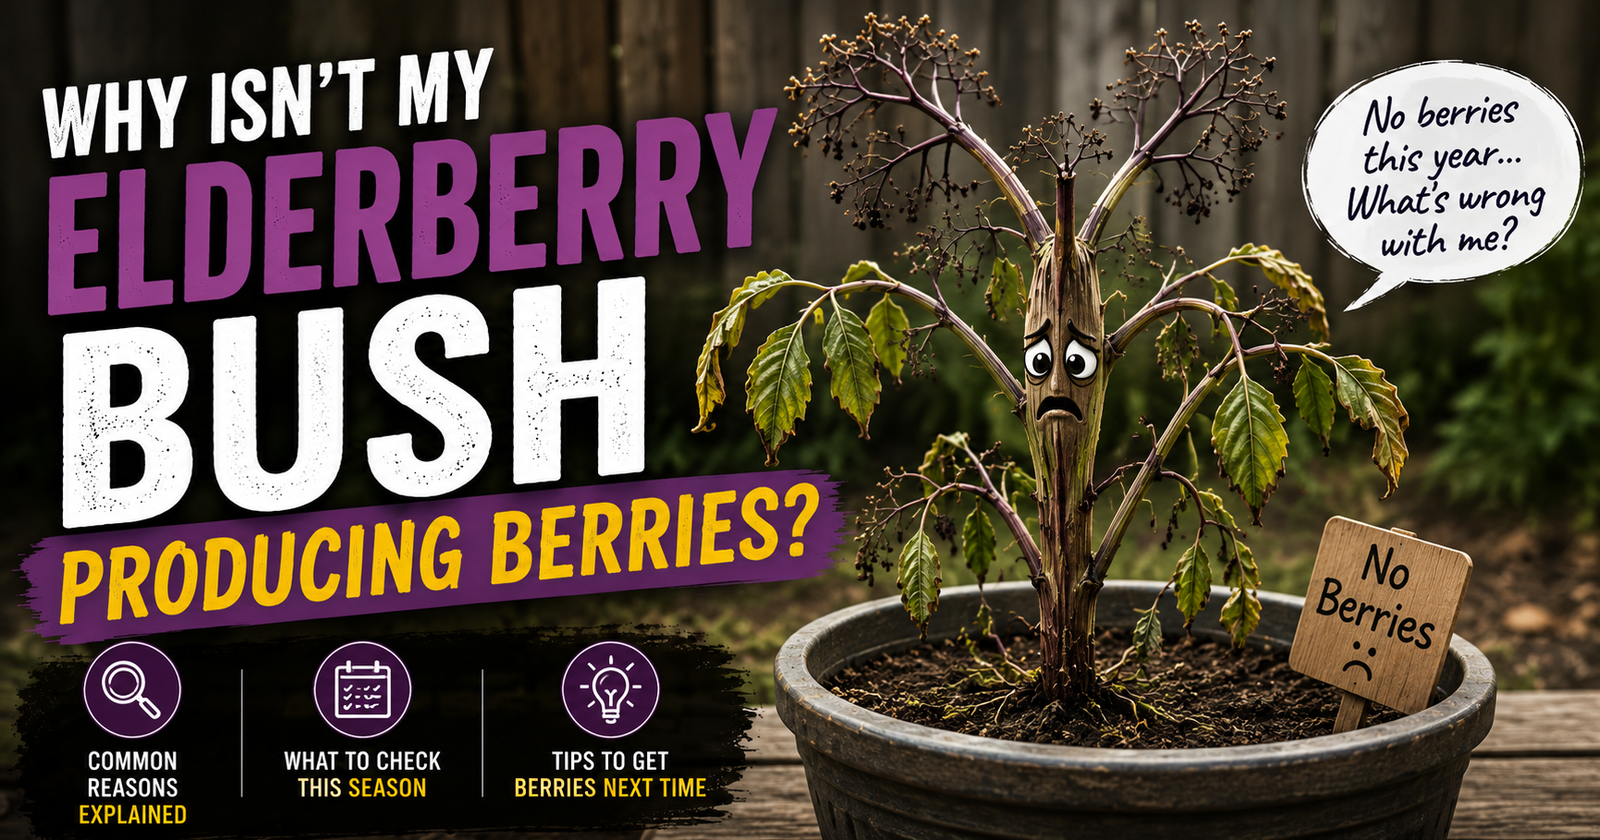

Step 2. Make the Simple Syrup Base
Add 4 cups of water and 4 cups of granulated sugar to a saucepan.
Warm the mixture while stirring until the sugar dissolves.
I don’t need to violently boil this for half an hour.
I’m simply creating a sugar syrup that will become the liquid used to extract the elderflower flavor.
Once the sugar has completely dissolved, remove the saucepan from the heat.
Step 3. Let the Syrup Cool Slightly Before Adding the Flowers
This is an important step.
I’m not trying to boil delicate elderflowers into submission.
Their fragrance is one of the main reasons we’re making this recipe.
So after dissolving the sugar, I allow the syrup to cool somewhat before adding the prepared elderflower heads.
It can still be warm.
I just don’t want the flowers going directly into aggressively boiling syrup.



Step 4. Add the Elderflowers and Lemon
Add your prepared elderflowers to the warm syrup.
Then add the lemon zest and juice.
Gently press the flowers down so they’re making good contact with the liquid.
They don’t need to be pulverized.
The syrup and time will do the extraction work for us.
At this point, you’ll probably notice the fragrance immediately.
That’s exactly what we’re trying to preserve.
Step 5. Cover and Let the Elderflowers Infuse
Cover the mixture and allow the elderflowers to infuse.
For this version, I like an overnight infusion in the refrigerator once the mixture has cooled sufficiently.
That gives the flowers time to release their flavor without requiring prolonged boiling.
You can let the infusion continue into the following day for a stronger floral character, but I don’t think stronger automatically means better.
Elderflower can become overpowering when pushed too far.
For a first batch, overnight gives you a very good starting point.
Step 6. Strain the Elderflower Syrup
Once the syrup has infused, it’s time to remove the flowers and lemon material.
Set a fine-mesh strainer over a clean bowl or pitcher.
Pour the syrup through slowly.
For an even cleaner finished syrup, you can line the strainer with cheesecloth or another suitable fine filter.
I don’t mash the flowers aggressively trying to squeeze every possible drop from them.
We’re after a clean, fragrant syrup, not crushed flower material.
Once strained, the spent elderflowers have done their job and can be discarded.
Step 7. Transfer the Syrup to Clean Containers
Pour the strained elderflower syrup into clean containers with secure lids.
Glass bottles or jars work well.
At this point, I treat this as a refrigerated homemade syrup, not as a shelf-stable canned product.
That’s an important distinction.
Putting homemade syrup into a pretty bottle doesn’t automatically make it safe to store in the pantry indefinitely.
Unless I’m following a tested preservation process specifically designed for shelf-stable storage, my homemade elderflower syrup goes into the refrigerator.
Don’t Expect Homemade Elderflower Syrup to Look Like Elderberry Syrup
This sounds obvious once you’ve made both, but it’s worth mentioning.
Elderberry syrup gets its dark color from the berries.
Elderflower syrup doesn’t.
Depending on your ingredients and preparation, elderflower syrup may be pale yellow, golden, or nearly clear.
That’s normal.
I wouldn’t try to darken it or make it look more like berry syrup.
The entire point is that we’re working with a completely different part of the plant.
The flavor, aroma, color, and final uses should be different.
Do You Need Citric Acid for Elderflower Syrup?
No, not for the refrigerated recipe I’m making here.
You’ll find plenty of traditional elderflower cordial and syrup recipes that call for citric acid. It adds acidity and tartness and can play a role in the flavor and preservation approach of a particular recipe.
For this version, I’m using fresh lemon juice instead.
I like that because lemons are easy to find, they complement elderflower naturally, and I don’t need to buy another ingredient specifically for one recipe.
But I wouldn’t treat lemon juice and citric acid as universally interchangeable in recipes designed for canning or other shelf-stable preservation.
If you’re following a tested preservation recipe, follow its exact ingredients and processing instructions.
This recipe is different.
We’re making homemade elderflower syrup and keeping it refrigerated.
Can You Make Elderflower Syrup Faster?
You can shorten the infusion, but there’s a tradeoff.
Elderflower is a delicate ingredient.
Giving the blossoms time to sit in the syrup allows that floral character to develop without requiring me to aggressively cook the flowers.
If you’re in a hurry, you can taste the infusion after several hours and decide whether the flavor is strong enough for you.
I still prefer the overnight method.
It requires practically no additional work.
The refrigerator does the waiting while I’m doing something else.
What I wouldn’t do is compensate for less infusion time by boiling the elderflowers hard for an extended period.
That changes the approach entirely and may sacrifice some of the fresh floral character we’re trying to capture.
What If the Elderflower Flavor Is Too Weak?
This is one of those problems that’s much easier to fix on your next batch.
Flower size varies.
Flower freshness varies.
The intensity of their fragrance varies.
That’s why “15 flower heads” isn’t as exact a measurement as “4 cups of water.”
If your elderflower heads are tiny, 15 of them may provide considerably less flower material than 15 enormous clusters.
Before making the syrup, look at what you’re actually working with.
If the flower heads are unusually small, using a few more may make sense.
Freshness matters too.
Healthy, fragrant blossoms harvested at a good stage will generally give you more of what you’re looking for than old flower clusters already turning brown.
And if the finished syrup is simply milder than expected, that doesn’t automatically mean the batch failed.
Try it diluted in a drink before deciding.
Sometimes a lighter floral character is actually more pleasant than something that tastes overwhelmingly perfumed.
What If the Elderflower Flavor Is Too Strong?
Dilution is your friend.
Remember that this is syrup.
It’s concentrated.
You don’t necessarily need to drink it straight.
If the floral character seems intense, add a small amount to cold water or sparkling water and taste it again.
You can always add more syrup.
It’s much harder to remove it once you’ve poured half a glass.
This is particularly useful when serving elderflower syrup to someone who’s never tried it.
Start light.
Let them decide whether they want more.
What If My Elderflower Syrup Is Too Sweet?
The equal-parts water-and-sugar base produces a genuinely sweet syrup.
That’s intentional.
It’s designed to be used as a concentrate rather than consumed by the mug like tea.
When using it in drinks, dilution balances that sweetness.
Lemon also helps.
Its acidity keeps the syrup from tasting like nothing but liquid sugar.
If you strongly prefer less-sweet syrups, you can experiment with future refrigerated batches, but remember that changing sugar concentrations can also affect storage characteristics.
I wouldn’t reduce sugar dramatically and then assume the syrup will keep exactly the same way.
For me, it’s easier to make a proper syrup and control sweetness when I actually use it.
Why Does My Elderflower Syrup Taste Bitter?
There are several things I’d investigate.
Too much white lemon pith can contribute bitterness.
Large amounts of green stem material may affect flavor.
Older or damaged flowers aren’t what I want in the recipe.
And extremely concentrated elderflower preparations may simply taste harsher than a properly balanced syrup.
That’s why I trim the larger stems, zest only the yellow outer portion of the lemon, and use fresh-looking flower clusters.
If a batch tastes slightly stronger than you’d prefer, try diluting a small amount first.
If it tastes genuinely unpleasant or has signs of spoilage, that’s different.
I’m not trying to disguise questionable syrup with more sugar.
Why Is My Elderflower Syrup Cloudy?
A little cloudiness doesn’t automatically mean something went wrong.
We’re infusing fresh flowers, pollen, lemon, and zest into a sugar syrup.
Tiny particles can remain suspended even after straining.
Using cheesecloth or a finer filter can produce a clearer syrup if appearance matters to you.
But I’m much more concerned about unexpected changes during storage.
If syrup that looked normal begins bubbling, develops mold, smells fermented, or changes in another suspicious way, I wouldn’t use it simply because homemade syrup sometimes looks cloudy.
There’s a difference between harmless suspended particles and obvious spoilage.
How Long Does Homemade Elderflower Syrup Last?
I don’t like giving homemade syrups a magical universal expiration date.
How long a batch remains good depends on sanitation, ingredient proportions, refrigerator temperature, handling, and the exact preparation method.
For this recipe, I treat the syrup as a perishable refrigerated food and make a manageable amount rather than assuming it will last indefinitely.
Use clean containers.
Keep the syrup cold.
Don’t repeatedly leave it sitting at room temperature.
Use clean utensils when serving it.
And pay attention to changes.
If you see mold, unexpected bubbling, fermentation, an off odor, or another clear sign of spoilage, discard the syrup.
I don’t taste questionable syrup to decide whether it’s still safe.
Can You Freeze Elderflower Syrup?
Yes, freezing is the option I prefer when I know I’ve made more than I’ll use soon.
Small portions are particularly convenient.
You can freeze syrup in appropriate freezer containers, leaving enough room for expansion.
Another option is freezing small portions in an ice cube tray and transferring the frozen portions into a suitable freezer container afterward.
That gives you the ability to thaw a little at a time.
I like that much better than keeping a huge bottle in the refrigerator and racing against spoilage.
Just remember that freezing doesn’t turn poor-quality syrup into good syrup.
Freeze it while it’s fresh.
Can You Can Elderflower Syrup for Shelf Storage?
I wouldn’t improvise a canning process for this recipe.
Safe home canning depends on tested acidity, ingredient ratios, processing methods, jar sizes, and other factors.
Simply pouring hot syrup into a jar and hearing the lid pop doesn’t prove that you’ve created a safely shelf-stable product.
If you want pantry-stable elderflower syrup or cordial, use a tested preservation recipe from a reliable food-preservation source and follow it exactly.
For the recipe in this article, my options are intentionally simple:
Refrigerate it.
Or:
Freeze the extra.
I’m perfectly happy with that.
How Do I Actually Use Elderflower Syrup?
This is where the recipe becomes fun.
You don’t need an elaborate cocktail recipe to enjoy it.
One of the simplest options is adding a small amount to cold sparkling water.
Start with a little syrup.
Taste.
Add more if needed.
The result is light, floral, sweet, and refreshing.
You can also use elderflower syrup with still water and ice.
Lemon works naturally with it.
So does mint.
The syrup can also be used to flavor desserts, fruit dishes, iced tea, and other drinks where a floral note makes sense.
I prefer starting conservatively.
Elderflower is supposed to add something interesting, not completely overpower everything else in the glass.
Elderflower Syrup and Elderberry Syrup Aren’t Substitutes
They may come from the same plant, but I wouldn’t swap one for the other and expect anything close to the same result.
Elderflower syrup is pale, floral, fragrant, and usually associated with refreshing drinks.
Elderberry syrup is dark, fruity, tart, and much more berry-forward.
Even the preparation methods are different.

If berries are what you actually have, follow a berry recipe instead. My fresh elderberry syrup recipe is specifically designed around the fruit rather than the flowers.
Keeping the two recipes separate makes both much easier to understand.
Can You Make Elderflower Syrup From Dried Elderflowers?
You can make preparations using dried elderflowers, but I wouldn’t pretend dried and fresh flowers produce an identical syrup.
Fresh elderflowers are prized for their delicate aroma.
Drying changes that character.
If I have beautiful fresh blossoms available during flowering season, that’s what I’d choose for this particular recipe.
Dried flowers become much more interesting outside the fresh flowering window.
That’s why How to Dry Elderflowers and Store Them for Later belongs in this cluster as its own article.
We’ll be able to cover the actual drying process, storage, moisture concerns, and how dried flowers differ from fresh ones without turning this syrup recipe into a giant preservation guide.
Don’t Throw Away Your Entire Future Berry Crop for One Batch
This is the part I’d especially emphasize for anyone growing their own elderberries.
Elderflower syrup is good.
So are elderberries.
I want both.
If a mature bush has dozens and dozens of flower clusters, selectively taking enough for a batch of syrup can still leave plenty of flowers behind.
If a young plant produces six flower clusters and you harvest all six, the situation is obviously different.
Use some judgment.
I don’t think a recipe should begin with “harvest 20 flower heads” without acknowledging that those flowers have another job if you leave them attached.
They can become berries.
Healthy Flowering Starts With a Healthy Bush
If you’re growing your own flowers rather than foraging, the quality of your elderflower harvest starts long before you walk outside with scissors.
Healthy elderberries need appropriate sunlight, moisture, nutrients, spacing, and pruning.
Those same conditions support vigorous flowering and future berry production.
That’s one reason we’ve spent so much time building out the growing side of Elderberry Pro.
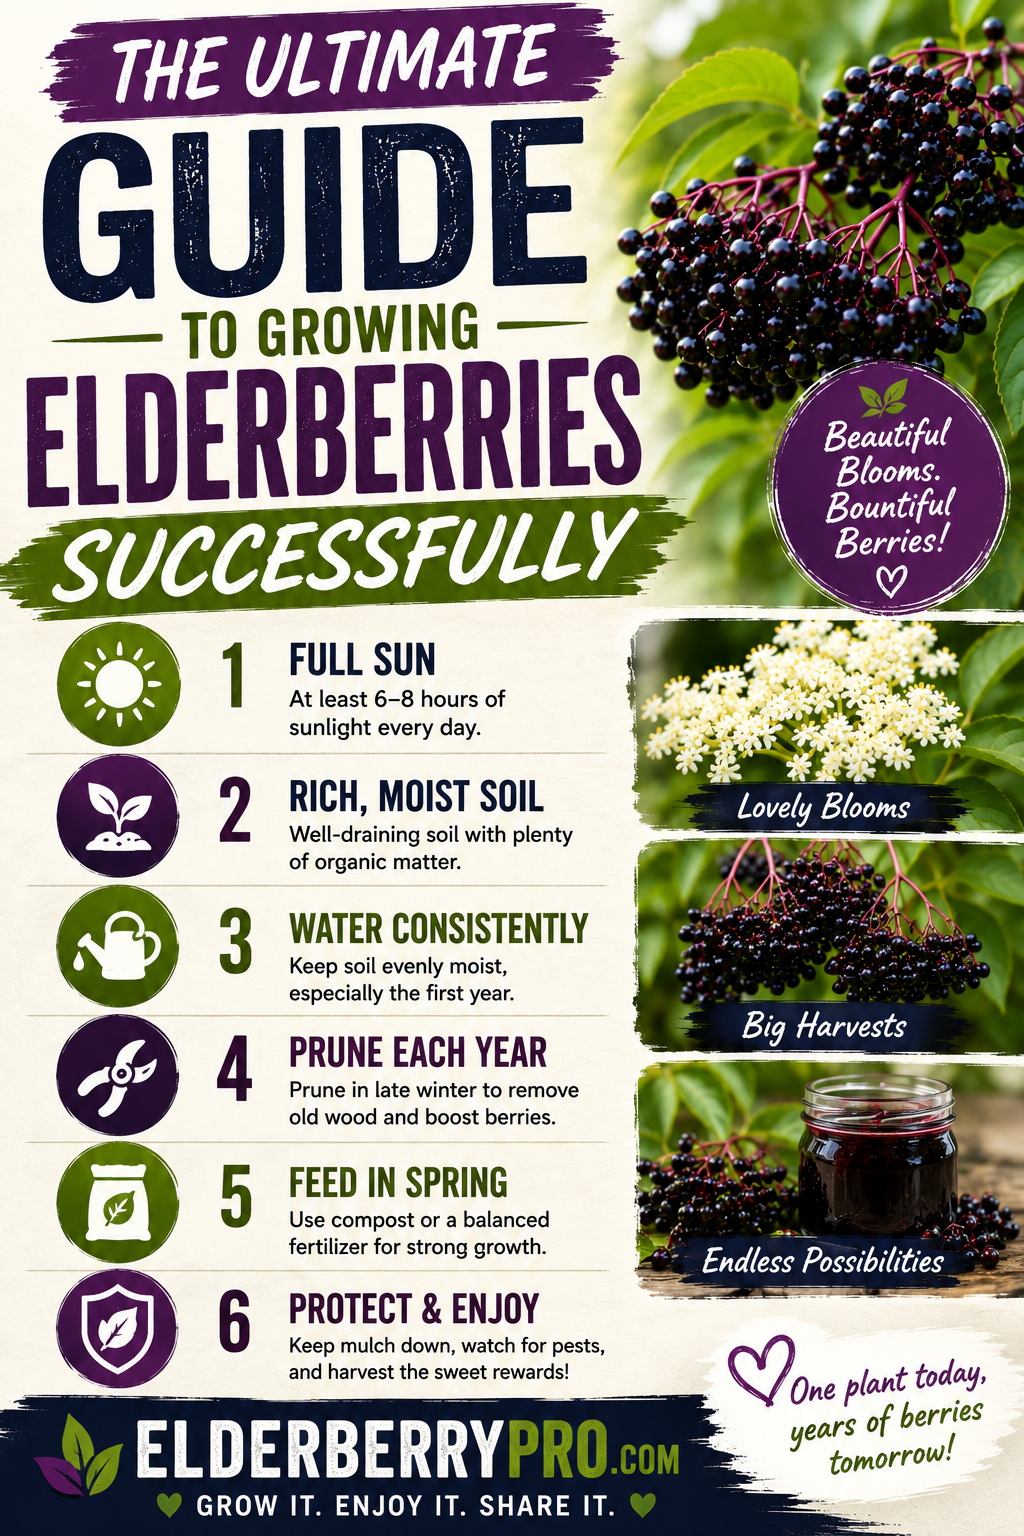
If you want to grow enough elderflowers to experiment with recipes while still enjoying berries later, my complete guide to growing elderberries successfully brings all of those growing factors together in one place.
A healthier bush gives you more options.
Pollination Matters More for the Flowers You Leave Behind
Once I’ve harvested the elderflowers I actually want, the remaining blossoms stay on the bush.
Those are the ones I’m hoping will eventually become fruit.
Pollinators now become incredibly important.
Bees and other insects moving among flowers help transfer pollen and support fruit development.
Growing compatible elderberries near one another can also improve fruit production.
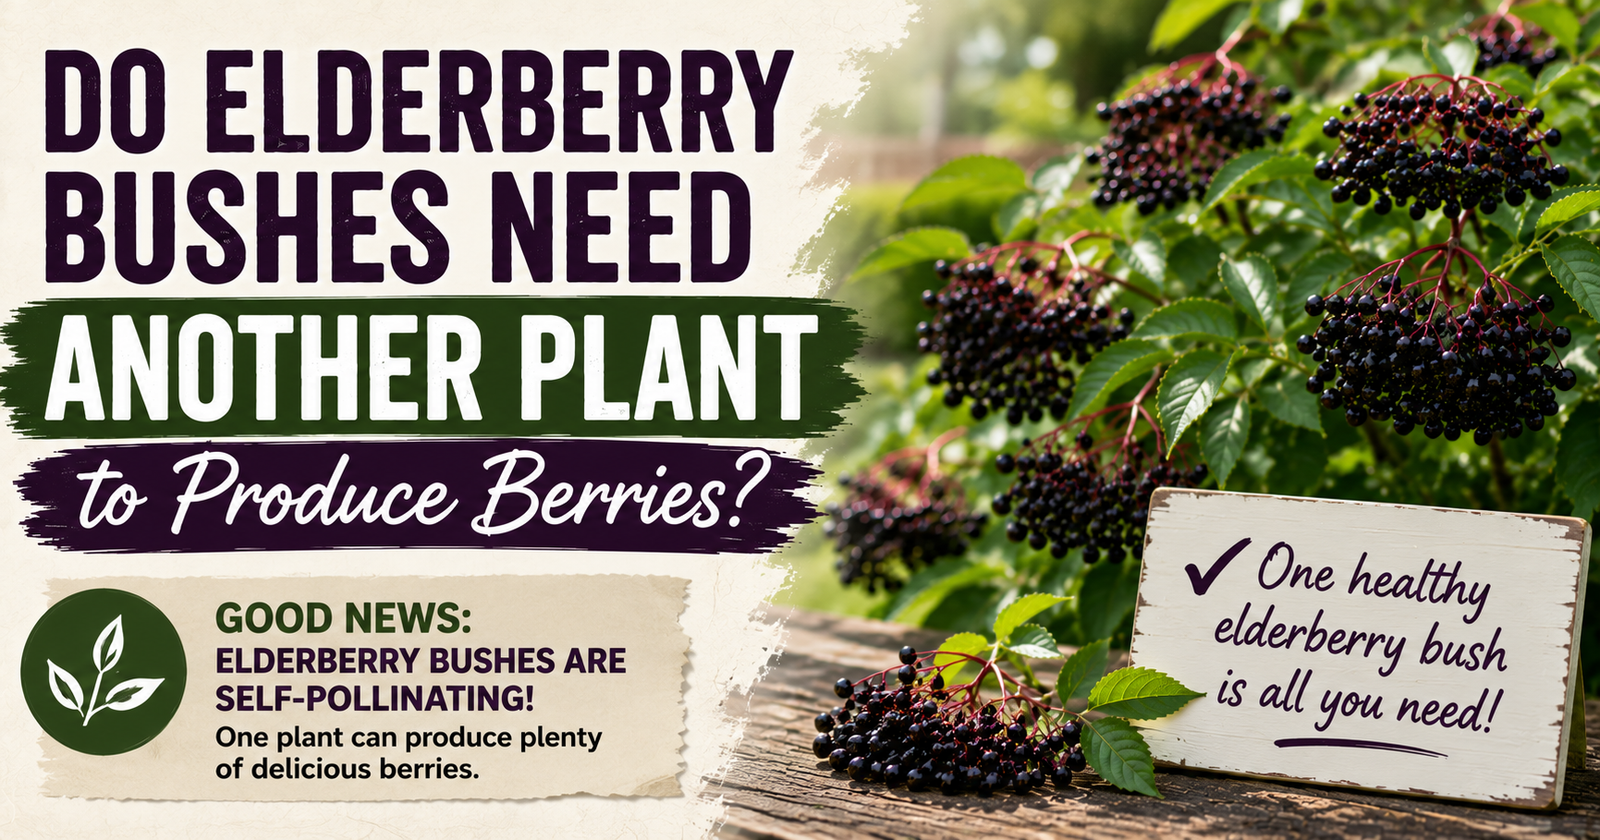
If you’re growing primarily for berries, my guide explaining whether elderberry bushes need another plant to produce berries goes deeper into why I like having more than one compatible plant.
That’s another reason I don’t harvest every flower.
Some are for me.
Most are for the future berry crop.
My Favorite Part of Making Elderflower Syrup
For me, the interesting part isn’t simply ending up with another bottle of syrup.
It’s realizing how different the elder plant looks depending on when you pay attention to it.
Earlier in the season, you’re looking at fragrant white flowers.
Later, you’re watching green berries develop.
Eventually, you’re harvesting dark ripe fruit.
One plant can give you completely different ingredients at different stages of the year.
Elderflower syrup captures the earliest edible part of that seasonal cycle.
And because flowering season doesn’t last forever, making a batch feels distinctly seasonal in a way that opening a bag of dried elderberries in January never will.
The Recipe Is Easier Than It Looks
Once you’ve made elderflower syrup once, the process becomes straightforward.
Harvest fresh flower heads selectively.
Trim away the larger stems.
Make the sugar syrup.
Let it cool somewhat.
Add elderflowers and lemon.
Infuse.
Strain.
Refrigerate.
That’s really the entire process.
The details matter, but none of them are particularly difficult.
The biggest thing I wouldn’t rush is the flower selection.
Good elderflower syrup starts outside.
Fresh, fragrant blossoms from a correctly identified elder plant give you something worth preserving.
Everything in the kitchen comes afterward.
Save Some Flowers for Later
It’s tempting to look at a bush covered in elderflowers and think you’ve suddenly discovered an enormous free ingredient supply.
Technically, you have.
But you’re also looking at your future elderberries.
That’s the balance I want to remember every spring.
I can enjoy elderflower syrup without treating the plant like it exists only for today’s recipe.
Harvest enough to make something special.
Leave plenty behind.
Let the pollinators have their turn.
Then come back later in the growing season and hopefully harvest berries from the flowers you chose not to cut.
Getting two completely different harvests from the same plant is one of the things that makes growing elderberries so interesting in the first place.
About the Author
Avery Collins writes about growing, harvesting, preserving, and preparing elderberries and elderflowers for Elderberry Pro. Avery focuses on practical recipes and growing information that help home gardeners use more of what their elder plants produce without making the process unnecessarily complicated.