
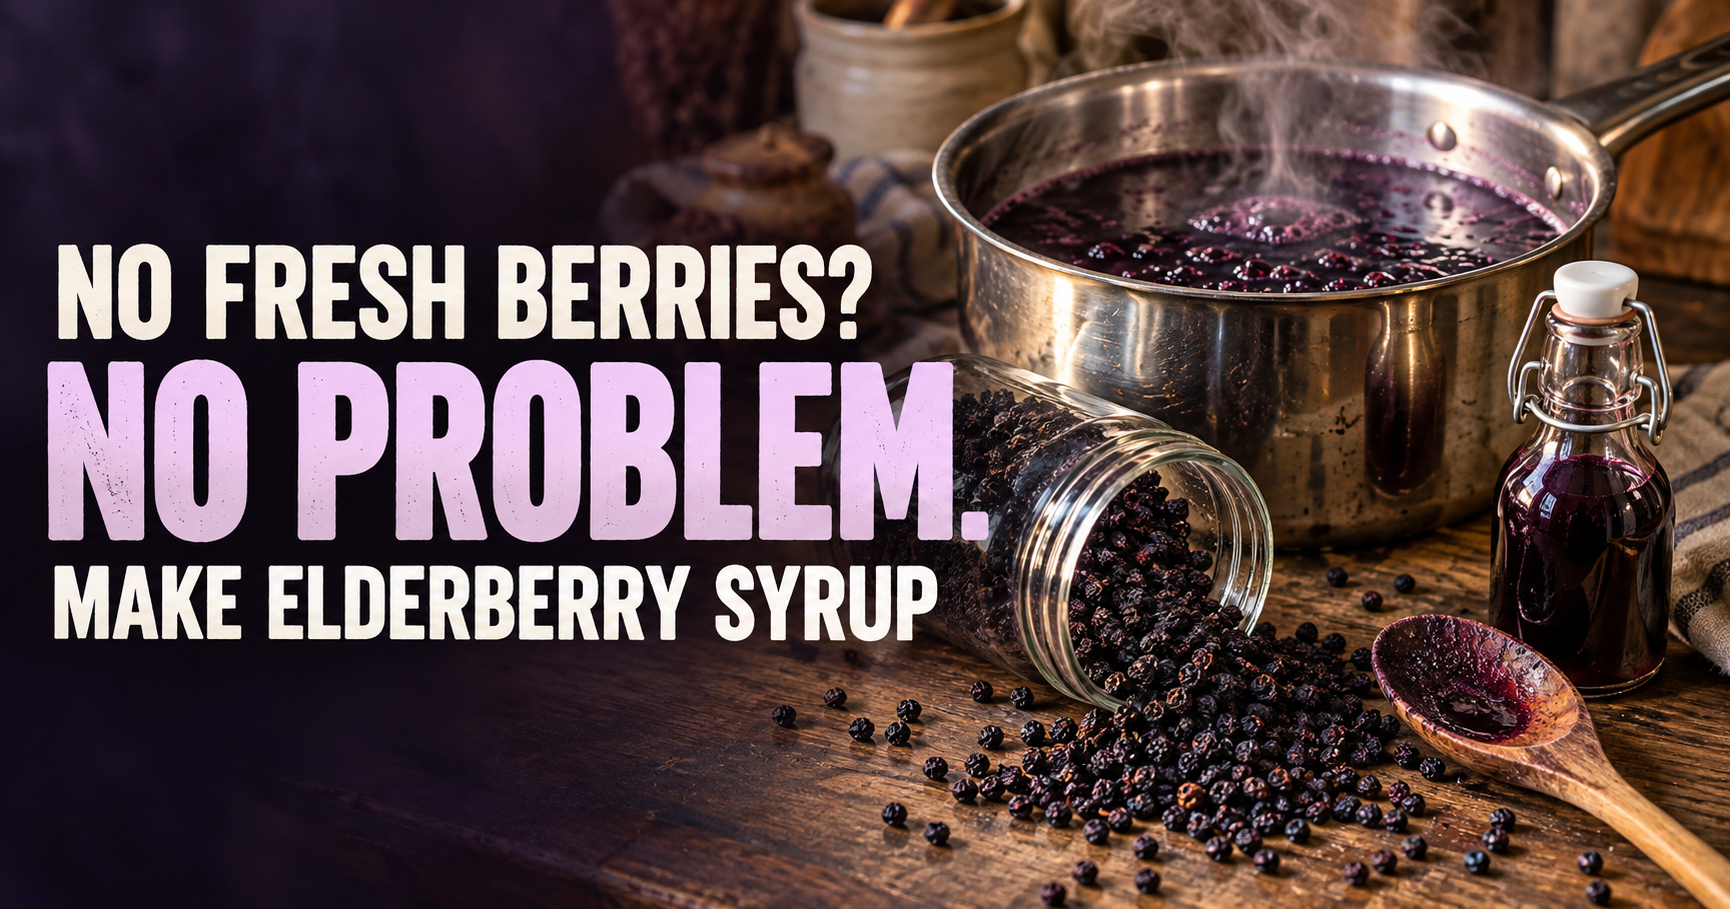
Making elderberry syrup from dried elderberries is probably my favorite option when fresh berries aren’t in season.
There’s no destemming a giant bowl of fresh elderberries.
There’s no freezer space required.
And I can keep dried elderberries on hand and make another batch whenever the syrup starts running low.
The part that confused me when I first started looking into it was the recipe itself.
How many dried elderberries should I use?
How much water?
Do they need to soak first?
How long should they simmer?
And when exactly does the honey go in?
Those details matter, especially because dried elderberries aren’t something I treat like dried blueberries or raisins and casually eat from the bag.
So I’m going to keep this simple and show you exactly how I make elderberry syrup with dried elderberries, including the measurements, cooking time, straining, honey, refrigeration, and a few mistakes worth avoiding.
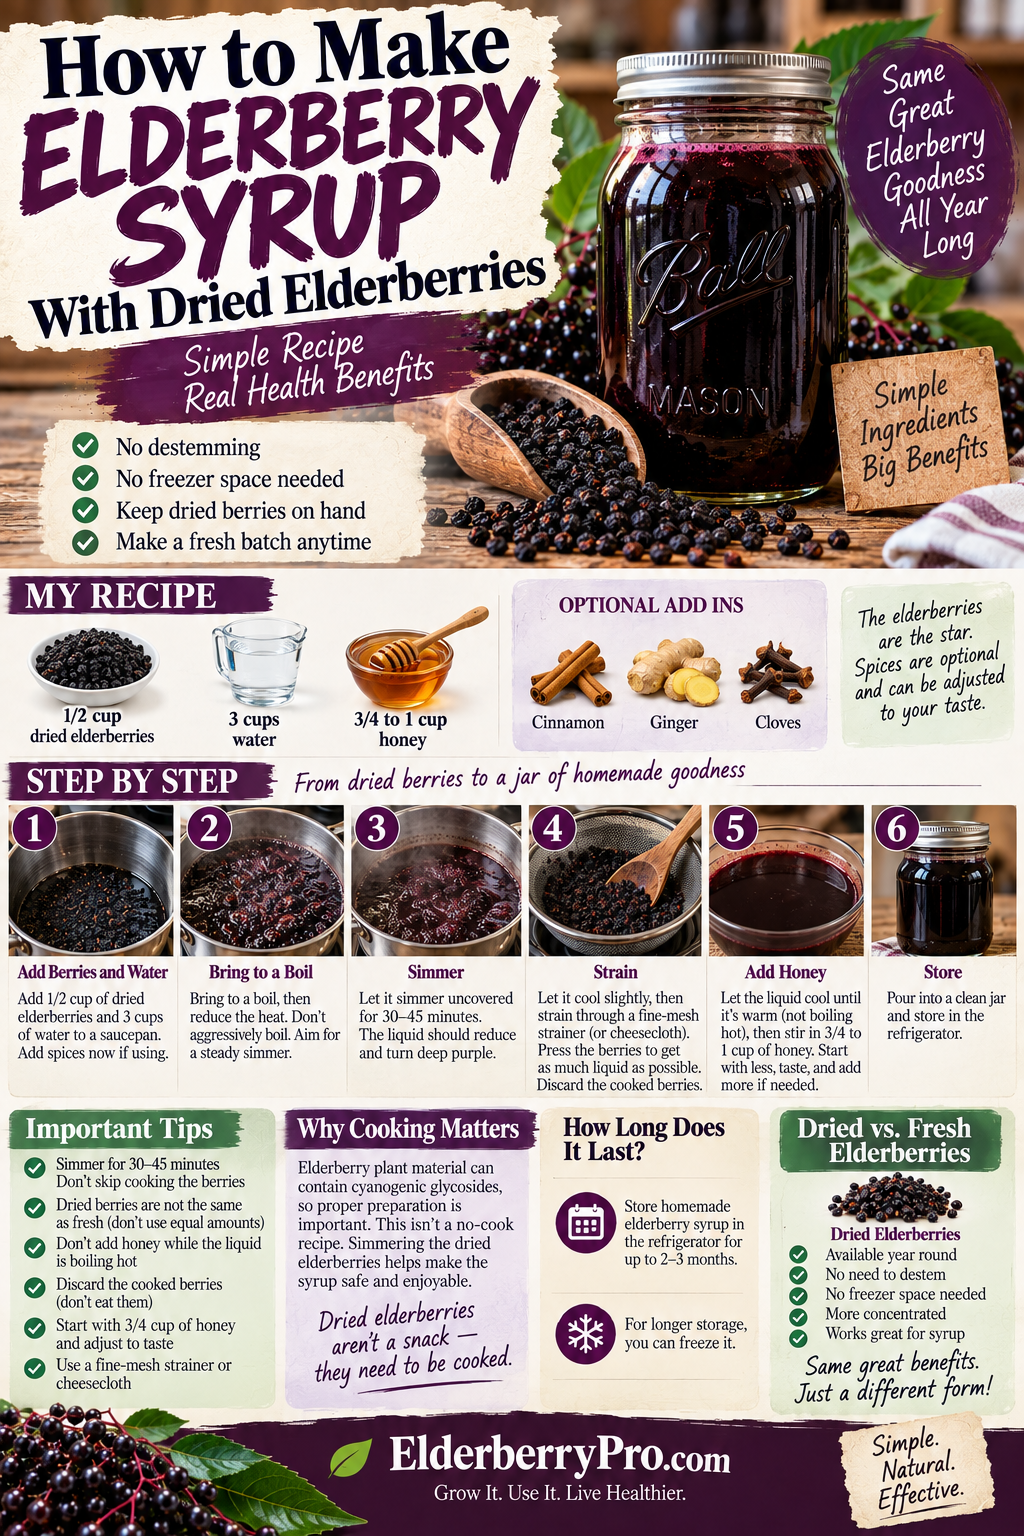
My Dried Elderberry Syrup Recipe
For a basic homemade batch, here’s what I use:
Ingredients
- 1/2 cup dried elderberries
- 3 cups water
- 3/4 to 1 cup honey
That’s the basic recipe.
You can also add cinnamon, ginger, or cloves if you like a spiced syrup, but I don’t think you need a kitchen cabinet full of ingredients to make good elderberry syrup.
The elderberries are the star here.



How Much Dried Elderberry Should You Use for Syrup?
For this recipe, I use 1/2 cup of dried elderberries with 3 cups of water.
That may not look like many berries when you first put them in the saucepan.
Remember that they’re dried.
They’ll absorb water and soften considerably while simmering.
I don’t try to replace fresh elderberries with the same volume of dried berries because the two aren’t equivalent cup for cup.
If you’re new to cooking with them, I’d also spend a few minutes reading my guide on how to use dried elderberries safely. Dried elderberries are incredibly convenient, but knowing how to properly prepare them is important.


Step 1. Add the Dried Elderberries and Water
Add your 1/2 cup of dried elderberries and 3 cups of water to a saucepan.
If you’re adding spices, this is when I add them.
For example, you could use a small cinnamon stick, a few whole cloves, or a little sliced fresh ginger.
I wouldn’t go crazy with the spices the first time.
Elderberry has its own flavor, and you can always adjust your next batch once you know what you like.
Step 2. Bring Everything to a Boil
Bring the water and dried elderberries to a boil.
Once it reaches a boil, reduce the heat.
You aren’t trying to aggressively boil the berries for the entire cooking time.
Instead, I want a steady simmer that extracts the elderberry flavor while gradually reducing the liquid.
You’ll notice the water becoming a deep purple as the berries soften.
That’s exactly what you want.



Step 3. Simmer the Dried Elderberries
Once I’ve reduced the heat, I let the mixture simmer uncovered for approximately 30 to 45 minutes.
I’m looking for the liquid to reduce noticeably rather than watching the clock down to the exact second.
Starting with 3 cups of water gives us room for evaporation while the berries cook.
Don’t crank up the heat because you’re impatient.
A steady simmer is much easier to control than an aggressive boil that suddenly leaves you with far less liquid than expected.
Why I Don’t Skip Cooking the Dried Elderberries
This isn’t one of those recipes where I pour hot water over dried berries, wait five minutes, and call it syrup.
I want the elderberries thoroughly cooked.
Elderberry plant material can contain cyanogenic glycosides, and proper preparation matters. Dried elderberries shouldn’t automatically be treated like ordinary dried snack fruit just because they’ve had the moisture removed.

I’ve gone much deeper into that distinction in Are Dried Elderberries Safe to Eat or Totally Off Limits? if you’re wondering why I make such a point of properly cooking them.
For this recipe, the important takeaway is simple.
Simmer the berries. Don’t eat the leftover dried berries straight from the package, and don’t turn this into a no-cook syrup recipe.



Step 4. Let It Cool Slightly Before Straining
Once the mixture has simmered and reduced, remove the saucepan from the heat.
I let it cool enough that I’m not wrestling with dangerously hot liquid during straining.
Don’t let it become completely cold yet, though.
You’ll still need to strain the berries and eventually dissolve the honey into the liquid.
Step 5. Strain Out the Elderberries
Place a fine-mesh strainer over a clean bowl or measuring container.
Pour the cooked elderberry mixture through the strainer.
I use the back of a spoon to gently press some of the remaining liquid from the berries.
You can also use cheesecloth if you prefer a finer strain.
Just be careful if the mixture is still hot.
Once you’re finished, the cooked berries have done their job. I discard them rather than eating them.
What remains is the concentrated elderberry liquid that becomes the base of the syrup.


Step 6. Let the Elderberry Liquid Cool Before Adding Honey
This is a step I don’t rush.
I don’t add honey while the elderberry mixture is still boiling hot.
Instead, I allow the strained liquid to cool until it’s warm rather than piping hot.
Then I stir in the honey.
For this batch, I generally use 3/4 to 1 cup of honey, depending on how sweet and thick I want the finished syrup.
Start with less if you’re unsure.
You can always taste it and add a little more.
Once the honey is completely dissolved, you’ve got homemade elderberry syrup made from dried elderberries.
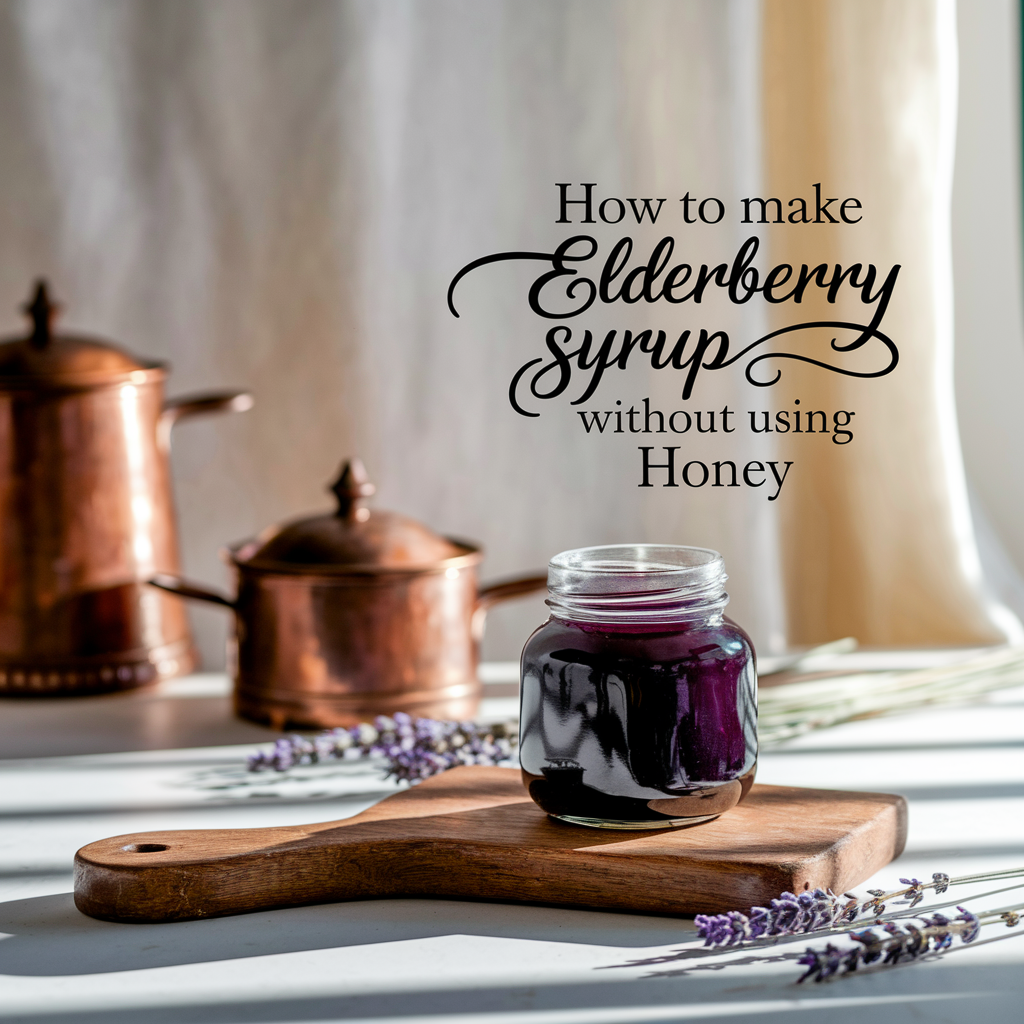
And if honey isn’t something you want to use at all, don’t try randomly removing it from this recipe and assuming storage will remain exactly the same. I have a separate elderberry syrup without honey recipe that makes much more sense for that situation.
How Much Syrup Does This Recipe Make?
The exact amount varies because it depends on how much liquid evaporates while you’re simmering the elderberries and how much honey you eventually add.
That’s one reason I don’t get hung up on trying to hit an exact number of ounces.
Starting with 3 cups of water and 1/2 cup of dried elderberries gives the berries plenty of liquid for simmering while still allowing the mixture to reduce.
If you finish simmering and still have nearly as much liquid as you started with, it probably hasn’t reduced enough.
On the other hand, if you’ve boiled it down to practically nothing, you’ve gone too far.
You’re looking for a concentrated elderberry liquid, not elderberry paste.


How Thick Should Homemade Elderberry Syrup Be?
This surprises some people the first time they make it.
Homemade elderberry syrup doesn’t necessarily have the thick consistency of pancake syrup.
It can be considerably thinner.
Adding honey gives it more body, but I wouldn’t keep boiling the elderberry mixture simply because you’re trying to make it extremely thick.
Remember that the syrup will also seem slightly thicker once it’s refrigerated.
If yours pours easily from the jar, that’s completely normal.
How Long Does Homemade Elderberry Syrup Last?
I treat homemade elderberry syrup as a refrigerated food, not something that can sit in the pantry.
After making it, I transfer the finished syrup into a clean glass jar or bottle with a tight-fitting lid and put it in the refrigerator.
Because homemade recipes, refrigerator temperatures, sanitation, ingredient ratios, and water content vary, I don’t like promising that every homemade batch will remain good for an exact number of weeks.
I prefer making smaller batches that I can use while they’re fresh.
If you notice mold, fermentation, bubbling, an unusual odor, or another obvious change in the syrup, throw it away.
Don’t taste questionable syrup to determine whether it’s still good.
Can You Leave Homemade Elderberry Syrup on the Counter?
No. That’s not how I store it.
Once everything is finished, it goes into the refrigerator.
Honey itself keeps extremely well, but mixing honey with a water-based elderberry preparation creates an entirely different product.
Adding honey doesn’t magically turn homemade elderberry syrup into a shelf-stable preserve.
Can You Freeze Elderberry Syrup?
Yes, freezing is a handy option when you’ve made more than you’ll use soon.
One easy method is freezing the syrup in small portions.
That way, you don’t have to thaw an entire large container every time you need some.
If you’re freezing it in glass, make sure the container is freezer-safe and leave adequate headspace for expansion.
Another option is using an ice cube tray, freezing individual portions, and then transferring the frozen cubes into an appropriate freezer container.
I particularly like the idea of freezing extra syrup instead of making an enormous refrigerated batch and hoping I use it before the quality starts declining.
Dried Elderberries vs. Fresh Elderberries for Syrup
I’ve used both approaches, and each has its place.
Dried elderberries win on convenience.
You can keep them available long after elderberry season ends, they’re already separated from the stems, and they take up very little storage space.
Fresh elderberries are different.
You’re dealing with considerably more moisture in the fruit, and the preparation and measurements aren’t identical.
That’s why I wouldn’t simply take this recipe and substitute the same volume of fresh berries.

If you have freshly harvested or frozen berries instead, follow my fresh elderberry syrup recipe rather than trying to convert this dried-berry recipe on the fly.
Neither method has to be the “better” one.
For me, it comes down to what I have available.
During harvest season, fresh berries make sense.
In the middle of winter when there isn’t an elderberry cluster in sight, having dried berries in the pantry makes homemade syrup considerably easier.
Do You Need to Soak Dried Elderberries Before Making Syrup?
I don’t find a separate overnight soaking step necessary for this recipe.
They’re going directly into water and simmering for 30 to 45 minutes.
During that time, the dried berries soften and rehydrate while the liquid extracts their color and flavor.
That’s different from recipes where dried fruit needs to be rehydrated before it’s used.
For elderberry syrup, the cooking process itself takes care of it.
Can You Double This Dried Elderberry Syrup Recipe?
Yes.
If you want a larger batch, keep the ingredient proportions consistent rather than simply throwing extra berries into the saucepan.
For example:
Regular batch
- 1/2 cup dried elderberries
- 3 cups water
- 3/4 to 1 cup honey
Double batch
- 1 cup dried elderberries
- 6 cups water
- 1 1/2 to 2 cups honey
The larger batch may take longer to reduce because you’re starting with considerably more liquid.
Use the appearance and volume of the mixture along with the clock instead of assuming a doubled recipe will cook identically.
Personally, I don’t see much reason to make gallons of homemade elderberry syrup at once unless you already know you’re going to use it.
Smaller, fresher batches are easy enough to make from dried berries.
Common Mistakes When Making Syrup From Dried Elderberries
The recipe itself isn’t difficult.
Most problems come from trying to rush it or treating the ingredients incorrectly.
Eating the Dried Berries Straight From the Bag
“Dried” doesn’t automatically mean “ready to eat.”
I use dried elderberries as an ingredient that will be properly cooked, not as a snack food.
Barely Heating the Berries
A quick splash of hot water isn’t the method I’m using here.
Bring the elderberries and water to a boil and then give them a proper simmer.
Boiling Away Too Much Liquid
There’s a difference between reducing the liquid and forgetting about the saucepan until hardly anything remains.
Keep an eye on it.
Adding the Honey While Everything Is Still Boiling
I remove the cooked berries first and let the strained elderberry liquid cool before stirring in my honey.
There’s no reason to boil the honey along with the berries.
Assuming Honey Makes the Syrup Shelf Stable
It doesn’t.
This homemade syrup belongs in the refrigerator.
Making Too Much at Once
Dried elderberries are already easy to store.
That’s one of their biggest advantages.
I’d rather store the dried berries and make another fresh batch of syrup later than turn every dried berry I own into syrup at once.
Can You Make Elderberry Syrup From Dried Elderberries?
Absolutely.
In fact, dried elderberries are one of the easiest ways to make homemade elderberry syrup because you aren’t dependent on a short fresh-berry harvest season.
For my basic recipe, the ratio is easy to remember:
1/2 cup dried elderberries + 3 cups water + 3/4 to 1 cup honey.
Simmer the elderberries in the water for approximately 30 to 45 minutes, strain them out, allow the liquid to cool until warm, and then stir in your honey.
That’s really the heart of the entire recipe.
How Long Should You Simmer Dried Elderberries for Syrup?
I aim for approximately 30 to 45 minutes.
But don’t use the timer as your only guide.
You’re also looking for the water to become deeply colored and noticeably reduced.
If you start with 3 cups of water and turn the stove off 30 minutes later without paying any attention to what’s happening in the saucepan, your results can vary considerably depending on your burner, saucepan, and simmer temperature.
I want a gentle, steady simmer.
Not a violent rolling boil.
Can I Make It Without Spices?
Definitely.
Cinnamon, cloves, and ginger are optional.
You can make the entire recipe with only:
Dried elderberries. Water. Honey.
In some ways, I think making a plain batch first is actually better.
You’ll learn what elderberry syrup tastes like without having cinnamon or ginger overpowering everything.
Then you can experiment with later batches.
What Can I Use Instead of Honey?
There are alternatives, but changing the sweetener can also change the flavor, consistency, and storage characteristics of your finished recipe.
That’s why I wouldn’t simply tell you to replace one cup of honey with one cup of anything else.
If honey is something you’re specifically trying to avoid, use the dedicated honey-free recipe I linked earlier rather than treating the sweetener as an insignificant ingredient.
My Simple Dried Elderberry Syrup Routine
Once you’ve made this a couple of times, it becomes an incredibly straightforward kitchen project.
Here’s the whole process condensed:
- Measure 1/2 cup dried elderberries.
- Add them to 3 cups of water.
- Bring the mixture to a boil.
- Reduce the heat.
- Simmer uncovered for approximately 30 to 45 minutes.
- Remove it from the heat.
- Strain out the cooked berries.
- Allow the liquid to cool until warm.
- Stir in 3/4 to 1 cup of honey.
- Transfer the syrup to a clean container and refrigerate it.
That’s it.
You don’t need specialized equipment, and you don’t need an elderberry bush producing fruit outside your kitchen window.
Why I Like Keeping Dried Elderberries Around
Fresh elderberry season doesn’t last very long.
Dried elderberries solve that problem.
Instead of feeling like I need to make every possible elderberry recipe during harvest season, I can keep dried berries stored and make syrup when I actually want it.
They’re also useful for more than syrup.
My guide to using dried elderberries safely and effectively at home covers some of the other practical ways I use them and the preparation considerations that come with dried elderberries.
That versatility is really why I think they’re worth keeping around.
A Few Last Things I Wouldn’t Overcomplicate
If this is your first batch, make the basic recipe.
Don’t worry about creating the world’s most elaborate elderberry syrup.
Use dried elderberries, water, and honey.
Cook the berries thoroughly.
Strain them.
Add your honey after the liquid has cooled.
Refrigerate the finished syrup.
Once you’ve made a basic batch successfully, then start playing around with cinnamon, ginger, cloves, different sweetness levels, or larger batches.
The beauty of using dried elderberries is that if you decide you want to change something, you can simply make another batch.
There’s no waiting until next year’s elderberry harvest.
About the Author
Avery Collins is a backyard fruit grower and gardening writer who enjoys turning elderberries into something practical instead of making them complicated. Through Elderberry Pro, Avery shares straightforward elderberry growing, harvesting, storage, and kitchen guides for people who want answers they can actually use.