
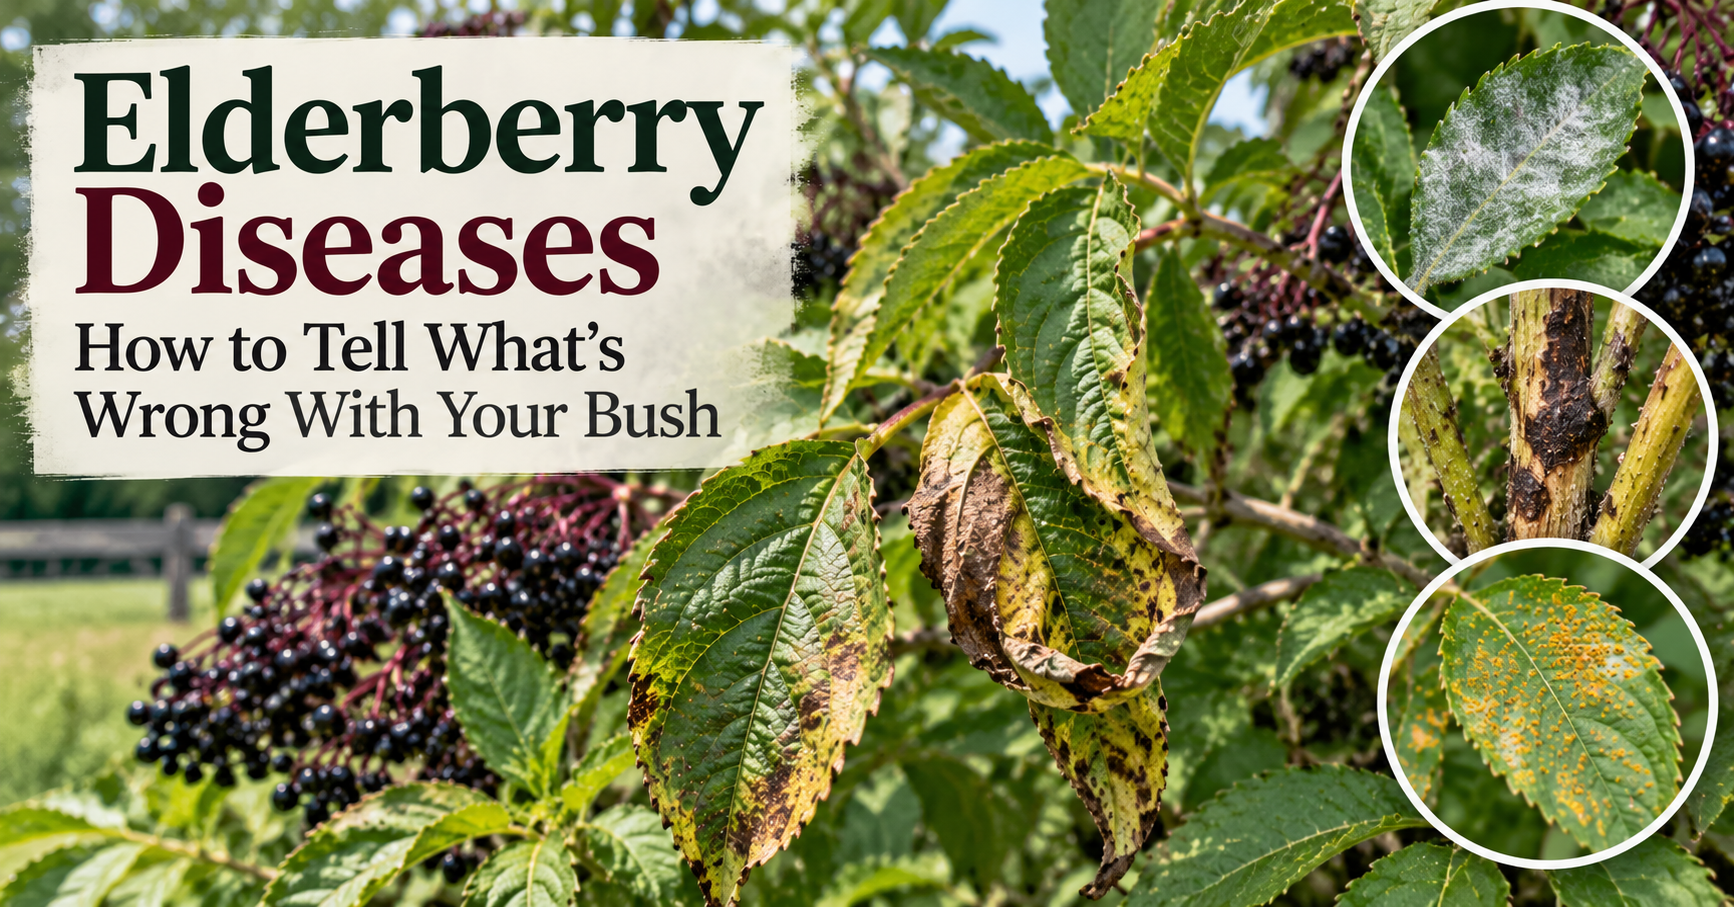
When an elderberry bush starts looking terrible, “disease” is often the first thing that comes to mind.
Sometimes that’s exactly what’s happening.
Other times the plant is drowning in wet soil, suffering through drought, being attacked by an insect, or reacting to something that has nothing to do with disease.
That’s why I don’t diagnose elderberry problems from one ugly leaf.
I look for patterns.
White or gray powder?
Powdery mildew moves up my list.
Bright orange growth or pustules?
I’m thinking about elderberry rust.
Sunken damaged areas on a cane with everything above them dying?
Now canker deserves attention.
Distinct spots spreading across leaves?
A leaf spot disease becomes more plausible.
Mottling, unusual patterns, poor production, and long-term decline?
That’s when viral disease becomes much more concerning.
The appearance of the damage is what gives us somewhere useful to start.
What Diseases Affect Elderberry Bushes?
Elderberries can develop several fungal, bacterial, and viral diseases.
Some of the ones worth knowing include:
- Elderberry rust.
- Powdery mildew.
- Fungal cankers and cane dieback.
- Leaf spot diseases.
- Tomato ringspot virus.
- Root rots.
- Verticillium wilt.
Not every disease is equally common or equally destructive.
Some mostly make the plant look ugly.
Others can reduce berry production.
And a few can contribute to serious long-term decline.
That’s why identification matters before treatment.



Start With What You Can Actually See
I think this is much easier than memorizing a list of disease names.
Stand in front of the elderberry and identify the dominant symptom.
White or gray powder
Start with powdery mildew.
Bright orange or gold pustules
Investigate elderberry rust.
Brown, purple, or dark spots on leaves
Investigate leaf spot diseases.
Sunken or dead sections of cane
Think about cankers and cane dieback.
Strange mottling or line patterns with declining vigor
Viral disease deserves consideration.
Chronic wilting with poor root conditions
Investigate root disease and environmental stress.
That doesn’t give you a laboratory diagnosis.
It gives you a sensible direction.

Elderberry Rust Has One of the Most Distinctive Symptoms
If I see bright orange growth on an elderberry, rust immediately gets my attention.
Elderberry rust is a fungal disease caused by Puccinia sambuci.
It can infect:
leaves,
leaf stalks,
stems,
and flowers.
One of the classic symptoms is bright orange pustules or lesions appearing on elderberry tissue in spring.
That’s considerably more distinctive than a leaf simply looking unhealthy.
What Does Elderberry Rust Look Like?
Look for orange or gold-colored fungal growth.
Infected leaves may become distorted.
Heavier infections can cause defoliation.
Stems may twist, bend, or curl.
Flower clusters can also become covered with rust spores, which can interfere with berry formation.
That’s one reason I wouldn’t dismiss rust as merely cosmetic.
A heavy infection can affect both plant growth and fruit production.



Elderberry Rust Has a Strange Relationship With Sedges
This is one of the more interesting elderberry disease cycles.
Elderberry rust uses two different hosts.
Elderberry is one.
Sedges in the genus Carex are the other.
The fungus moves between the two as part of its life cycle.
So if you have elderberry rust and sedges growing nearby, those sedges aren’t necessarily innocent bystanders.
That doesn’t mean I start destroying every grass-like plant on the property.
Correct identification matters.
But it explains why rust can persist in areas where both hosts are available.
What Should You Do With Rust-Infected Growth?
For a small home planting with limited infection, removing affected plant material can be useful.
I don’t leave heavily infected material lying underneath the bush afterward.
Sanitation matters because we’re dealing with a disease organism capable of producing and spreading spores.
Missouri Extension notes that very light infections may not require control, while heavier disease pressure can justify management because of potential fruit loss.
That’s a much better approach than seeing one orange spot and immediately spraying every elderberry on the property.
Look at severity.
Then respond appropriately.

Powdery Mildew Looks Completely Different
Powdery mildew is one of those diseases whose name actually does a decent job describing the symptom.
You’re looking for a white or gray powdery fungal growth on plant surfaces.
It can affect:
leaves,
shoots,
buds,
flowers,
and fruit.
If I can wipe my finger near a suspicious white area and it looks like the plant has been dusted with flour, powdery mildew becomes much more plausible than rust.
The two diseases don’t look remotely identical once you know what you’re looking for.
What Conditions Encourage Powdery Mildew?
Dense, shaded growth with poor airflow can make powdery mildew more troublesome.
That’s one reason elderberry pruning isn’t only about controlling size.
Opening an overcrowded canopy improves air movement.
I also avoid creating unnecessarily wet foliage through poor irrigation practices.
Good garden sanitation helps too.
Infected leaves and plant debris shouldn’t simply accumulate indefinitely underneath the bush.
The goal is reducing conditions that help disease persist.
Does Powdery Mildew Kill Elderberry Bushes?
I wouldn’t assume a little powdery mildew means the bush is dying.
Powdery mildew can certainly damage growth and become problematic, but the severity matters.
A small amount on an otherwise vigorous plant is different from extensive infection affecting shoots, flowers, and fruit.
That’s why I look at the entire plant.
How much is infected?
Is new growth being stunted?
Are flower clusters affected?
Is fruit production suffering?
Those questions tell me more than the disease name alone.
Fungal Cankers Attack the Canes
This is where the diagnostic process moves away from the leaves.
Cankers are damaged or dead areas on woody tissue.
They may appear sunken, discolored, or otherwise different from healthy surrounding bark.
And here’s the important part:
Growth above the canker may wilt or die.
That’s because a canker can damage enough of the cane to interfere with the tissue supporting everything above it.
If one elderberry cane is browning or wilting, inspect the stem.
Don’t assume the problem started in the leaves.



What Does an Elderberry Canker Look Like?
I’m looking for:
sunken areas,
discolored bark,
dead sections,
a noticeable boundary between healthy and damaged tissue,
or a lesion associated with dieback above it.
Several fungi can cause canker diseases in elderberry, so I wouldn’t try to identify the exact fungus from one photograph unless the symptoms were particularly distinctive or a diagnostic lab confirmed it.
For a backyard grower, recognizing canker-type damage is already useful.
You know the problem isn’t simply a thirsty leaf.
Stress Can Make Canker Problems Worse
This is another reason plant health matters.
Drought.
Flooding.
Winter injury.
Other forms of stress.
These can leave elderberry tissue more vulnerable to canker-causing fungi.
That doesn’t mean every stressed elderberry develops canker.
It means keeping the plant healthy is part of disease management.
A plant already struggling with saturated roots or severe drought has enough problems without damaged tissue becoming another entry point for disease.
What Should You Do With a Cankered Cane?
If I’ve identified a clearly infected cane, I want the diseased portion out of the planting.
Prune back into healthy tissue.
Use clean tools.
Remove the infected material from the area.
And don’t leave obviously diseased cane pieces sitting underneath the elderberry afterward.
If multiple canes are affected or the problem reaches major structural tissue, the situation becomes more serious and I’d consider getting Extension or a plant diagnostic lab involved.
Don’t Confuse Canker With Elderberry Borer Damage
These two can produce a frustratingly similar result:
one cane wilting or dying while the rest of the bush looks healthier.
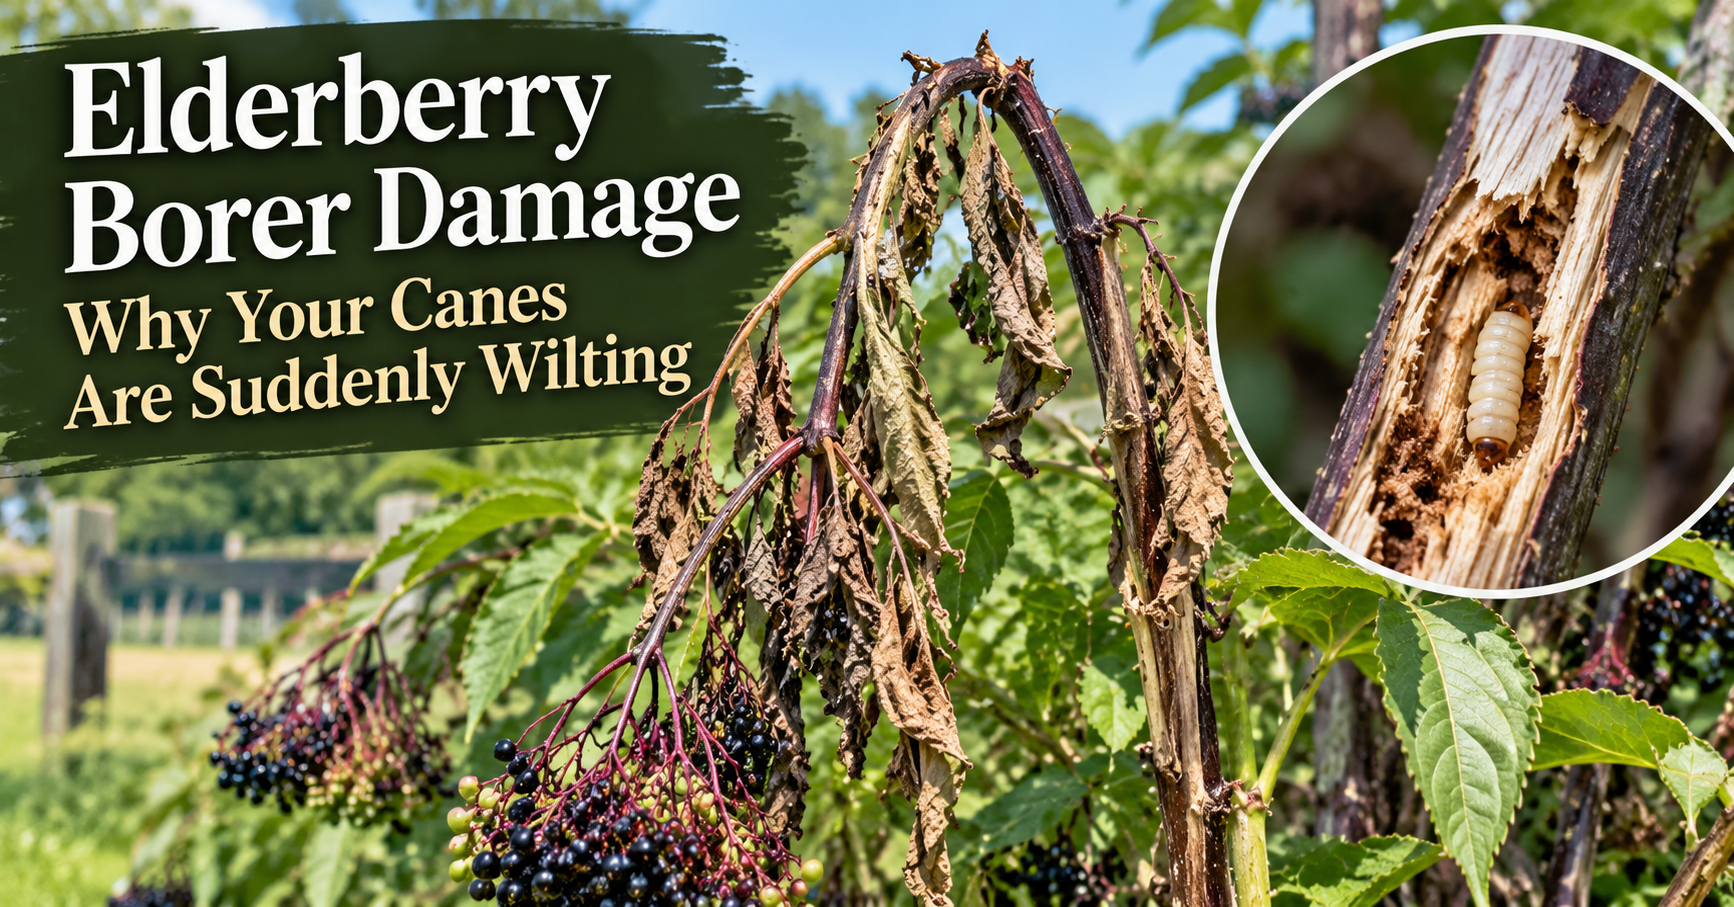
That’s why we built a separate elderberry borer damage guide.
If you find a hole and internal tunneling, investigate borers.
If you find sunken diseased bark or a canker-like lesion with dieback above it, disease becomes more plausible.
Same wilted cane.
Different underlying problem.
Leaf Spot Diseases Can Look Scary Without Killing the Bush
Leaf spots are another broad category rather than one single elderberry disease.
Different fungal or bacterial organisms can create spots on foliage.
Those spots may be:
brown,
purple,
dark,
or surrounded by discolored tissue.
A few spots don’t automatically mean the elderberry is doomed.
But widespread spotting, premature leaf drop, or recurring disease deserves attention.
The pattern matters.
Missouri Elderberries Can Develop Bacterial Leaf Spot
This is particularly relevant to me because Missouri Extension has documented bacterial leaf spot on elderberry.
The disease has caused economic damage in Missouri plantings.
That’s a good reminder that not every leaf spot is fungal.
And it reinforces why I don’t automatically grab a fungicide every time I see spots.
If the problem is bacterial, treating it as though you’ve positively identified a fungus isn’t particularly logical.
When leaf spotting is severe or unfamiliar, diagnosis becomes valuable.
Moisture and Leaf Wetness Matter
Many leaf diseases benefit from prolonged moisture on plant surfaces.
That’s why I prefer watering the root zone rather than repeatedly soaking the foliage when I have a choice.
Airflow matters too.
A crowded elderberry canopy can remain wet longer after rain or irrigation than an open, well-managed plant.
You can’t stop rain.
But you can avoid making the plant unnecessarily dense and wet.
Tomato Ringspot Virus Is More Serious
This is one disease I wouldn’t shrug off.
Tomato ringspot virus can weaken elderberry plants, reduce production, cause shoot dieback, and contribute to eventual plant death.
Unfortunately, this isn’t a disease where you spray something on the leaves and cure the virus.
That’s why prevention and correct diagnosis matter so much.
What Does Tomato Ringspot Virus Look Like?
Symptoms can include unusual patterns in the foliage.
You may see:
line patterns,
oak-leaf-like patterns,
mottling,
areas of light and dark green,
general yellowing,
declining vigor,
reduced production,
or shoot dieback.
The frustrating part is that not every infected plant necessarily displays one perfect textbook symptom.
That’s why I would not diagnose tomato ringspot virus based solely on one yellow leaf.
A long-term pattern of decline and characteristic foliage symptoms deserves much more serious investigation.
How Does Tomato Ringspot Virus Spread?
This virus can be transmitted by dagger nematodes in the soil.
Certain weeds can also act as hosts.
Pollen transmission has also been associated with the disease.
That makes prevention more complicated than simply removing one ugly leaf.
If I genuinely suspected tomato ringspot virus, I’d want professional diagnostic confirmation rather than guessing.
A virus diagnosis has much bigger implications than deciding whether a plant needs more water.
Can Tomato Ringspot Virus Be Cured?
There isn’t a simple curative treatment that removes the virus from an infected elderberry.
Extension guidance recommends removing infected plants.
That’s a significant step.
It’s another reason I wouldn’t diagnose this casually from pictures on the internet.
If you’re considering destroying an established elderberry because you think it has a serious virus, that’s a situation where I’d want diagnostic help.
Root Rot Starts Below Ground
Root rot is another reason above-ground symptoms can mislead you.
You may see:
poor growth,
yellowing,
wilting,
dieback,
or an elderberry that simply seems to decline despite having plenty of water.
But the real problem may be underneath the soil.
Poor drainage creates conditions where roots can remain saturated and become vulnerable to decay.
Elderberries like moisture.
That doesn’t mean they want their roots sitting permanently in stagnant water.
More Water Isn’t the Answer to Root Rot
This sounds obvious when you read it.
It’s much less obvious when you’re standing beside a wilted plant.
Wilt = thirsty.
So you water.
The plant keeps wilting.
So you water again.
If the roots are already compromised by saturated conditions, you’re pushing in exactly the wrong direction.
That’s why soil moisture and drainage belong in any elderberry diagnosis.
Don’t judge what’s happening underground solely from what the leaves look like.
Verticillium Wilt Can Be Harder to Diagnose
Verticillium wilt is another soilborne disease worth knowing about.
The frustrating thing about wilt diseases is that their symptoms overlap with plenty of other elderberry problems.
A plant may wilt.
Leaves may yellow.
Growth may decline.
Canes may die back.
Those symptoms don’t scream one specific diagnosis.
That’s why I wouldn’t see a wilted elderberry and immediately announce that it has Verticillium.
I want to rule out the simpler possibilities first.
A Wilted Elderberry Doesn’t Automatically Have a Disease
This distinction is extremely important.
An elderberry can wilt because it’s too dry.
It can wilt because the root zone is saturated.
It can wilt after transplanting.
Heat can make foliage droop.
Root damage can interfere with water uptake.
Borers can interrupt individual canes.
And diseases can cause wilting too.

So when wilting is the dominant symptom and you don’t have obvious disease signs, my elderberry wilting guide is the better place to begin.
This disease guide becomes more useful when the plant gives you additional evidence.
Yellow Leaves Don’t Automatically Mean Disease Either
The same principle applies to yellow foliage.
Nitrogen problems.
Water stress.
Root problems.
Natural leaf aging.
Soil conditions.
Pests.
Disease.
All can potentially contribute to yellowing.
That’s why “yellow elderberry leaves” deserves its own diagnostic page instead of being buried inside a disease article.
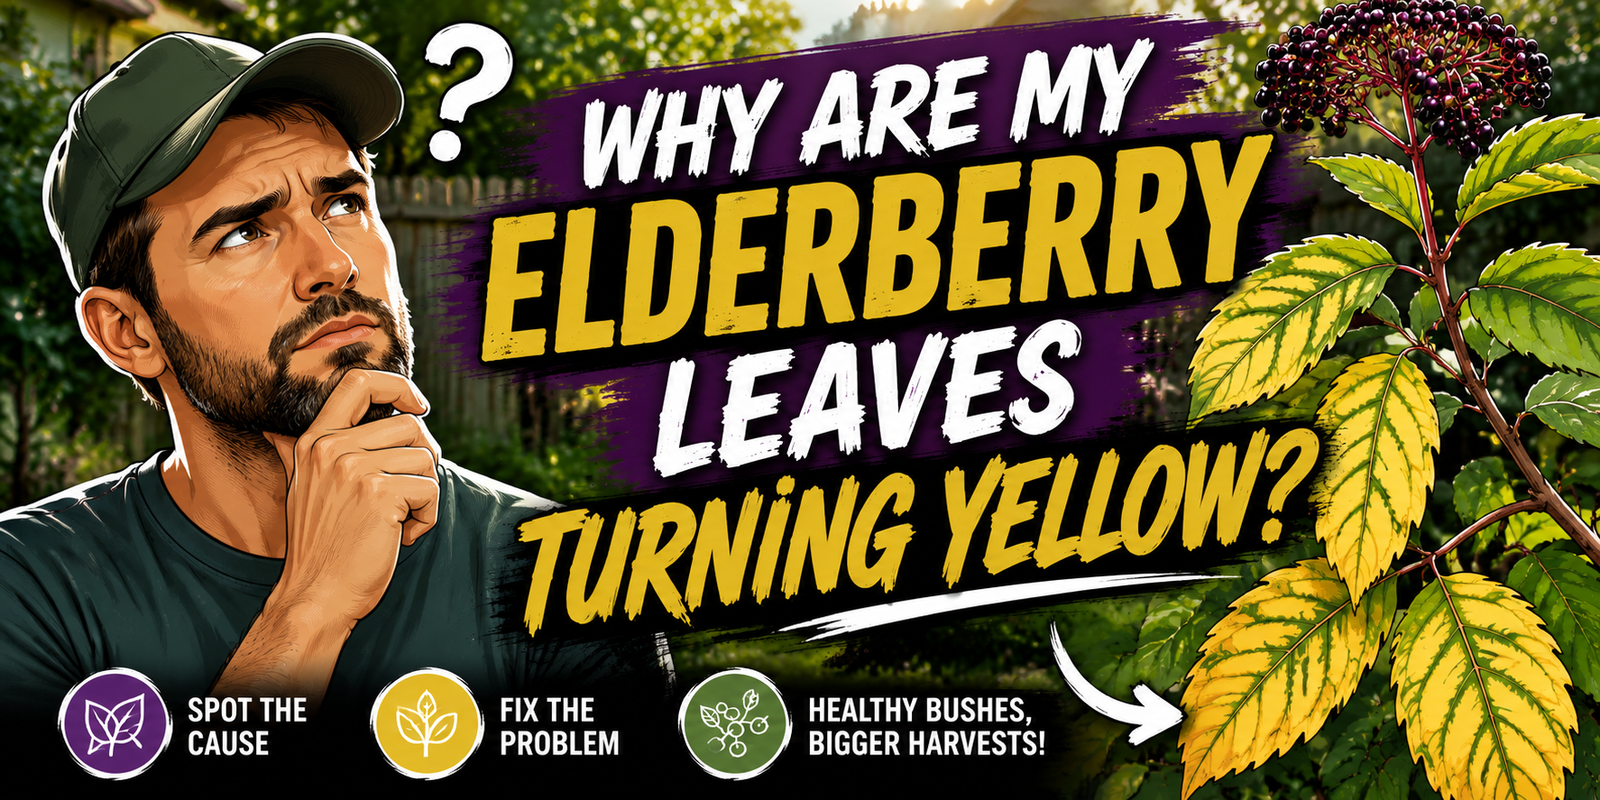
If yellowing is the main thing you’re seeing, start with Why Are My Elderberry Leaves Turning Yellow? and then come back to disease if the other symptoms point you here.
Curled Leaves Aren’t Proof of Disease
We just covered this in detail on the site because curled elderberry leaves can be especially misleading.
Eriophyid mites can cause puckering and inward curl.
Aphids can distort new growth.
Herbicide drift can twist leaves dramatically.
Water stress can alter foliage.
Some diseases can also distort leaves.
So:
curling = symptom
not:
curling = disease
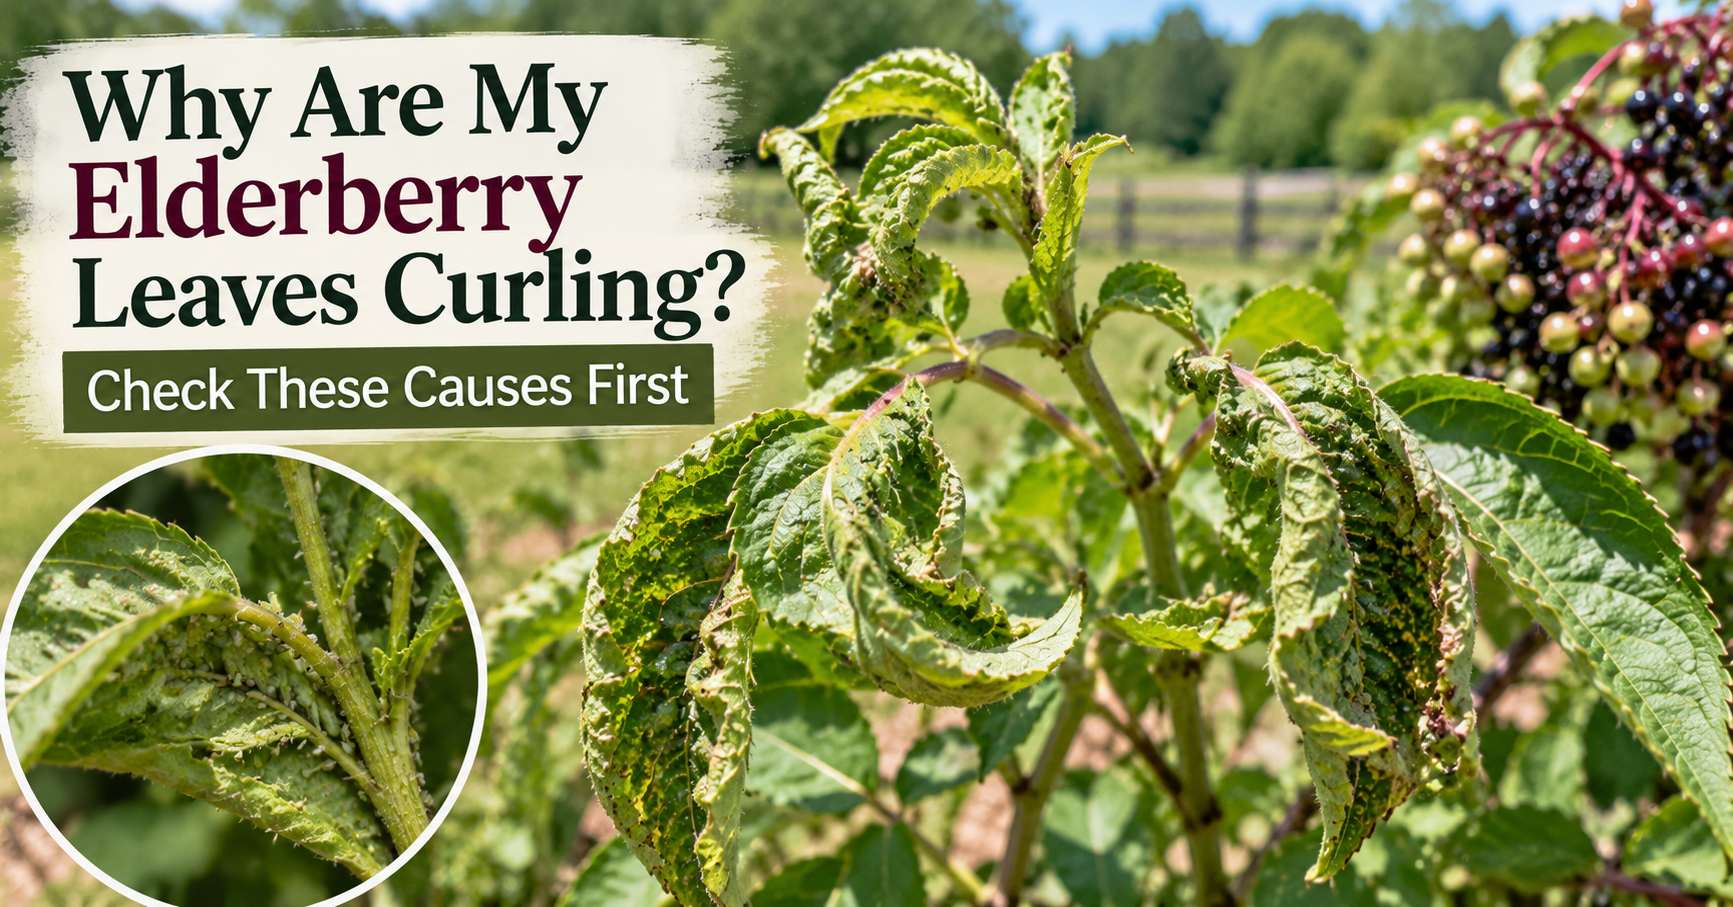
If curling or puckering is the dominant problem, use Why Are My Elderberry Leaves Curling? to work through those possibilities first.
Here’s How I’d Narrow Down an Elderberry Disease
Rather than memorizing disease names, I use the symptom pattern.
White or Gray Powder on Leaves
Powdery mildew becomes one of my first suspects.
Bright Orange Growth
Investigate elderberry rust.
Distinct Brown, Purple, or Dark Leaf Spots
Leaf spot diseases deserve investigation.
Sunken Dead Area on a Cane
Look closely for canker.
Hole and Internal Tunneling in a Wilted Cane
That’s more suggestive of boring insects than disease.
Strange Mottling or Line Patterns With Long-Term Decline
Viral disease becomes more concerning.
Chronic Decline in Constantly Wet Soil
Root disease moves higher on the list.
Plain Yellowing With No Distinct Disease Pattern
Don’t assume disease yet.
Plain Curling With No Spots or Fungal Growth
Look for pests, herbicide injury, and environmental stress.
That’s a much more practical way to use this article.
Look at the Entire Elderberry Bush
One diseased-looking leaf can send you into a panic.
Step back.
How much of the plant is actually affected?
One leaf?
One cane?
Half the bush?
Every plant in the row?
That pattern tells you something.
A single damaged leaf is very different from every elderberry in a planting developing the same symptoms simultaneously.
Likewise, one dying cane suggests a different diagnostic path than an entire root system failing.
Don’t let the ugliest leaf on the plant become your entire diagnosis.
Look at Nearby Plants Too
This is something I think gardeners overlook.
If several unrelated plants nearby develop strange symptoms at the same time, I start thinking about environmental causes.
Herbicide drift.
Flooding.
Drought.
Weather injury.
A shared soil problem.
If only elderberries are affected, a host-specific pest or disease becomes more plausible.
Again, this doesn’t give you a laboratory diagnosis.
It gives you context.
And context is incredibly valuable.
Disease Problems Often Have a Timeline
Try to remember when the problem began.
Did it appear after weeks of rain?
After drought?
Immediately following flowering?
After nearby herbicide use?
Did it start on one cane and spread?
Has the same problem returned for three consecutive years?
Was the plant perfectly healthy last season?
Disease diagnosis gets much easier when you stop looking at the plant as one frozen moment in time.
Good Airflow Helps With Several Fungal Problems
This is one of the simplest cultural things I can control.
Elderberries can become dense.
New canes emerge.
Suckers appear.
Older growth remains.
Before long, the center of an unmanaged bush can become crowded.
Dense foliage tends to dry more slowly after rain.
Opening the plant appropriately through normal pruning can improve airflow and make the entire bush easier to inspect.
That doesn’t guarantee a disease-free elderberry.
But I don’t see any advantage in maintaining a tangled, constantly damp canopy.
Avoid Unnecessary Leaf Wetness
I can’t control rain.
I can control how I irrigate.
When possible, I prefer delivering water around the root zone rather than repeatedly soaking the entire canopy.
This is especially useful when leaf diseases are already a concern.
The plant needs water.
The foliage doesn’t need me intentionally keeping it wet for hours every time I irrigate.
Sanitation Matters
If diseased leaves, fruit, or canes are accumulating around the plant, I don’t automatically leave everything there indefinitely.
Removing clearly diseased material can help reduce sources of inoculum for some diseases.
This is especially important when Extension guidance for the specific disease recommends sanitation.
I also clean pruning tools when working with suspicious diseased growth.
Moving directly from a clearly infected cane to healthy plants with dirty tools isn’t a habit I want.
Should You Disinfect Pruning Tools?
When I’m removing diseased material, yes, I think tool sanitation is sensible.
Especially when moving between plants.
The exact disinfectant and contact time can vary depending on the disease and Extension recommendation, so I follow current horticultural guidance rather than inventing my own mixture.
The important habit is recognizing that pruning tools can contact infected plant tissue.
Clean tools are cheap insurance.
Don’t Compost Everything Automatically
Healthy elderberry trimmings are one thing.
Material heavily infected with a serious disease is another.
I don’t automatically toss every diseased cane into my normal compost pile.
Depending on the disease, disposal recommendations may call for removing or destroying infected material.
That’s something I’d verify for the disease I’ve actually identified.
Again, diagnosis comes before treatment.
Should You Spray Fungicide on Elderberry Diseases?
Sometimes fungicides can play a role in managing particular fungal diseases.
But:
fungicide is not a universal elderberry medicine.
It won’t cure a virus.
It won’t repair herbicide damage.
It won’t remove a borer.
It won’t fix saturated roots.
It won’t solve a nutrient deficiency.
And spraying after severe damage has already occurred may not restore affected tissue.
That’s why I don’t spray based on the word “disease.”
I identify what I’m dealing with first.
Timing Matters With Fungicides
Even when a fungicide is appropriate for a particular disease, timing can determine whether it actually helps.
Some disease-management products are most useful preventively or during particular stages of disease development.
Applying something after the infection has already caused extensive tissue damage may not accomplish what you expect.
Always follow the current product label.
The label tells you:
which plants it can be used on,
which diseases it controls,
how much to apply,
how often,
and important harvest restrictions.
Because elderberries are an edible crop, those instructions matter.
Be Especially Careful Around Flowers
Elderberry flowers attract pollinators.
That’s something I don’t want to forget when considering any pesticide treatment.
Bees and other beneficial insects may be actively visiting those flowers.
I don’t casually spray blooming elderberries without considering pollinator exposure and the product label.
Solving one plant problem shouldn’t create another.
Can You Eat Berries From a Diseased Elderberry Bush?
This depends on what’s actually wrong with the plant and what treatments have been applied.
I wouldn’t make one blanket rule for every disease.
If a disease is affecting fruit directly, I don’t use obviously diseased or rotting berries.
If a pesticide has been applied, I follow the product’s harvest interval and label instructions.
And if I can’t confidently identify what’s happening to the plant or fruit, I’m not going to tell someone that questionable berries are automatically fine.
Use healthy, properly prepared fruit.
When Should You Remove the Entire Elderberry Bush?
This isn’t my first response to a few spots or a little powdery mildew.
Whole-plant removal becomes more relevant with serious systemic diseases such as confirmed viral infection, severe root disease, or a plant that’s declining beyond realistic recovery.
Tomato ringspot virus is a good example.
If a diagnostic lab confirms a serious virus for which removal is recommended, keeping the infected plant simply because you don’t want to lose it may allow the problem to persist.
But I wouldn’t destroy a mature elderberry based on an internet guess.
Confirmation matters.
When I’d Stop Guessing and Get a Diagnosis
I’d contact Extension or a plant diagnostic lab when:
- Several elderberries develop the same unexplained symptoms.
- The problem returns every year.
- A plant is declining rapidly.
- I suspect a serious viral disease.
- Root or crown disease appears likely.
- The symptoms don’t match anything confidently.
- I’m considering removing established plants.
- I’m about to spend significant money on treatment.
Sometimes paying for or requesting a proper diagnosis is cheaper than treating the wrong problem for three years.
Take Better Pictures Before Asking for Help
If you’re sending photos to Extension, don’t send one blurry picture of a brown leaf.
Give them context.
Take:
A photo of the entire bush.
A photo showing where the affected cane is located.
Close-ups of damaged leaves.
The underside of leaves.
Any spots, pustules, powder, holes, or cankers.
Healthy growth for comparison.
The base of the plant if root or crown problems are suspected.
If possible, explain:
when symptoms started,
recent weather,
watering practices,
herbicides or pesticides used nearby,
and whether neighboring plants are affected.
You’re giving the diagnostician clues.
The better the clues, the better chance they have of helping you.
Sometimes a Physical Sample Is Better Than Photos
Some plant diseases simply can’t be confidently identified from a photograph.
A diagnostic laboratory may need:
infected tissue,
healthy tissue bordering the damaged area,
roots,
soil,
or another specific sample.
Follow their instructions before collecting anything.
Don’t mail a rotting elderberry branch in a plastic bag without asking what they actually need.
Prevention Starts With the Planting Site
A lot of disease management begins long before symptoms appear.
Healthy elderberries need:
adequate sunlight,
appropriate moisture,
good drainage,
reasonable spacing,
and routine maintenance.
They also benefit from planting material that begins healthy.
That’s why I think disease prevention belongs inside the larger growing strategy rather than being treated as something you only think about after leaves start dying.
My Ultimate Guide to Growing Elderberries Successfully covers those broader growing conditions separately.
This article is where I come once something looks wrong.
Don’t Let Disease Fear Make You Over-Treat a Healthy Bush
Once you know elderberries can get rust, cankers, viruses, root rot, leaf spots, and powdery mildew, it’s easy to start inspecting every blemish like a crime scene.
Plants aren’t perfect.
A leaf can get damaged.
A bug can chew a hole.
Wind can break tissue.
An old leaf can yellow.
A few imperfections don’t automatically mean disease is taking over.
What gets my attention is a pattern.
Symptoms spreading.
Repeated damage.
Distinctive disease structures.
Multiple canes affected.
Production declining.
The plant getting progressively worse.
That’s when investigation becomes important.
My Elderberry Disease Checklist
When something looks wrong, here’s the order I’d use.
Look at the symptom.
Powder? Spots? Orange growth? Canker? Mottling? Wilt?
Look at where it occurs.
One leaf? One cane? Whole bush? Several plants?
Inspect for insects.
Especially if leaves are curled or one cane suddenly wilts.
Check the soil.
Dry? Saturated? Poor drainage?
Think about recent weather.
Heat, drought, flooding, or prolonged wet foliage?
Think about chemical exposure.
Any herbicide or pesticide use nearby?
Compare healthy and unhealthy tissue.
Where does the damage begin?
Photograph everything.
Before pruning it away.
Identify before treating.
Don’t spray because you’re frustrated.
That last step is the one I think saves the most trouble.
The Disease Name Matters Less Than Getting the Diagnosis Right
It’s tempting to search pictures until you find something that looks vaguely similar.
I understand it.
I’ve done the same thing with plants.
But elderberry symptoms overlap.
Yellow leaves can come from disease or water.
Wilting can come from roots or borers.
Curling can come from mites or herbicide.
Dieback can come from cankers or physical damage.
That’s why I don’t want this article to convince you that every unhealthy elderberry has a disease.
I want it to help you recognize when the evidence actually points toward one.
Look for the distinctive clues.
White powder.
Orange pustules.
Sunken cankers.
Leaf spots.
Viral patterns.
Root decline.
Then follow the evidence.
Sometimes the answer will be disease.
Sometimes it won’t.
Either way, your elderberry has a much better chance when you treat the problem it actually has instead of the first problem that showed up in a Google image search.
About the Author
Avery Collins writes about growing, troubleshooting, propagating, and harvesting elderberries for Elderberry Pro. Avery focuses on practical backyard-growing information that helps gardeners identify plant problems accurately before choosing a treatment.