
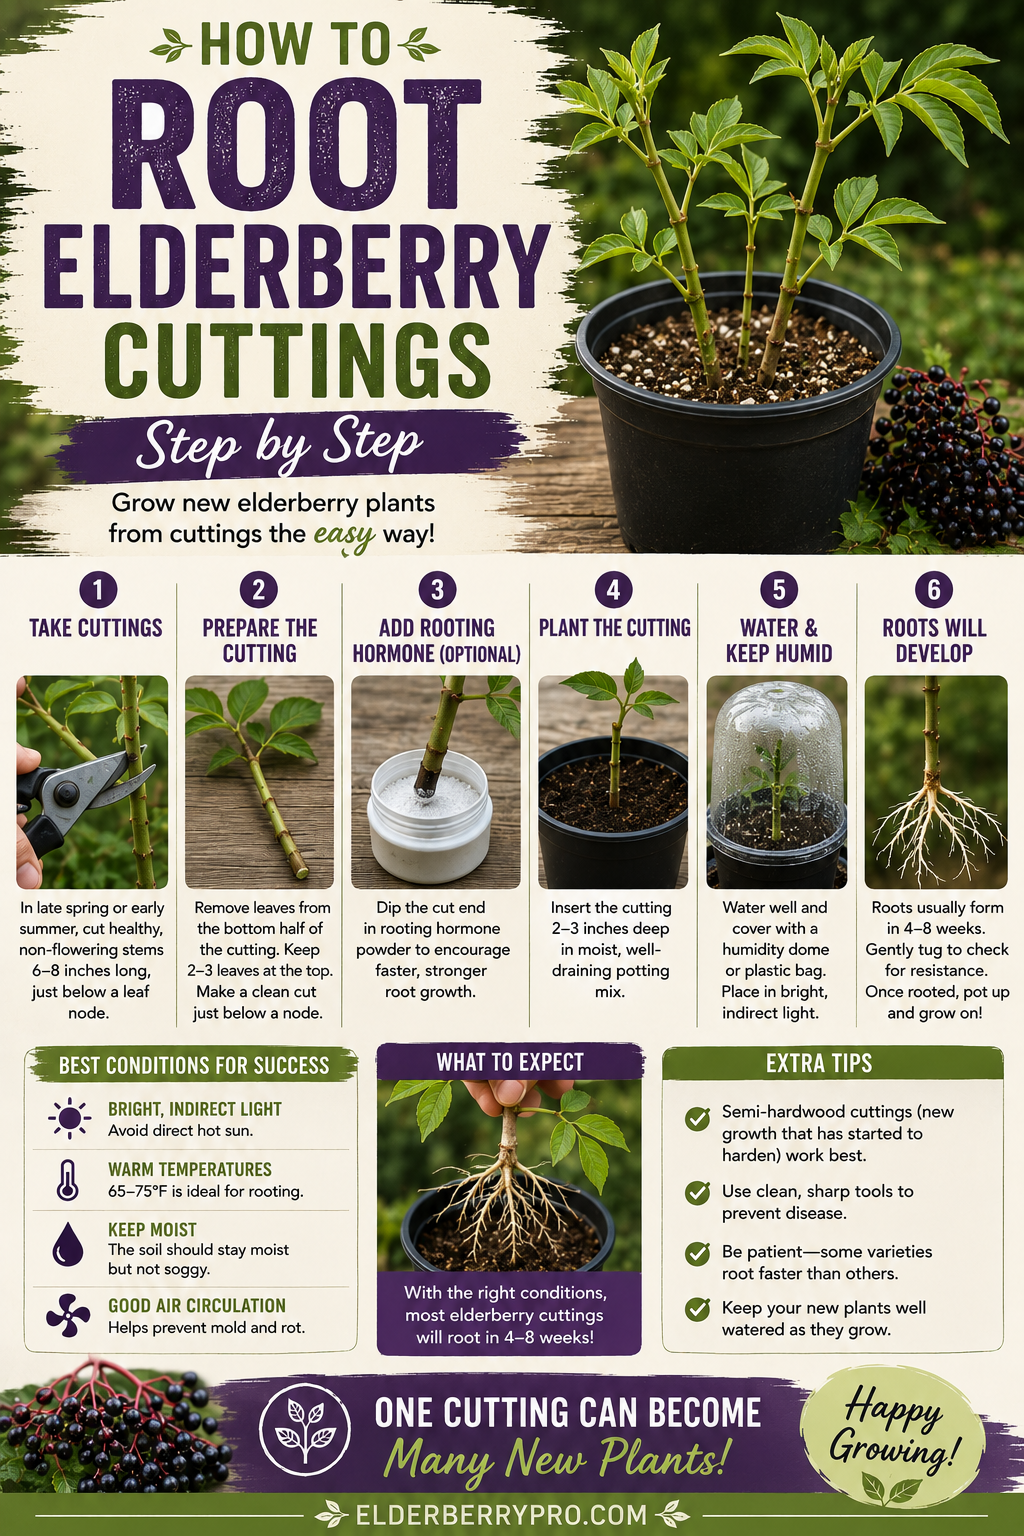
The first elderberry cutting I ever tried to root didn’t survive.
I checked it too often.
I watered it too much.
I second-guessed everything.
Looking back, I probably caused more problems than I solved.
The funny thing is that elderberries are actually one of the easier fruiting shrubs to propagate.
Once I stopped overthinking the process and focused on giving the cuttings what they actually needed, my success rate improved dramatically.
If you’ve never rooted elderberry cuttings before, don’t let the process intimidate you.
It’s much simpler than most people expect.
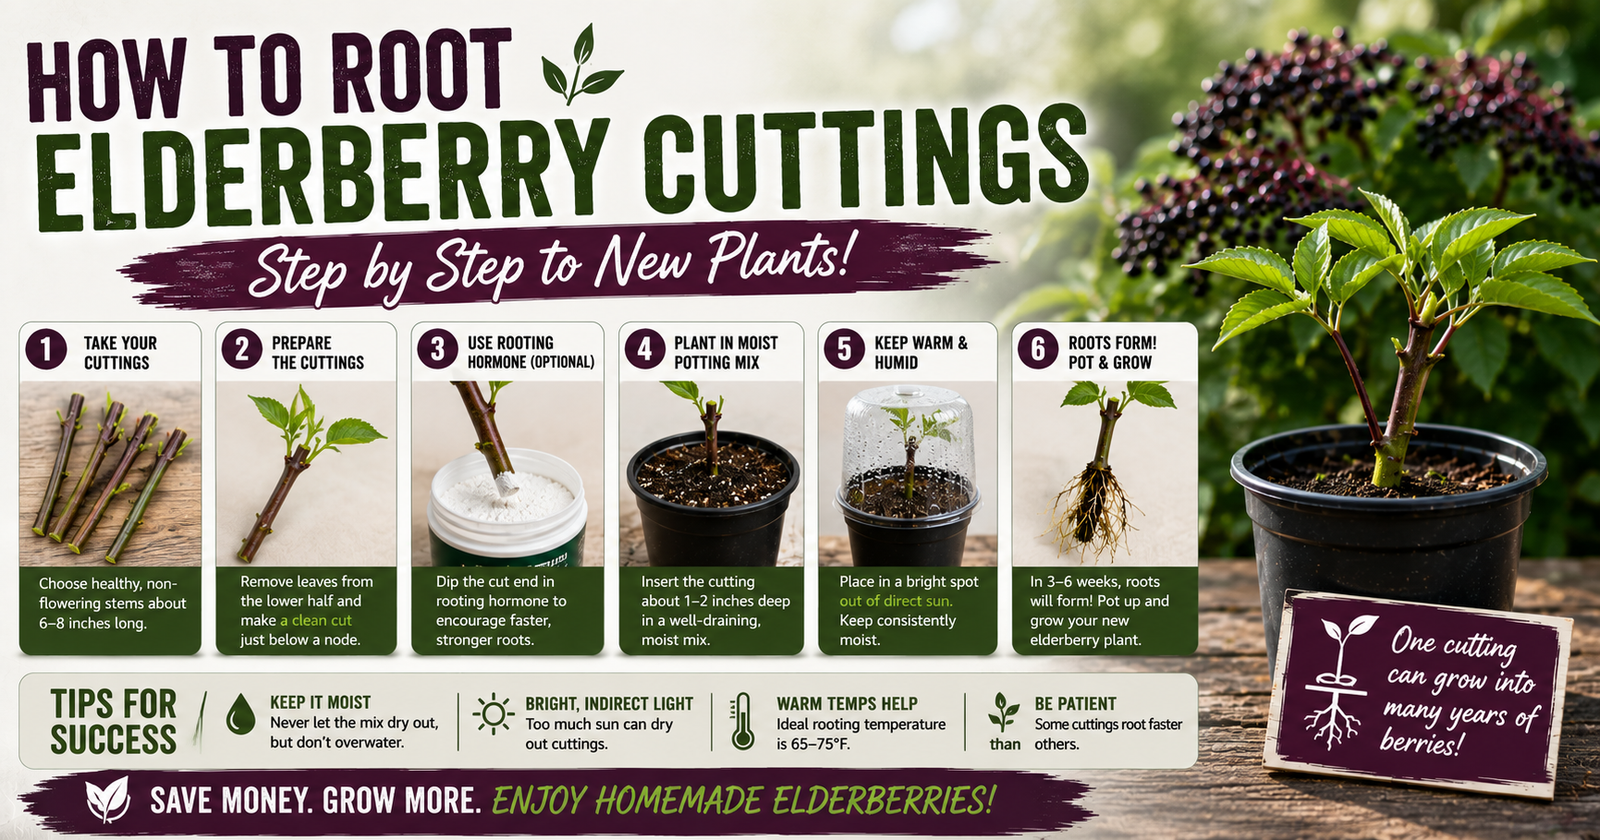
Here’s the method that’s worked well for me and the lessons I’ve learned along the way.
Start With Healthy Parent Plants
Everything begins with the parent bush.
If the plant you’re taking cuttings from is stressed, diseased, or struggling to grow, those problems don’t magically disappear once you make a cutting.
That’s why I always choose vigorous, healthy bushes with strong new growth.
The healthier the parent plant, the better the chances your new cutting develops into a healthy bush of its own.

If you’re still building your elderberry patch, I’ve had excellent results recommending the Live American Elderberry Plants from Weaver Family Farms Nursery because vigorous nursery plants provide excellent material for future propagation projects once they become established.


Choose The Right Stem
Not every branch makes a good cutting.
I usually look for stems that are:
- Healthy and disease-free.
- Free from insect damage.
- Straight and vigorous.
- Thick enough to handle easily without being overly woody.
- Free from flowers or developing berries.
A healthy cutting gives you a much better starting point than trying to rescue weak growth later.


Make Clean Cuts
This is one step I never rush.
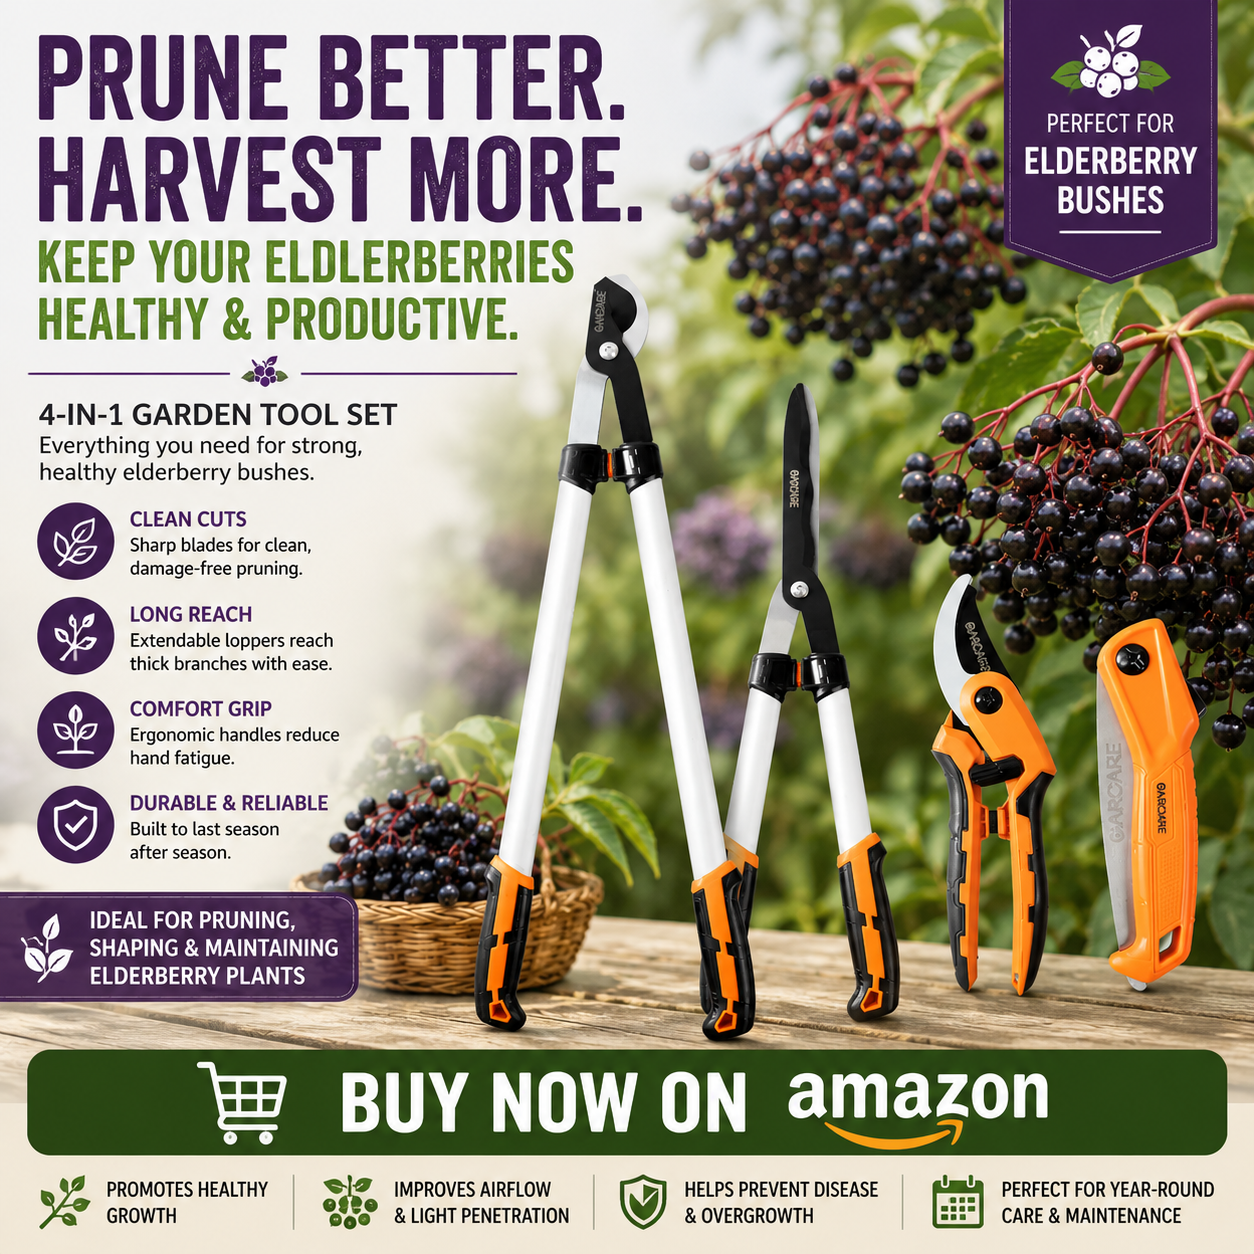
Sharp pruning tools make cleaner cuts that heal faster and reduce unnecessary damage.
Dull blades crush plant tissue instead of slicing cleanly.
That can make rooting more difficult and increase the chance of disease.
I keep my pruning tools clean and sharp throughout the growing season because healthy cuts benefit both the parent bush and the new cutting. These practical steps for how to clean pruning shears can help keep propagation cuts cleaner.
Cut The Stem Into Sections
After removing a healthy cane, I divide it into several smaller sections.
Each cutting usually contains multiple leaf nodes because that’s where new roots are most likely to develop.
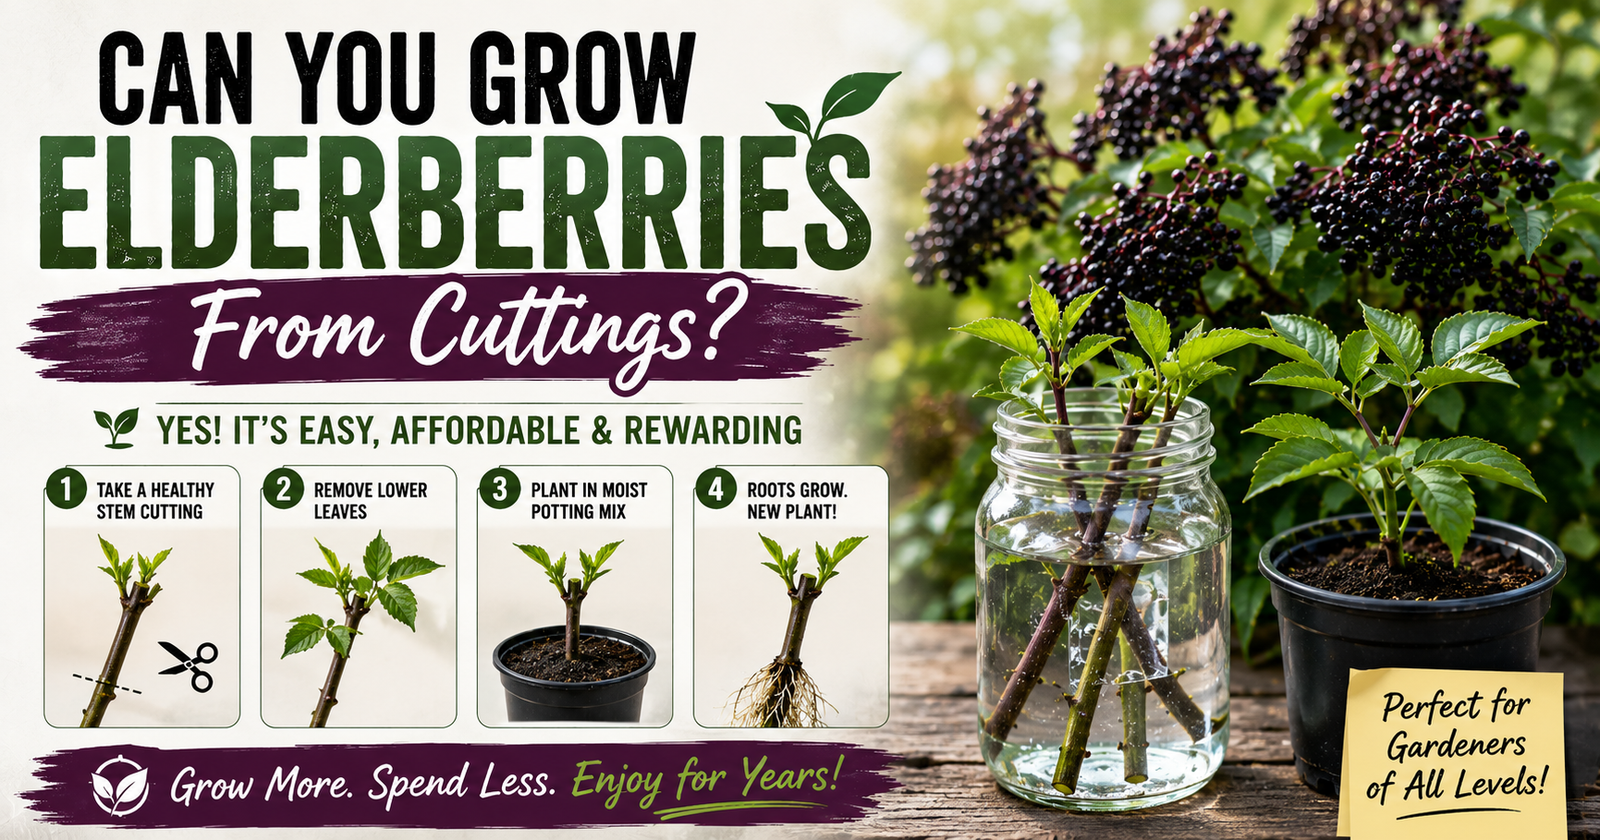
Instead of trying to produce one large plant, I can often create several potential new bushes from a single healthy cane. That possibility is explained in more detail in grow several elderberry bushes from one cane, including why cuttings are such an effective way to expand an elderberry patch.
That’s one of the reasons propagation becomes so rewarding once your elderberries mature.


Remove Extra Leaves
If I’m working with actively growing green cuttings, I remove most of the leaves before planting them.
Too many leaves cause the cutting to lose moisture much faster than it can replace it.
Leaving only a small amount of foliage allows the cutting to continue photosynthesis without drying out nearly as quickly.
It’s a simple step, but one that makes a noticeable difference.
Choose A Light Growing Medium
One of the biggest mistakes I made early on was using heavy garden soil.
It stayed wet for too long.
The cuttings struggled.
Now I use a much lighter rooting medium that drains well while still holding enough moisture for developing roots.
The goal isn’t soaking wet soil.
The goal is consistent moisture with plenty of oxygen reaching the base of the cutting.
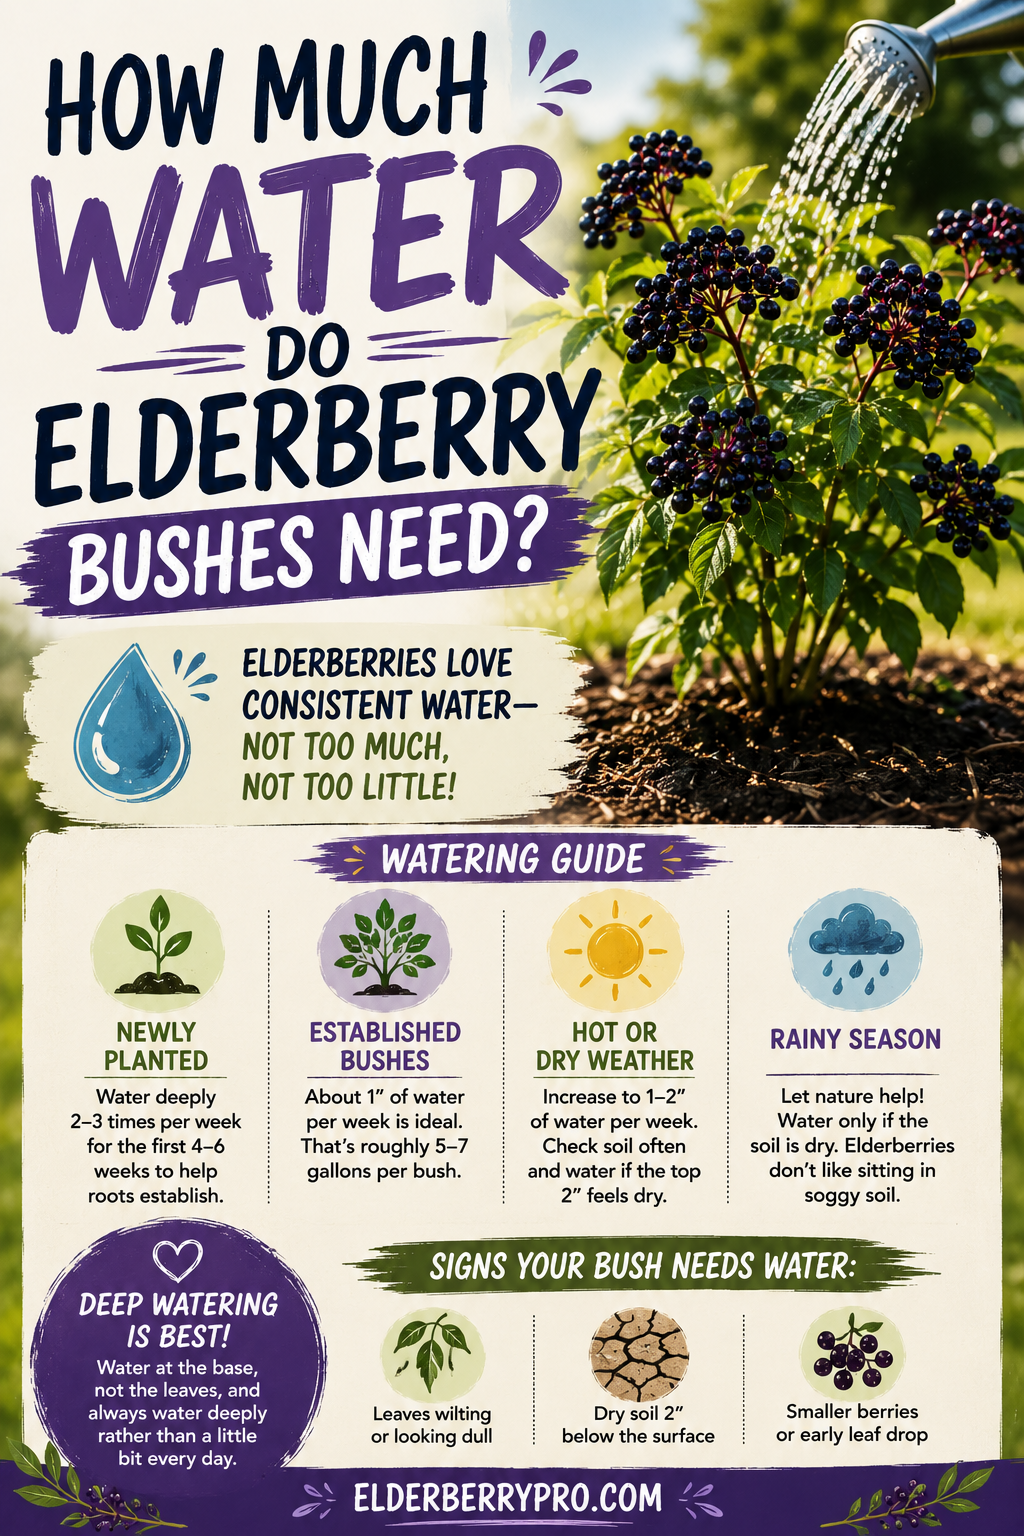
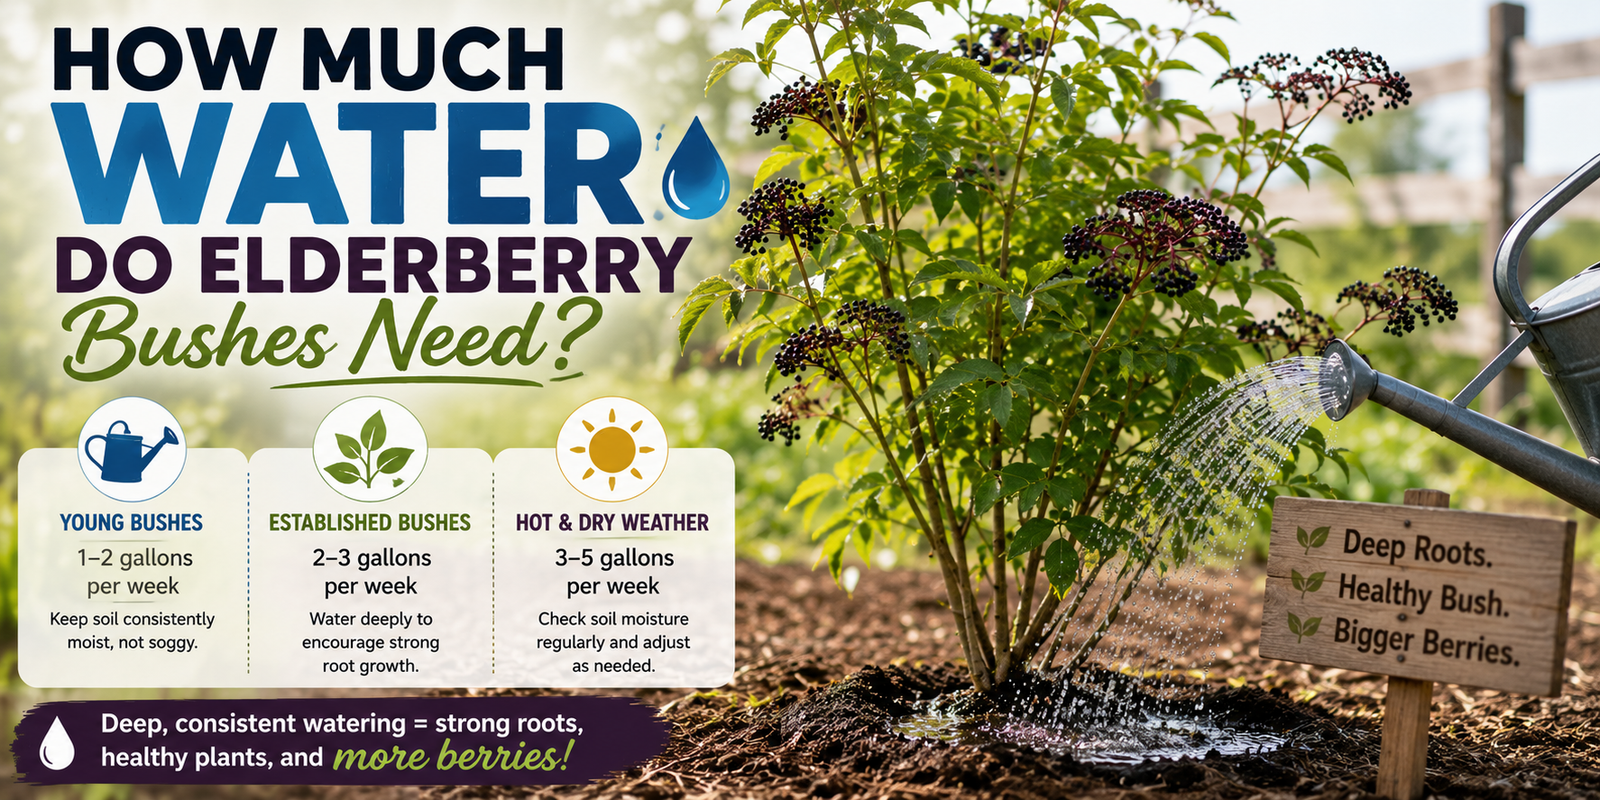
That same principle applies to mature bushes as well. How Much Water Do Elderberry Bushes Need? explains why too much water often causes just as many problems as too little.



Plant The Cuttings Correctly
Once the cuttings are prepared, it’s time to plant them.
I gently push each cutting into the rooting medium until at least two nodes are below the surface.
Those buried nodes are where new roots are most likely to develop.
I leave enough of the cutting above the soil so new buds have room to produce fresh leaves once rooting begins.
After planting, I lightly firm the growing medium around each cutting.
I don’t pack it tightly.
The roots still need access to air as they begin developing.
Keep The Soil Evenly Moist
This is where many people accidentally sabotage their cuttings.
The rooting medium should stay consistently moist.
Not soaking wet.
Not bone dry.
Just evenly moist.
Whenever I check my cuttings, I feel the growing medium first instead of automatically reaching for the watering can.
If it still feels damp, I leave it alone.
Overwatering causes far more failures than slightly dry soil.


Be Patient
This is honestly the hardest part.
After planting my first cuttings, I wanted to check them every few days.
I wanted to know whether roots had started.
Unfortunately, constantly pulling cuttings out of the soil usually damages the tiny roots just beginning to form.
Now I leave them alone.
If the cutting still looks healthy and begins producing fresh leaves, that’s usually an encouraging sign that roots are developing below the surface.
Sometimes the best thing you can do is simply wait.
Give Them Bright, Indirect Light
Fresh cuttings don’t need intense afternoon sun.
Too much direct sunlight can dry them out before roots have a chance to form.
Instead, I place mine somewhere bright with indirect light.
Once they begin producing healthy new growth, I slowly introduce them to more sunlight over time.
That gradual transition has given me much better success than moving them directly into full sun.

Rooting Hormone Can Help, But It Isn’t Required
People often ask whether rooting hormone is necessary.
In my experience, elderberries root well enough that many gardeners skip it entirely.
That said, rooting hormone can improve success rates for some growers, especially if conditions aren’t ideal or you’re working with more difficult hardwood cuttings.
I look at it as a helpful bonus rather than a requirement.
Healthy cuttings taken at the right time are still the biggest factor.
Don’t Rush To Plant Them Outside
One mistake I nearly made was planting newly rooted cuttings into the garden too quickly.
Young roots are delicate.
They benefit from having time to strengthen before facing hot weather, heavy rain, strong winds, or hungry wildlife.
I prefer letting them establish a solid root system before moving them into their permanent location.
That little bit of patience usually pays off with healthier plants later.
Give Them Enough Room Once They’re Established
After your new elderberry plants are ready for the garden, proper spacing becomes incredibly important.
Crowded bushes compete for sunlight, airflow, and nutrients.
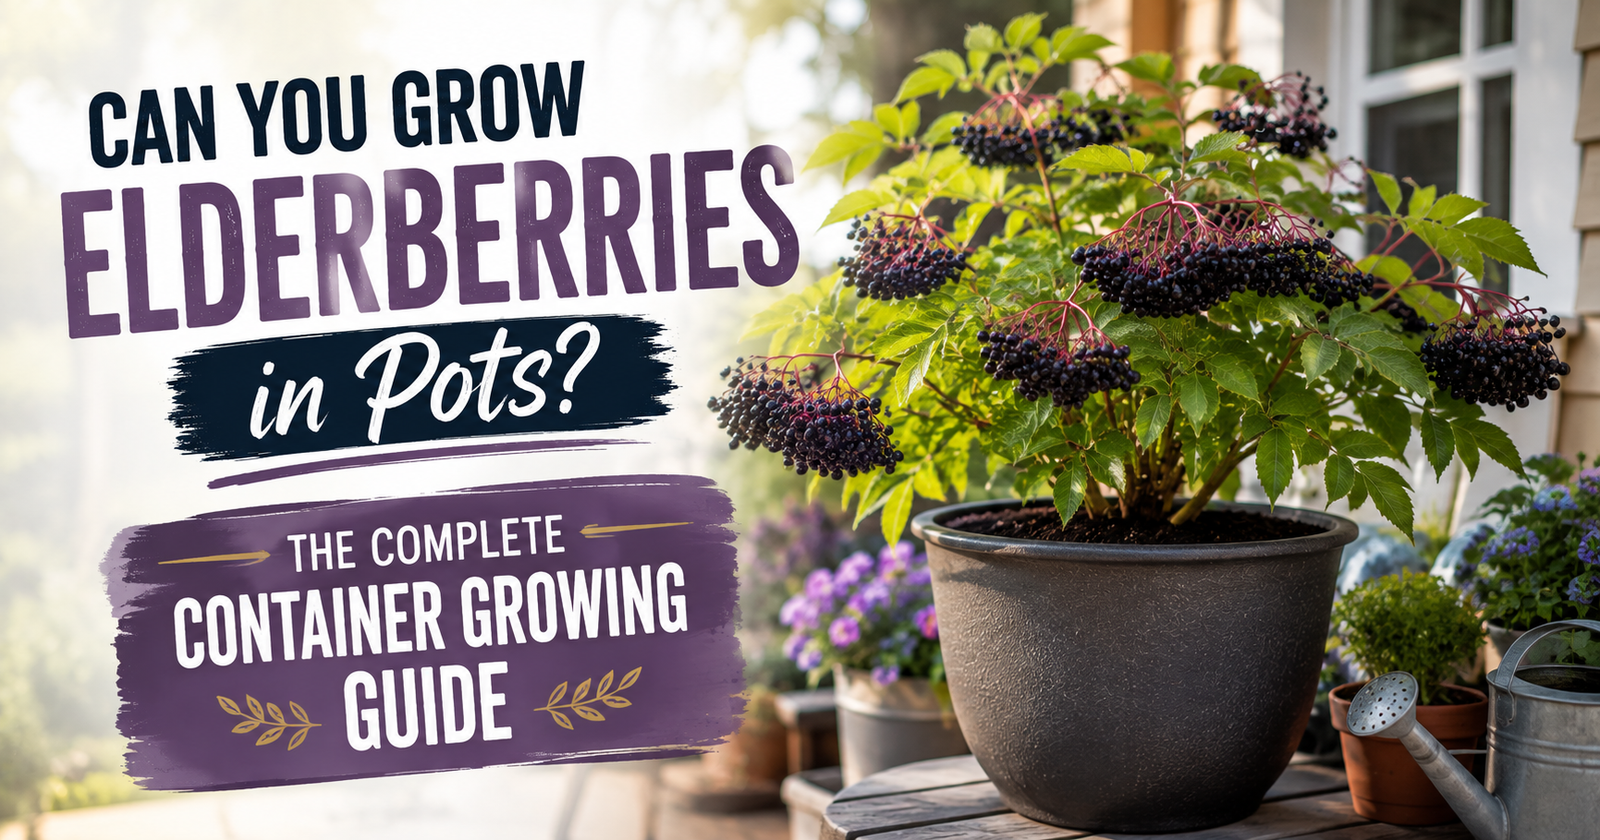
Giving each plant enough room from the beginning makes future pruning easier and encourages healthier growth. If you plan to keep a rooted plant in a pot, choosing the right container size is an important next step.
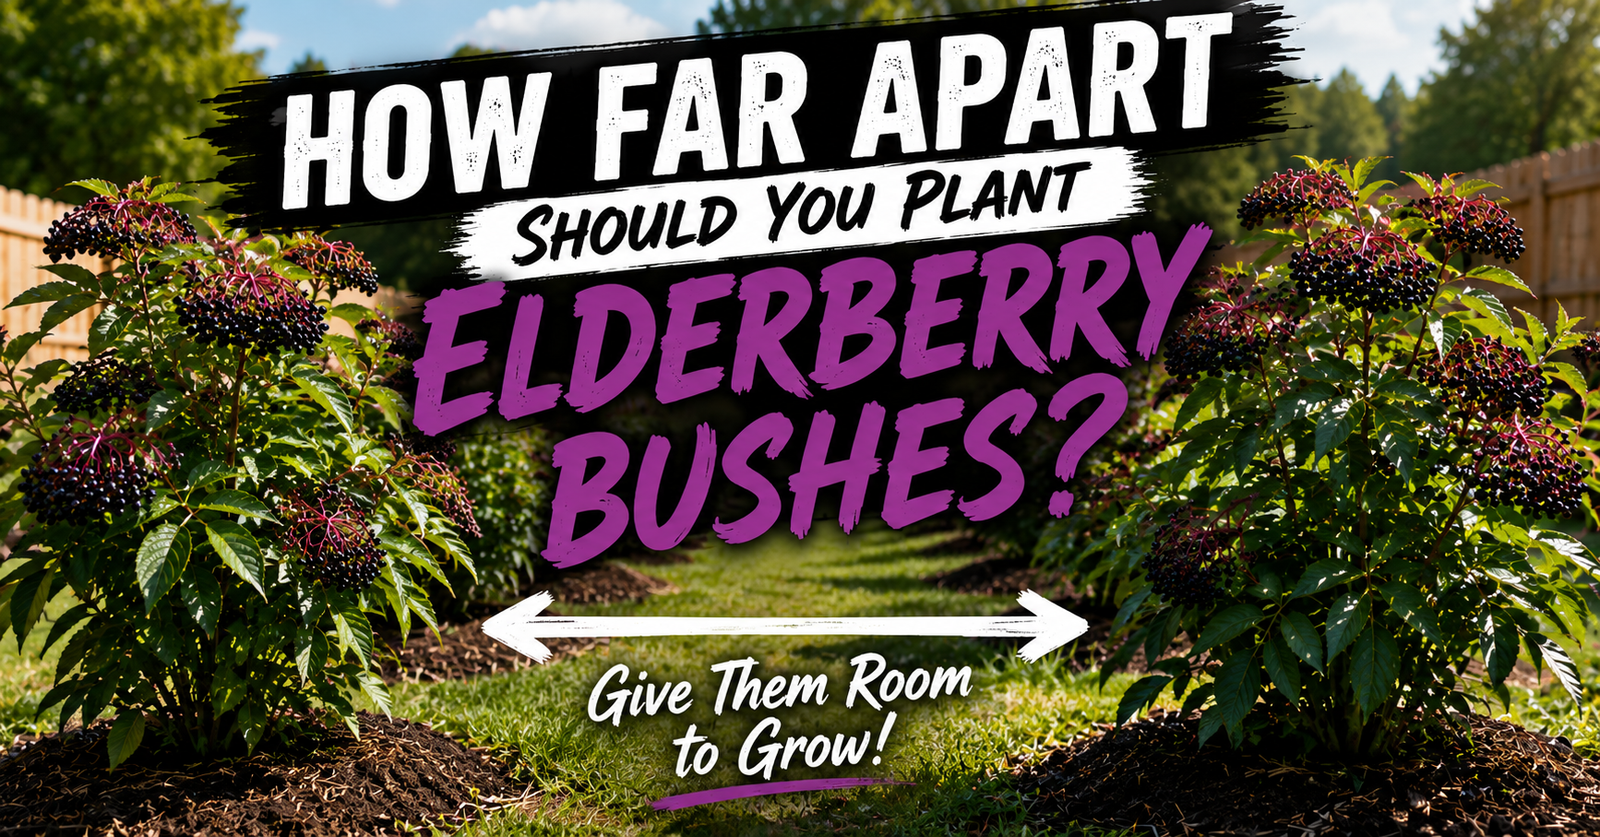
If you’re unsure how much space they need, How Far Apart Should You Plant Elderberry Bushes? explains the spacing that’s worked best for me and why it matters so much several years down the road.
Don’t Forget Where The New Bush Will Eventually Live
It’s easy to become excited when a cutting finally develops roots.
I’ve certainly been there.
But before long, that tiny plant will need a permanent home.
Thinking about its future location ahead of time saves a lot of work later.
I like choosing a location with good sunlight, healthy soil, and enough room for the bush to mature naturally.
Planning now usually prevents overcrowding and unnecessary transplanting a few years later.
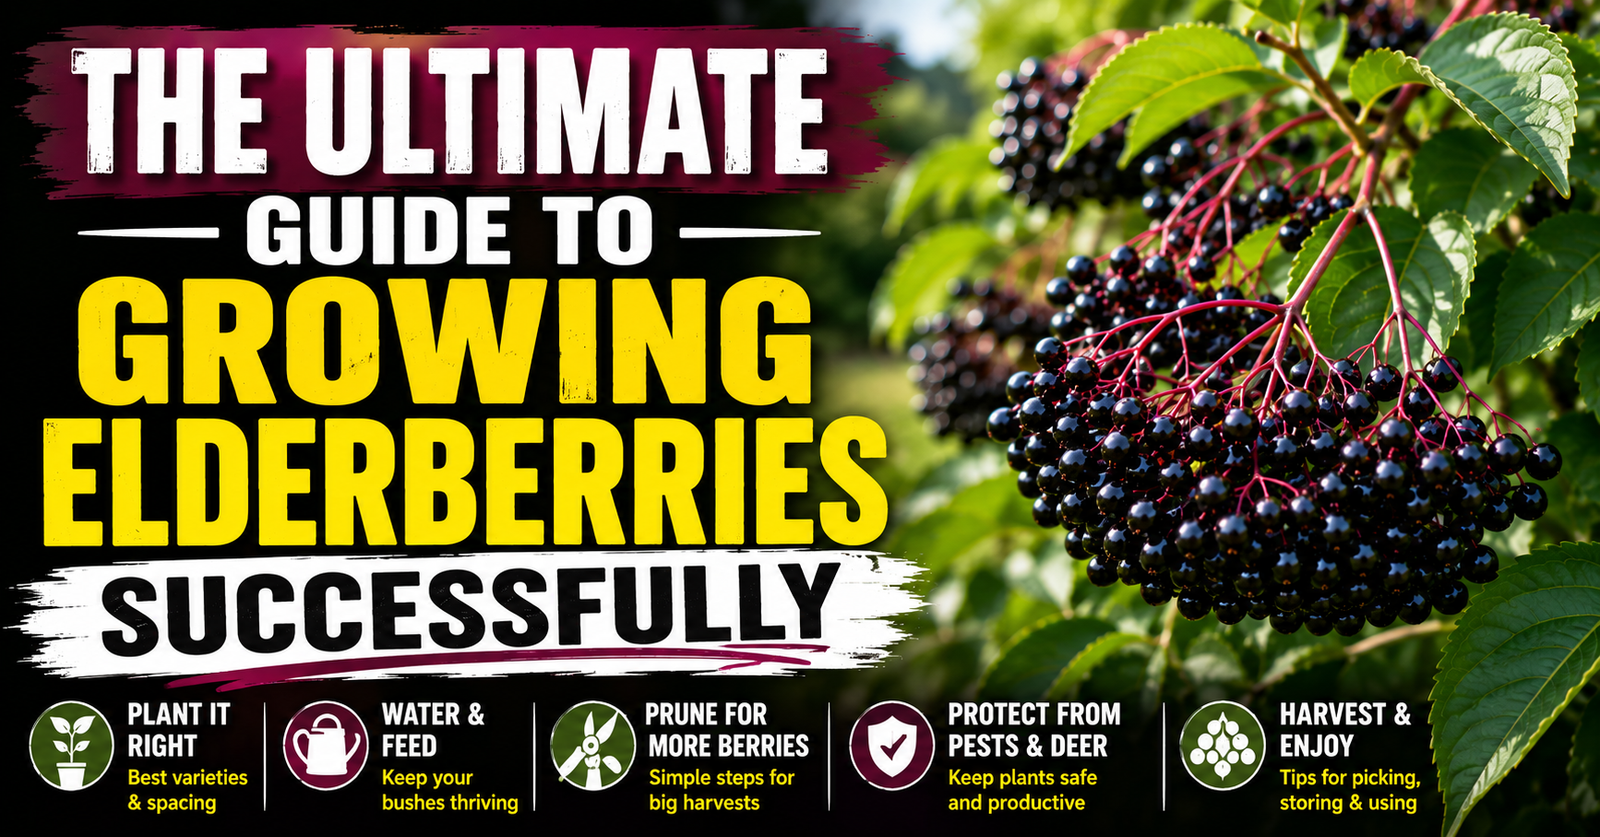
If you’re still deciding where those new bushes should go, The Ultimate Guide to Growing Elderberries Successfullywalks through everything I consider before planting elderberries in a permanent location.
Good Care Continues After Rooting
Rooting the cutting is only the beginning.
Once your new elderberry begins growing, it needs the same care as every other bush.
Consistent watering.
Plenty of sunlight.
Healthy soil.
Annual pruning.
Proper nutrition.
Those habits will do far more for your new plant than any propagation trick ever could.
The stronger your young bush becomes during its first few years, the sooner you’ll be enjoying flowers and eventually harvesting berries from a plant you rooted yourself.
Questions I Get About Rooting Elderberry Cuttings
Once people realize how easy elderberries can be to propagate, they usually have a lot of questions. Here are the ones I hear most often.
How Long Does It Take Elderberry Cuttings To Root?
There’s no exact timeline because temperature, moisture, light, and the type of cutting all play a role.
Some begin rooting fairly quickly, while others need several weeks before they develop a healthy root system.
I try not to focus on the calendar.
Instead, I watch for healthy new growth, firm stems, and signs that the cutting is actively growing.
Those are much better indicators than counting days.
Can I Root Elderberry Cuttings In Water?
Yes, some gardeners have success rooting elderberry cuttings in water.
Personally, I prefer rooting them directly in a quality growing medium because the roots are already adapted to soil when it’s time to transplant.
Water rooting can certainly work, but moving those delicate water roots into potting mix sometimes causes additional stress.
I’ll cover both methods in detail in my upcoming guide on rooting elderberry cuttings in water so you can decide which approach fits your gardening style.
Should I Cover My Cuttings With Plastic?
Sometimes.
A humidity dome or loose plastic cover can help reduce moisture loss while roots are developing.
The important part is maintaining airflow.
Completely sealing the cuttings without ventilation can encourage mold and rot.
If I use a cover, I always make sure there’s enough air circulation to keep everything healthy.
When Will My New Bush Produce Berries?
This is probably the question I get more than any other.
Everyone wants berries as quickly as possible.
Newly rooted cuttings usually spend their first season building roots and producing healthy canes.
Once they’re established, growth often accelerates.
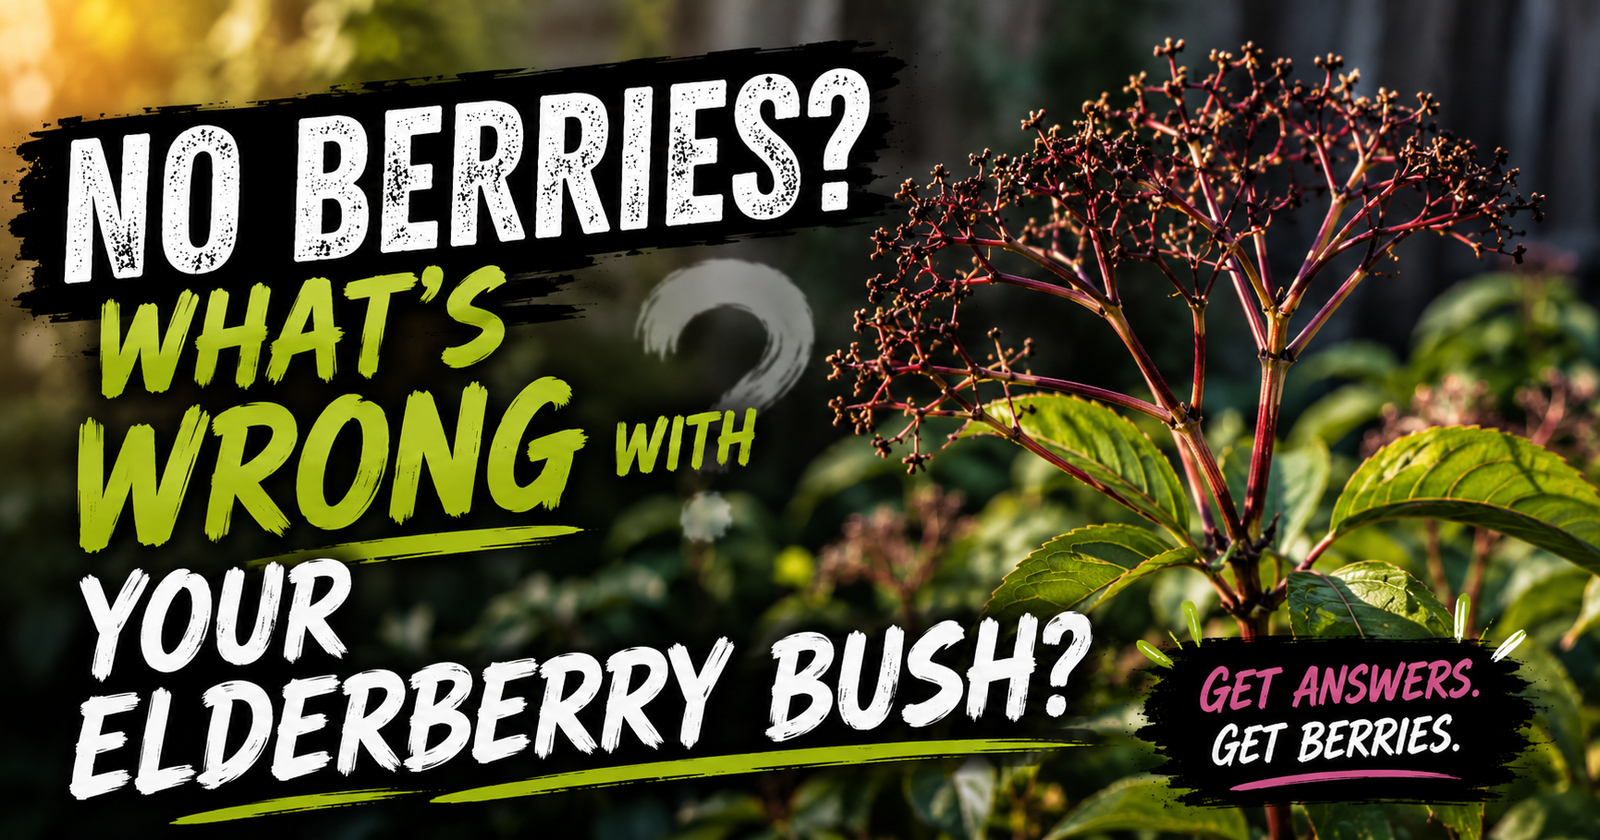
If you’re curious about what to realistically expect, How Long Does It Take an Elderberry Bush to Produce Fruit?explains the timeline I’ve experienced and the factors that influence it.
Propagation Gets Easier Every Time
My first elderberry cutting felt like an experiment.
Now it’s simply part of my yearly routine.
The more cuttings you root, the more comfortable the process becomes.
You start recognizing healthy canes.
You learn how much moisture is enough.
You become more patient.
Like most gardening skills, confidence comes from doing it a few times.
Don’t be discouraged if every cutting doesn’t survive.
Even experienced growers lose some.
Why I Love Growing Elderberries From Cuttings
There’s something incredibly satisfying about looking across your yard and realizing several healthy bushes all came from one original plant.
Not only does propagation save money, but it also gives you the freedom to expand your planting whenever you want.
I’ve rooted extra plants for new garden beds, replaced older bushes, and even shared young elderberries with friends who wanted to start growing them.
It’s one of the most rewarding projects I’ve found in the garden.
Keep Building Your Elderberry Patch
Learning how to root elderberry cuttings opens the door to expanding your garden for years to come. Once you’ve mastered the basics, every healthy bush becomes an opportunity to grow another one.
If you’re continuing to learn about propagation, be sure to read Can You Grow Elderberries From Cuttings? for an overview of the entire process and When Is the Best Time to Take Elderberry Cuttings? to maximize your success. As your new plants mature, Best Fertilizer for Elderberry Bushes That Actually Works will help encourage vigorous growth without overfeeding young plants.
One healthy elderberry bush can eventually become an entire row of productive plants.
That’s one of the things I love most about growing them.
About the Author
Avery Collins
Avery Collins is a backyard fruit grower and gardening writer who enjoys helping home gardeners successfully grow and propagate elderberries. Through Elderberry Pro, Avery shares practical, experience-based advice on planting, pruning, propagation, and harvesting to help readers grow healthier bushes and enjoy larger harvests year after year.