
I killed my first elderberry.
Not dramatically — it didn’t keel over overnight. It just slowly gave up over about eight months, dropping leaves earlier than it should have, never really taking off, and finally just refusing to come back in spring. I’d planted it in the wrong spot, didn’t understand its water needs, and honestly didn’t give it much thought because I assumed it was a tough native plant that could fend for itself.
It is tough. But “tough” doesn’t mean “neglect it and it’ll be fine.”
Since then I’ve planted more elderberries than I can count — on our farm and in my own yard — and I’ve learned what actually makes them thrive. Here’s what I wish someone had told me at the start.


Why Elderberries Are Worth Growing
Before we get into the how, it’s worth saying why. Elderberry is one of the most productive and useful plants you can put in the ground. A mature bush can produce 12–15 pounds of berries per season. It grows fast — most plants hit full production by year three. It’s native to North America, which means it’s adapted to our climate, resistant to most pests, and genuinely good for local pollinators.
And once you’re harvesting your own berries, you have raw material for elderberry syrup, jelly, wine, tea, and more — all from your backyard. That changes the math on a lot of things.


Choosing the Right Variety
This is where most people make their first mistake — they buy whatever’s available at the local nursery without thinking about variety.
There are two main species worth knowing: American elderberry (Sambucus canadensis) and European elderberry (Sambucus nigra). American elderberry is more cold-hardy, more vigorous, and better adapted to a wider range of U.S. growing conditions. European elderberry tends to produce larger individual berries and has a slightly different flavor profile. Both are excellent. The choice usually comes down to your climate and what you want to do with the harvest.
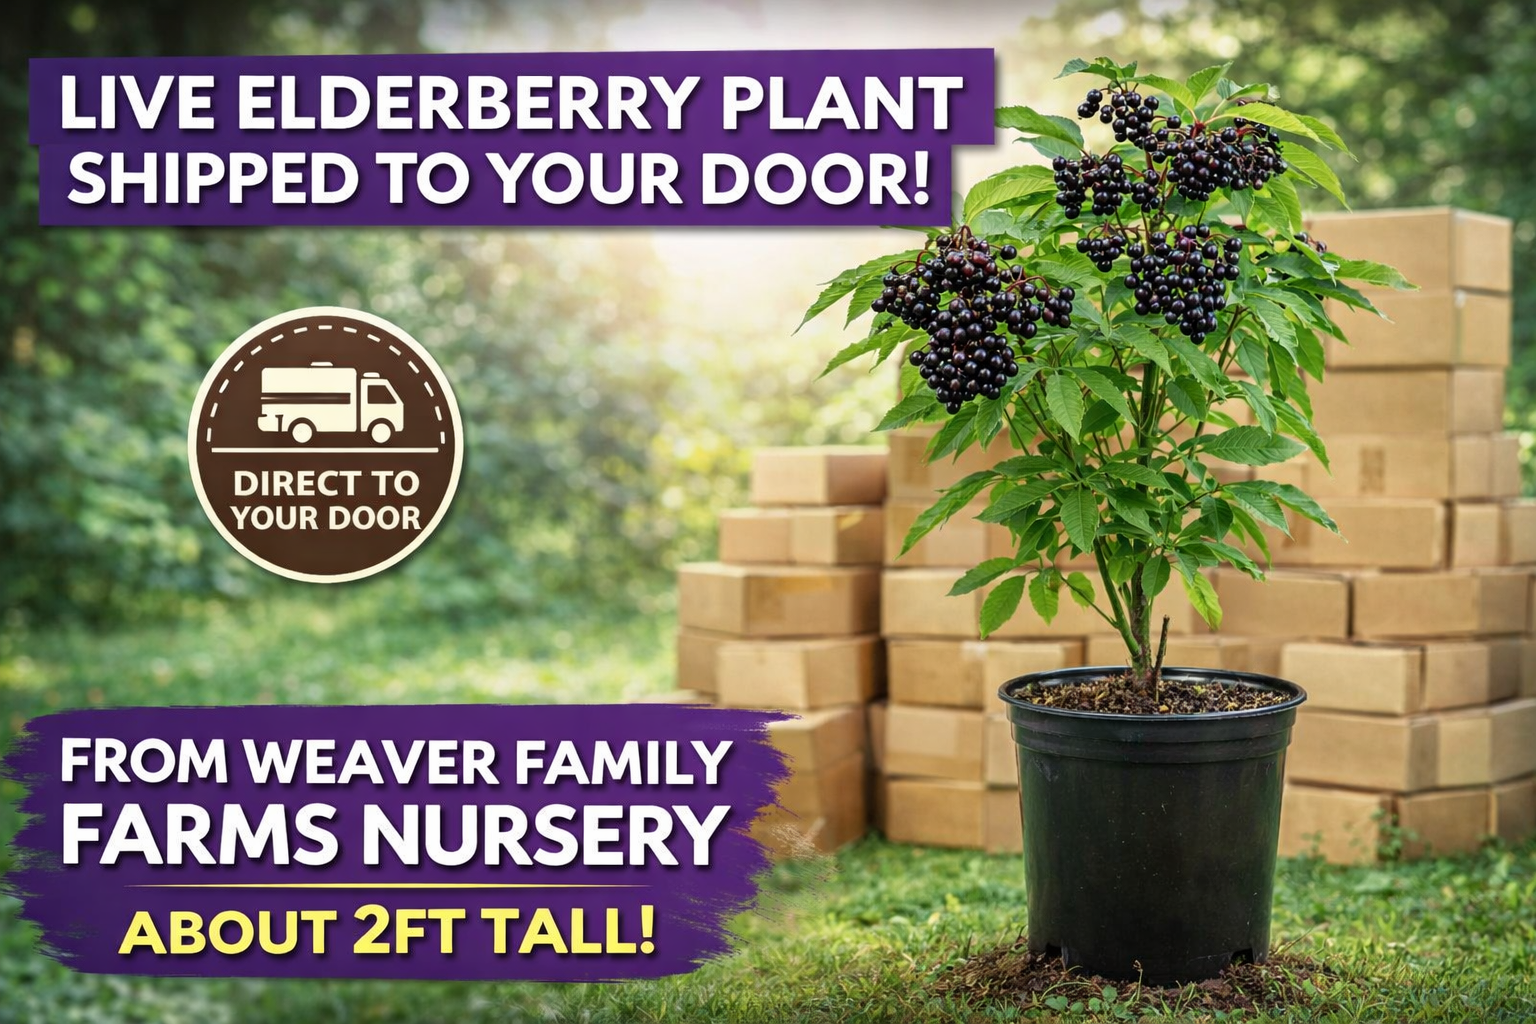
Within American elderberry, there are named cultivars that outperform wild-type plants significantly — Bob Gordon, Nova, Adams, and York are among the most productive. If you’re buying plants, look for named cultivars rather than generic “elderberry.” We grow and sell American elderberry plants specifically selected for strong production and disease resistance — it makes a real difference compared to whatever generic stock shows up at a big box store.
If you want a deeper comparison between the two main species before you buy, I broke it down here: American elderberry vs. European elderberry.
Do You Need Two Plants to Get Berries?
Short answer: technically no, but practically yes.
Most elderberry varieties are self-fertile, meaning a single plant can produce fruit on its own. But cross-pollination from a second variety dramatically increases yield — we’re talking two to three times more berries. If you have the space for two plants (and you should — they need room anyway), always plant two different varieties.
Plant them within 60 feet of each other. Bees do the rest.


Where to Plant: Sun, Soil, and Spacing
Sun: Elderberries want full sun. Six or more hours of direct sunlight daily. They’ll tolerate partial shade but they’ll produce fewer berries and be more prone to disease. Don’t compromise on this if you can help it.
Soil: Elderberries prefer moist, well-drained soil with a slightly acidic to neutral pH — roughly 5.5 to 6.5. They’re more tolerant of wet conditions than most fruiting shrubs, which makes them great for low spots in the yard that other plants hate. That said, standing water will kill them. Moist is good. Waterlogged is not.
Work compost into the planting hole before you put the plant in. This isn’t optional — elderberries are heavy feeders and they’ll reward good soil preparation with noticeably faster establishment.
Spacing: Give each plant at least 6–8 feet of space. Ten feet is better. They spread through suckers and can get wide fast. Crowding them creates poor air circulation, which invites disease.


When to Plant
Spring planting after the last frost or fall planting 4–6 weeks before the first expected frost — both work well. Fall planting gives roots time to establish before winter, which often means a stronger start the following spring.
Bare root plants go in while dormant (late winter to early spring). Container-grown plants can go in spring through early fall as long as you’re not planting in peak summer heat.
I put together a more detailed breakdown of timing by region here: the best time to plant elderberry plants.
The First Year: What to Expect (And What Not to Do)
Year one is not exciting. I want to be upfront about that.
Your elderberry is going to spend most of its first season establishing roots, not putting on dramatic top growth. Some years the canes barely grow at all above ground. This is normal. Don’t panic. Don’t fertilize heavily to force growth — that pushes top growth at the expense of the root system you actually need.
Water consistently during the first season, especially in dry spells. An inch of water per week is the general rule. Mulch around the base — 3–4 inches of wood chips or straw — to retain moisture and suppress weeds.
Cut off any flower clusters that appear in year one. I know it’s tempting to let them go. Don’t. Letting the plant fruit too early diverts energy away from root development. You’ll get more berries over the plant’s lifetime by being patient in year one.
Pruning: The Part People Skip
Most people don’t prune their elderberries and then wonder why production drops off after a few years. Elderberries produce the best fruit on two-year-old canes. Old canes stop producing. New canes need room to develop.
Here’s the simple system that works:
- Year 1 canes: leave them, let them establish
- Year 2 canes: these are your producers — protect them
- Year 3 canes and older: cut them out completely in late winter or early spring before bud break
Every year, prune out the oldest third of the plant. Remove any dead or damaged canes. Cut back any canes that are crossing or creating a dense, tangled center.
It sounds like a lot but it takes maybe 20 minutes once a year. The payoff in berry production is significant.


Common Problems (And How to Handle Them)
Aphids are the most common pest on elderberries. They cluster on new growth and can look alarming. A strong blast of water usually handles light infestations. For heavier ones, insecticidal soap works without harming beneficial insects.
Powdery mildew shows up when air circulation is poor or during humid summers. Good spacing and annual pruning prevent most of it. If it shows up, neem oil spray handles it.
Birds. This is the one that really gets people. Elderberries are irresistible to birds, and if you don’t net your bushes before the berries ripen, you will share your harvest generously whether you want to or not. Bird netting draped over the canes starting a week or two before full ripeness is the practical solution.
Suckers. Elderberries spread aggressively through underground runners. If you want to contain the plant, mow around it regularly or install a root barrier. If you want more plants, dig up the suckers and transplant them — they root easily.
When Will You Get Berries?
Most elderberries produce a small harvest in year two and a real harvest by year three. Don’t judge the plant on year one.
Berries ripen in late summer to early fall — typically August through September depending on variety and location. The whole cluster ripens at roughly the same time, and you harvest the entire cluster at once rather than picking individual berries.
They’re ripe when they’re deep purple-black and the birds start paying serious attention. Don’t harvest when they’re still red — unripe elderberries will make you sick.


From Bush to Bottle
Once you’re harvesting your own berries, you’ve got the best possible raw material for everything elderberry. Fresh berries make a brighter syrup than dried. I’ve covered how to make elderberry syrup from fresh berries in detail if you want to go straight from garden to kitchen.
And if you want to understand more about what you’re actually growing and why people are so enthusiastic about it, the complete beginner’s guide to elderberry is a good read while you’re waiting for your plant to establish.

The Short Version
Plant two varieties. Full sun, moist soil, good spacing. Be patient in year one. Prune every late winter. Net the berries before the birds find them.
That’s 90% of what you need to know. Everything else you’ll learn from the plant itself — and elderberry is a surprisingly good teacher once you give it half a chance.


About the Author
Dax Weaver is the founder of Weaver Family Farms Nursery, where he grows and ships American elderberry plants across the country. He’s spent years cultivating elderberries on his farm, testing varieties for production and hardiness, and helping home gardeners get their first plants established.
As an Amazon Associate we earn from qualifying purchases through some links in our articles.