
Store-bought elderberry gummies cost anywhere from $15 to $30 for a month’s supply. Most of them have more sugar than elderberry. Some have more corn syrup than anything resembling a berry.
Homemade elderberry gummies cost about $3 to make, take 15 minutes of active effort, last two weeks in the fridge, and you know exactly what’s in them. Once you’ve made a batch you’ll wonder why you ever paid for the packaged version.
This is the recipe I’ve landed on after a lot of experimenting — the one that actually sets properly, tastes good, and doesn’t turn into a puddle on a warm afternoon. I’ll also cover vegan substitutions, storage, dosing, and the few mistakes that can wreck a batch so you don’t have to learn them the hard way.
What You’ll Need
Ingredients
- 1 cup elderberry syrup (homemade or store-bought — either works)
- 2½ tablespoons unflavored gelatin powder (Knox or any grass-fed gelatin)
- 2 tablespoons raw honey (optional — for added sweetness, skip if your syrup is already sweet)
- 1 tablespoon fresh lemon juice (brightens the flavor, helps with set)
That’s it. Four ingredients. No preservatives, no corn syrup, no mystery stabilizers.
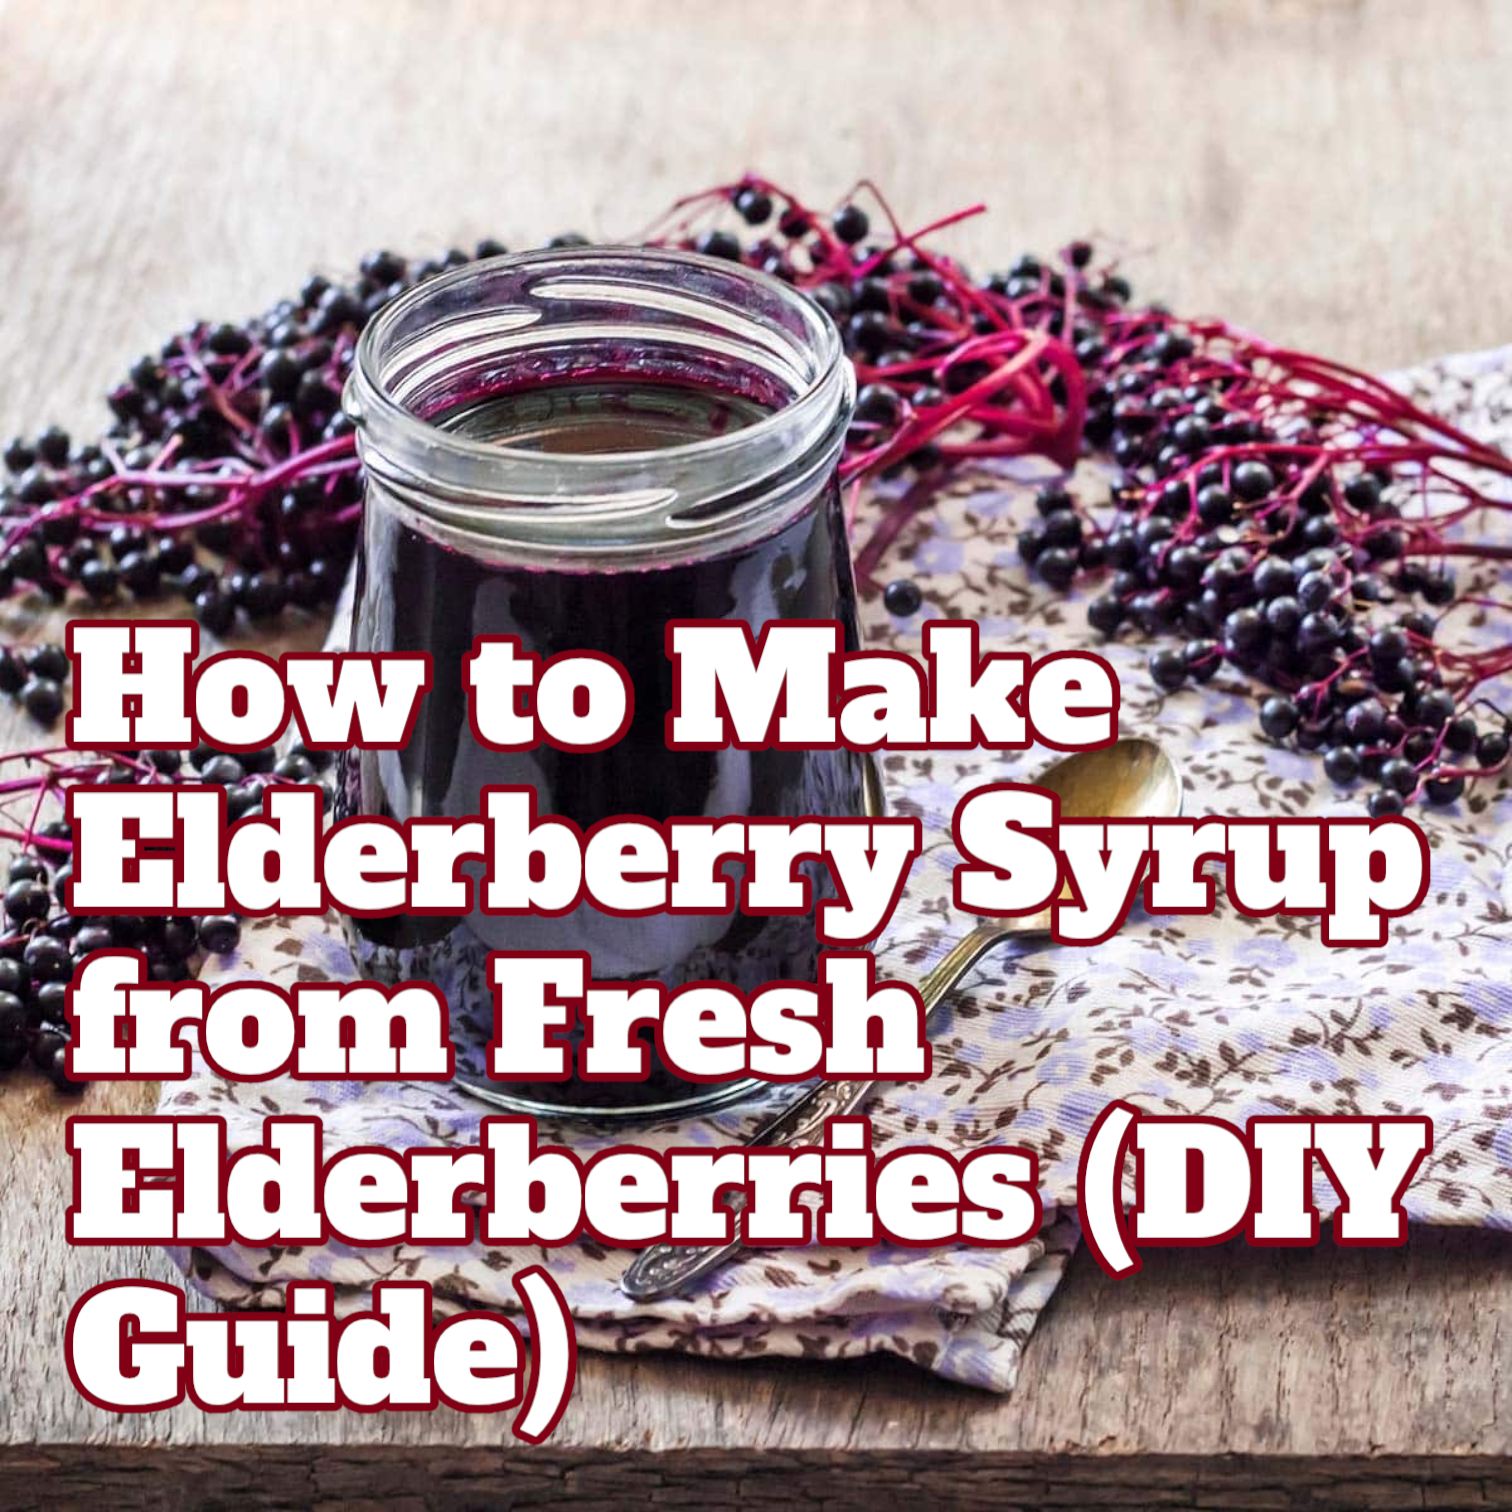
A note on the elderberry syrup: the quality of your gummies is entirely determined by the quality of your syrup. If your syrup is watery or undersweetened, your gummies will reflect that. If you’re buying commercial syrup, look for one with a high elderberry extract content rather than a diluted blend. If you’re making your own — which I’d recommend — this guide to making elderberry syrup from fresh berries gives you the best possible base to work from.
Equipment
- Small saucepan
- Whisk
- Silicone mold — bear shapes, half-spheres, or any shape you like. Silicone is essential; gummies stick hard to plastic or metal molds.
- Dropper or small ladle for filling the mold
- Measuring spoons


The Recipe — Step by Step
Step 1: Bloom the Gelatin
Pour your cup of elderberry syrup into the saucepan while it’s still cold — do not heat it yet. Sprinkle the gelatin powder evenly over the surface of the cold syrup and let it sit undisturbed for 2–3 minutes.
This step is called blooming and it’s non-negotiable. Gelatin needs to absorb liquid before it hits heat, otherwise you get lumps that never fully dissolve. Skipping this step or adding gelatin to hot liquid is the most common reason homemade gummies come out grainy or don’t set properly.
Step 2: Gently Heat the Mixture
Place the saucepan over low to medium-low heat. Whisk constantly as the mixture warms. You’re looking for the gelatin to fully dissolve — no visible granules, completely smooth liquid. This takes about 3–5 minutes.
Do not boil this mixture. You don’t need to and you don’t want to. Boiling degrades the gelatin’s setting ability and — more importantly — high heat destroys some of the beneficial compounds in your elderberry syrup. Low and slow. The mixture should be warm enough to fully melt the gelatin, around 140°F, not simmering.
Step 3: Add Honey and Lemon
Once the gelatin is fully dissolved and the mixture is smooth, pull it off the heat. Stir in your honey and lemon juice at this point — after the heat — to preserve the raw honey’s properties.
Taste it here. This is your moment to adjust. If it needs more sweetness, add a touch more honey. If it tastes flat, a little more lemon brightens it up. The flavor you taste now is roughly what your gummies will taste like.
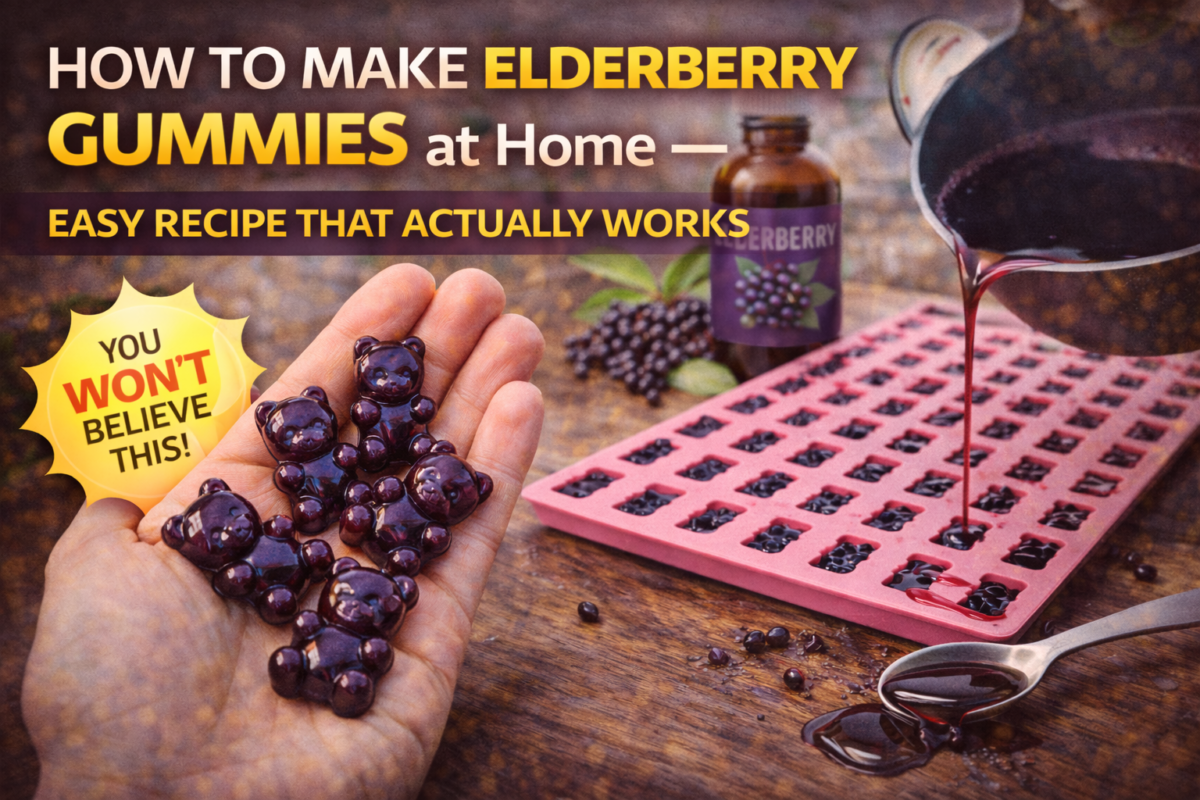
Step 4: Fill Your Molds
Working quickly — the mixture will start to set as it cools — use a dropper or small spoon to fill your silicone molds. A turkey baster also works surprisingly well for this and gives you good control over filling small bear or flower molds without spillage.
If you don’t have silicone molds, pour the mixture into a lightly greased 8×8 baking dish and cut into squares later. It works, it’s just less fun.
Step 5: Set in the Refrigerator
Transfer your filled molds to the refrigerator and let them set for at least 2 hours. Longer is fine — overnight works well if you’re making them in the evening. Do not put them in the freezer to speed things up; freezing changes the texture and makes them weep moisture when they thaw.
Step 6: Pop and Store
Once fully set, pop the gummies out of the molds. They should release cleanly from silicone with a gentle push from the back of the mold. Transfer to an airtight glass container and refrigerate.

How Long Do Homemade Elderberry Gummies Last?
In the refrigerator: 2 weeks. This is the honest answer — they’re made with real fruit-based syrup and no synthetic preservatives, so they don’t have the shelf life of a commercial gummy that’s been stabilized with additives.
Two weeks is plenty for a regular family going through them daily, which is exactly how you should be using them.
Do not leave homemade elderberry gummies at room temperature for extended periods. They’ll soften significantly and can develop mold faster than commercial products. Keep them cold and they stay firm and fresh.
If you want a longer shelf life, you can add 1 tablespoon of vegetable glycerin to the recipe — it’s a natural humectant and mild preservative that extends shelf life to about 3–4 weeks without affecting flavor or texture noticeably.
Vegan Elderberry Gummies — The Agar Agar Substitution
If you’re vegan or avoid gelatin for any reason, agar agar is your substitute. It’s a seaweed-derived gelling agent that sets firmer and faster than gelatin. Here’s what changes:
Use: 1½ teaspoons agar agar powder in place of 2½ tablespoons gelatin
Method difference: Agar agar needs to be boiled briefly to activate — bring your syrup and agar mixture to a gentle boil for 2 minutes while whisking, then remove from heat and pour immediately. It sets faster than gelatin so you need to move quickly.
Texture difference: Agar-set gummies are firmer and slightly more brittle than gelatin gummies. They hold their shape better at room temperature, which is actually an advantage if you’re packing them in a lunchbox or taking them on the go. The texture is less chewy, more snappy — some people prefer it.
One watch-out: Agar agar doesn’t work well with very acidic ingredients. A tablespoon of lemon juice is fine. If you add significantly more acid, the gummies may not set properly.


Low-Sugar and No-Sugar Variations
The base recipe as written is already much lower in sugar than commercial elderberry gummies. But if you want to reduce it further:
Skip the honey entirely if your elderberry syrup is already sweetened. Most commercial syrups are sweet enough that additional honey isn’t necessary.
Use unsweetened homemade syrup — if you make your own elderberry syrup without honey (yes, this is possible and it works well), you control the sweetness completely from the start: how to make elderberry syrup without honey.
Substitute with monk fruit or stevia — a small amount of liquid monk fruit sweetener or stevia can replace honey without affecting how the gummies set. Start with less than you think you need; both are significantly sweeter than honey.


How Many Should You Take Per Day?
This depends on the concentration of your elderberry syrup and why you’re taking them. Here’s a general framework:
If you’re making gummies from a standard homemade syrup recipe (which yields a moderate-concentration syrup), a bear mold typically produces gummies at roughly ½ teaspoon of syrup each. That means:
- Maintenance/daily prevention: 2–4 gummies per day for adults
- At first sign of illness: 4–6 gummies spread through the day
- Kids (ages 4–12): 1–2 gummies daily for prevention, 2–3 daily during illness
These are general guidelines based on standard syrup concentration. If you’re using a highly concentrated commercial syrup as your base, the effective dose per gummy is higher and you’d need fewer.
For the full elderberry dosing breakdown by form, goal, and age group: elderberry dosage for adults — how much to take and when.
Gummies vs. Syrup — Which Is Better?
Neither is objectively better. They’re different tools for different situations.
Syrup advantages: Higher concentration per serving, faster to make, easier to dose precisely, better for acute therapeutic use when you’re actively sick and need to dose multiple times a day quickly.
Gummies advantages: Convenient, portable, easier to take consistently as a daily habit, dramatically better for kids who won’t take syrup, no measuring required. The daily habit factor is real — people are far more consistent with gummies than with syrup because it feels less like taking medicine.
The best setup for most families: keep both on hand. Use gummies daily for prevention through cold season. Switch to syrup at therapeutic doses the moment anyone actually gets sick. That’s the routine that gets you the most out of elderberry across the whole season.
For a comparison of all elderberry forms and when each one makes sense: elderberry gummies benefits — what they actually do.

Fun Variations Worth Trying
Once you’ve nailed the basic recipe, it’s easy to customize. Here are a few variations that work well:
Elderberry Lemon Gummies — add the zest of one lemon along with the juice. Bright, citrusy, and the lemon flavor works beautifully with the dark berry base.
Elderberry Ginger Gummies — add 1 teaspoon of freshly grated ginger to the saucepan while the mixture heats. Ginger adds a warming note and its own anti-inflammatory properties. Great for cold season.
Elderberry Cinnamon Gummies — a pinch of cinnamon stirred in at the end. Subtle warmth, pairs well with the honey sweetness.
Elderberry and Vitamin C Gummies — stir in ¼ teaspoon of powdered vitamin C (ascorbic acid) after removing from heat. You’re layering two immune-supporting compounds in a single gummy. Since elderberry and vitamin C work through complementary mechanisms, this makes practical sense — not just marketing sense.
Elderberry Tea Gummies — replace half the elderberry syrup with strongly brewed elderberry tea for a milder, lower-sugar version. Good option for kids who are sensitive to concentrated flavors. For more on elderberry tea specifically: health benefits of elderberry tea.

Troubleshooting: When Your Gummies Don’t Turn Out Right
Gummies won’t set / too soft:
- Gelatin wasn’t fully bloomed before heating
- Mixture was heated too briefly and gelatin didn’t fully dissolve
- Not enough gelatin — measure carefully, a half tablespoon less makes a noticeable difference
- Syrup was too acidic — high acid inhibits gelatin. If your syrup has a lot of citrus, reduce the additional lemon juice.
Gummies are grainy or lumpy:
- Gelatin was added to hot liquid instead of cold
- Mixture was boiled hard — high heat degrades gelatin structure
- Gelatin wasn’t fully whisked in — whisk thoroughly and continuously while heating
Gummies are too hard or rubbery:
- Too much gelatin. Pull back by ½ tablespoon next batch.
- Agar agar users: boiled too long or used too much
Gummies are sweating or sticky:
- Humidity is the enemy of gummies. If you live somewhere humid, store with a paper towel in the container to absorb excess moisture.
- Don’t stack gummies directly on top of each other — a layer of parchment between layers helps in humid climates.
Gummies developed white fuzz after a week:
- Mold. Happens faster in warmer fridges or if the gummies weren’t fully cooled before sealing in a container. Make sure they’re fully set and cool before sealing, and keep your fridge below 40°F.


Why Make Them Yourself?
The store-bought version of almost everything is convenient but comes with trade-offs. With commercial elderberry gummies the trade-offs are usually: more sugar than elderberry, cheaper elderberry extract than the label implies, proprietary blends that obscure actual dosing, and a price point that assumes you won’t do the math.
When you make them yourself you know exactly what’s in each gummy, you can adjust the recipe to suit your family, and the cost-per-dose is a fraction of any commercial product. The elderberry your family is actually getting is real — the same quality syrup you’d take yourself, just in a form a seven-year-old will cheerfully eat every morning without negotiation.
That’s the whole argument. It’s a good one.


About the Author
Lisa Monroe is a certified nutritional consultant and food writer who has spent fifteen years helping families build practical wellness habits that actually stick. She holds a certification in holistic nutrition from the Nutritional Therapy Association and contributes regularly to ElderberryPro.com. She makes elderberry gummies every September without fail and has the purple-stained cutting board to prove it.
As an Amazon Associate we earn from qualifying purchases through some links in our articles.